Introduction
Welcome to the world of macro photography, where the tiniest details of our surroundings are brought to life through the lens of a camera. This specialized form of photography is all about capturing small subjects in extreme close-up detail, revealing a world that is often overlooked by the naked eye. From the intricate patterns on the wings of a butterfly to the delicate petals of a flower, macro photography offers a unique and fascinating perspective on the world around us. In this article, we'll explore some tips and tricks to help you master the art of macro photography and capture stunning images of even the smallest subjects. So grab your camera and let's get started!
Macro photography involves capturing small subjects in extreme close-up detail. It can be a challenging yet rewarding form of photography, requiring patience, precision, and a keen eye for detail. Here are some tips and tricks to help you explore the world of macro photography:
Also Read This: How to Chromecast Rumble Content to Your TV
Get the Right Equipment
The first step to exploring the world of macro photography is to get the right equipment. Macro photography requires specialized gear that is designed to capture small subjects in extreme detail. The most important piece of equipment you'll need is a macro lens, which is specifically designed for close-up photography. These lenses are capable of capturing sharp and detailed images at very close distances, allowing you to fill the frame with your subject and capture even the tiniest details.
Another option for achieving macro results is to use extension tubes or close-up filters on your existing lens. Extension tubes fit between your camera body and lens, moving the lens further away from the camera sensor to increase magnification. Close-up filters, also known as diopters, are filters that attach to the front of your lens and act as magnifying glasses, allowing you to focus closer to your subject.
In addition to a macro lens or extension tubes, a tripod is essential for keeping your camera steady and reducing camera shake. A remote shutter release is also helpful for minimizing camera movement and ensuring a sharp and detailed image.
Finally, lighting is crucial in macro photography. Natural light can work well, but it's often best to use a dedicated macro lighting setup that allows you to control the direction and intensity of the light source. This will help you eliminate unwanted shadows and reflections and highlight the details of your subject.
Investing in the right equipment is essential for getting started with macro photography, but it's not the only factor to consider. In the next section, we'll discuss how to find the perfect subject for your macro shots.
[caption id="attachment_192651" align="alignnone" width="1500"] Get the Right Equipment[/caption]
Also Read This: Canva Image DPI Adjustment
Find Your Subject
Once you have the right equipment, the next step in macro photography is finding the perfect subject to capture. The beauty of macro photography is that even the most mundane or overlooked subjects can become fascinating and intricate when seen up close. Here are some tips for finding interesting macro subjects:
- Look for texture: Subjects with interesting textures can make for compelling macro photos. For example, tree bark, rocks, and flowers all have unique textures that can be highlighted with macro photography.
- Explore nature: Nature provides an abundance of macro photography opportunities. From insects and spiders to flowers and leaves, there are endless possibilities to explore in the natural world.
- Check out your surroundings: You don't have to travel far to find interesting macro subjects. Look around your home or office for small objects with interesting details, such as jewelry, coins, or even kitchen utensils.
- Experiment with abstracts: Macro photography can also be used to create abstract images by focusing on a specific detail or pattern of a subject. This can be a fun and creative way to explore macro photography and create unique images.
When looking for macro subjects, it's important to pay attention to the lighting and background. A cluttered or distracting background can take away from the impact of your subject, so look for a simple, clean background that won't compete with your subject. Also, pay attention to the lighting and try to shoot during the golden hours of the day, when the light is soft and warm, or use diffused artificial light to create a soft, even light on your subject.
By keeping these tips in mind, you can find interesting macro subjects and create captivating images that showcase the intricate details of the world around us.
[caption id="attachment_192652" align="alignnone" width="1500"]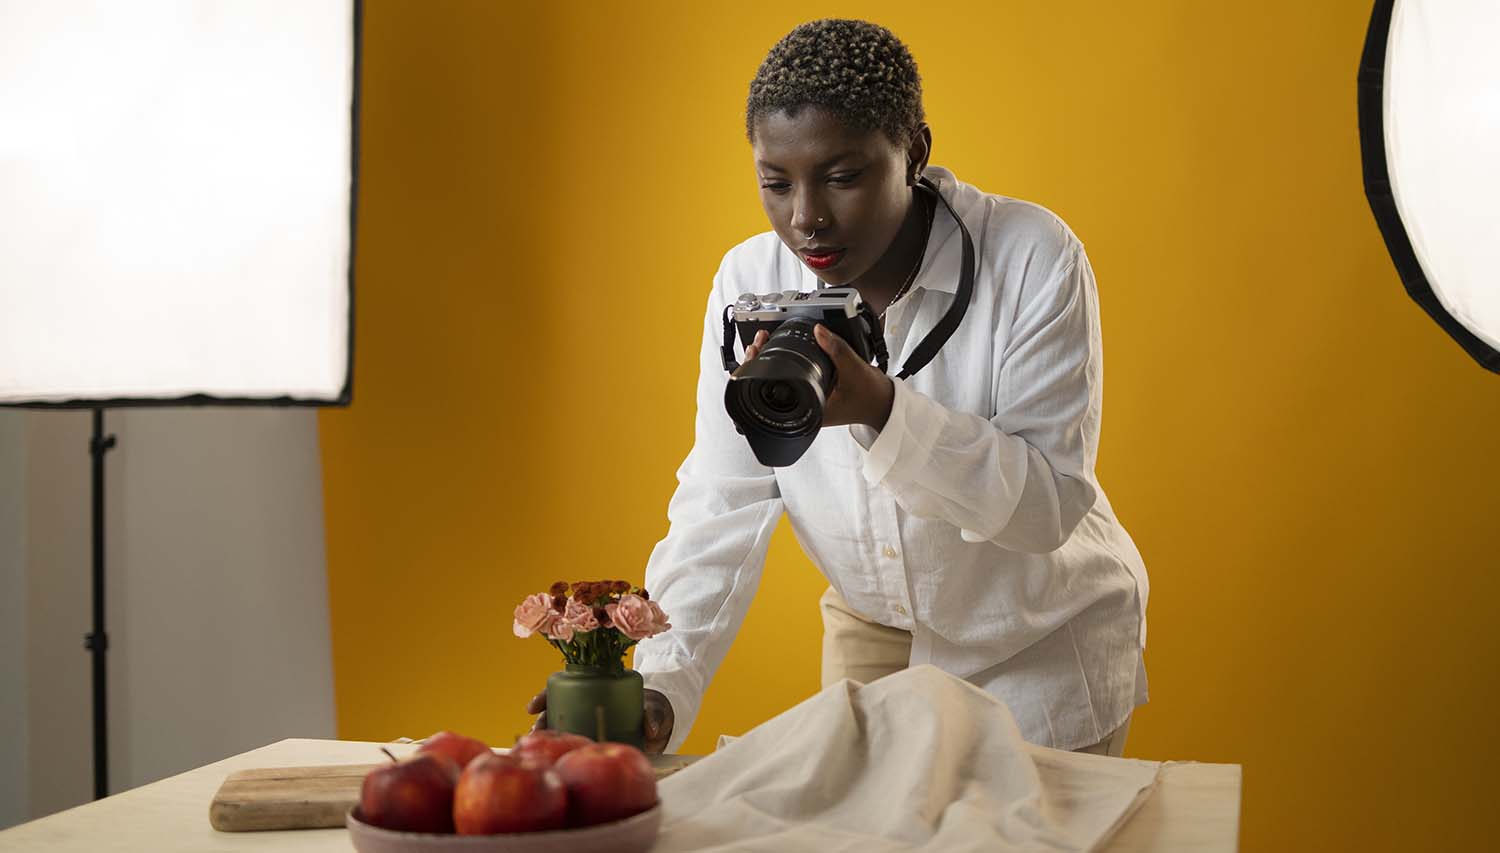 Find Your Subject[/caption]
Also Read This: Step-by-Step Guide to Princess Hairstyles Available on Dailymotion
Use a Narrow Aperture
One of the key techniques to keep in mind when exploring the world of macro photography is to use a narrow aperture. This means setting your camera to a high f-stop number (such as f/16 or f/22) to create a deep depth of field, which will help keep your entire subject in focus.
When you're shooting up close with a macro lens, the depth of field becomes very shallow, meaning that only a small portion of your subject will be in sharp focus. By using a narrow aperture, you can increase the area of your subject that is in focus, creating a more detailed and balanced image.
However, it's important to keep in mind that using a narrow aperture will reduce the amount of light that enters your camera, which can result in a slower shutter speed. This can increase the risk of camera shake, which can lead to blurry images. To counteract this, use a tripod to stabilize your camera and a remote shutter release to minimize camera movement.
Additionally, using a narrow aperture can also create diffraction, which can reduce the sharpness of your image. To avoid this, it's best to use a moderate aperture setting (around f/8 to f/11) if your subject allows it, while still creating enough depth of field to keep your subject in focus.
By using a narrow aperture, you can create detailed and striking macro images that showcase the intricate details of your subject while keeping it all in focus.
[caption id="attachment_192653" align="alignnone" width="1500"]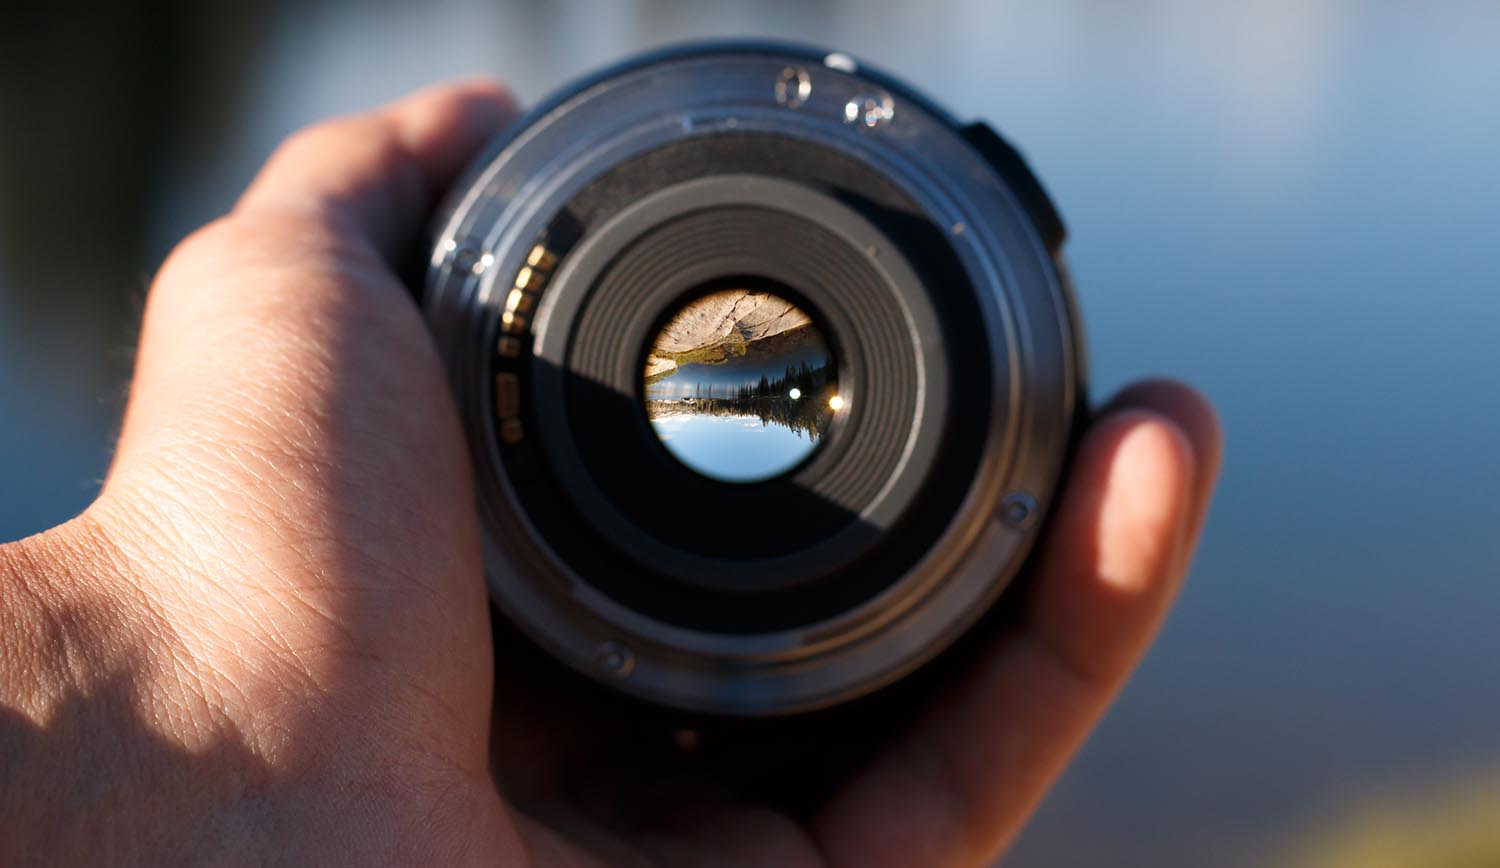 Use a Narrow Aperture[/caption]
Also Read This: Guide to Downloading LinkedIn Photos for Offline Use
Control Your Lighting
Controlling your lighting is another important aspect of macro photography, as it can have a big impact on the final image. Here are some tips for achieving the best lighting for your macro shots:
- Use diffused light: Soft, diffused light is best for macro photography, as it helps to eliminate harsh shadows and create a more even illumination on your subject. You can achieve this by using a lightbox, softbox, or other diffused lighting setup.
- Avoid direct sunlight: Direct sunlight can create harsh shadows and hot spots on your subject, so it's best to avoid shooting in bright sunlight. If you must shoot outdoors, try shooting on an overcast day or look for shaded areas to reduce the intensity of the light.
- Use a reflector: A reflector can be used to bounce light onto your subject and fill in any shadows. You can use a white or silver reflector to create a softer, more even illumination on your subject.
- Try backlighting: Backlighting your subject can create a dramatic and striking effect, highlighting the details of your subject and creating a sense of depth and texture.
- Use a flash: A dedicated macro flash or ring light can be a great tool for creating even lighting on your subject. The flash can be diffused or bounced off a reflector to create a soft, even illumination.
When controlling your lighting, it's important to pay attention to the direction and intensity of the light. Experiment with different lighting setups to find the best approach for your subject, and don't be afraid to get creative with your lighting to create a unique and striking macro image.
[caption id="attachment_192654" align="alignnone" width="1500"]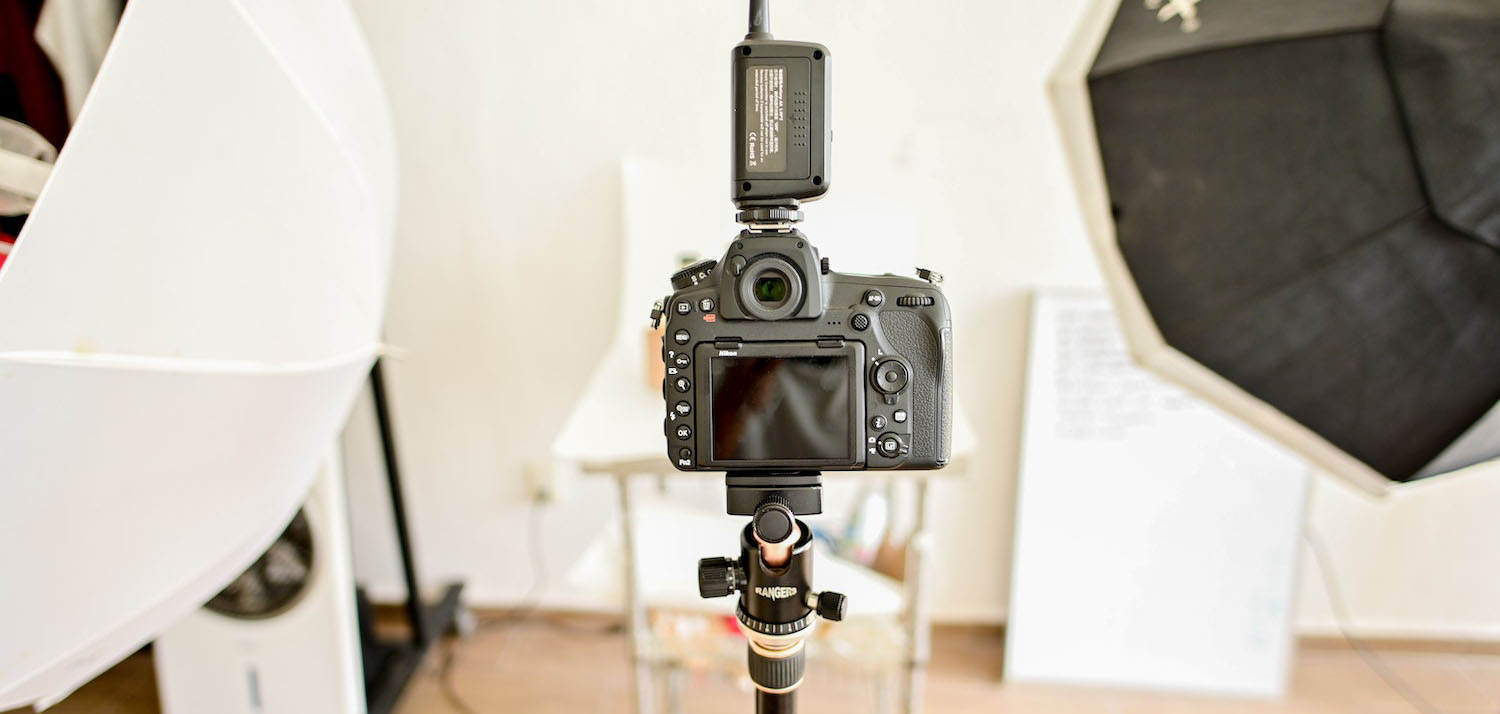 Control Your Lighting[/caption]
Also Read This: Ensuring Your Questions Convey Empathy and Care
Experiment with Composition
Composition is a crucial aspect of photography, and macro photography is no exception. While it's important to focus on your subject and lighting, experimenting with different compositions can take your macro images to the next level. Here are some tips for experimenting with composition in macro photography:
- Explore different angles: Don't be afraid to get low or shoot from unusual angles to capture your subject in a new and interesting way. Shooting from below or above can create a unique perspective and highlight details that might be overlooked from a more traditional angle.
- Use the rule of thirds: The rule of thirds is a basic principle of composition that can be applied to macro photography as well. Divide your image into thirds both horizontally and vertically, and place your subject at the intersection of the lines to create a balanced and visually pleasing composition.
- Pay attention to negative space: Negative space is the area around your subject that is left empty. Using negative space can create a sense of balance and give your subject room to breathe. Experiment with different amounts of negative space to create a more dynamic composition.
- Focus on details: Macro photography allows you to capture even the smallest details of your subject. Experiment with extreme close-ups and crop your image tightly to create a composition that focuses on a specific detail or pattern of your subject.
- Use leading lines: Leading lines can be used to draw the viewer's eye into your image and create a sense of movement. Look for natural lines in your subject or use props to create lines that lead towards your subject.
By experimenting with composition, you can create macro images that are visually striking and capture the beauty and intricacy of your subject in a unique way.
[caption id="attachment_192655" align="alignnone" width="1500"]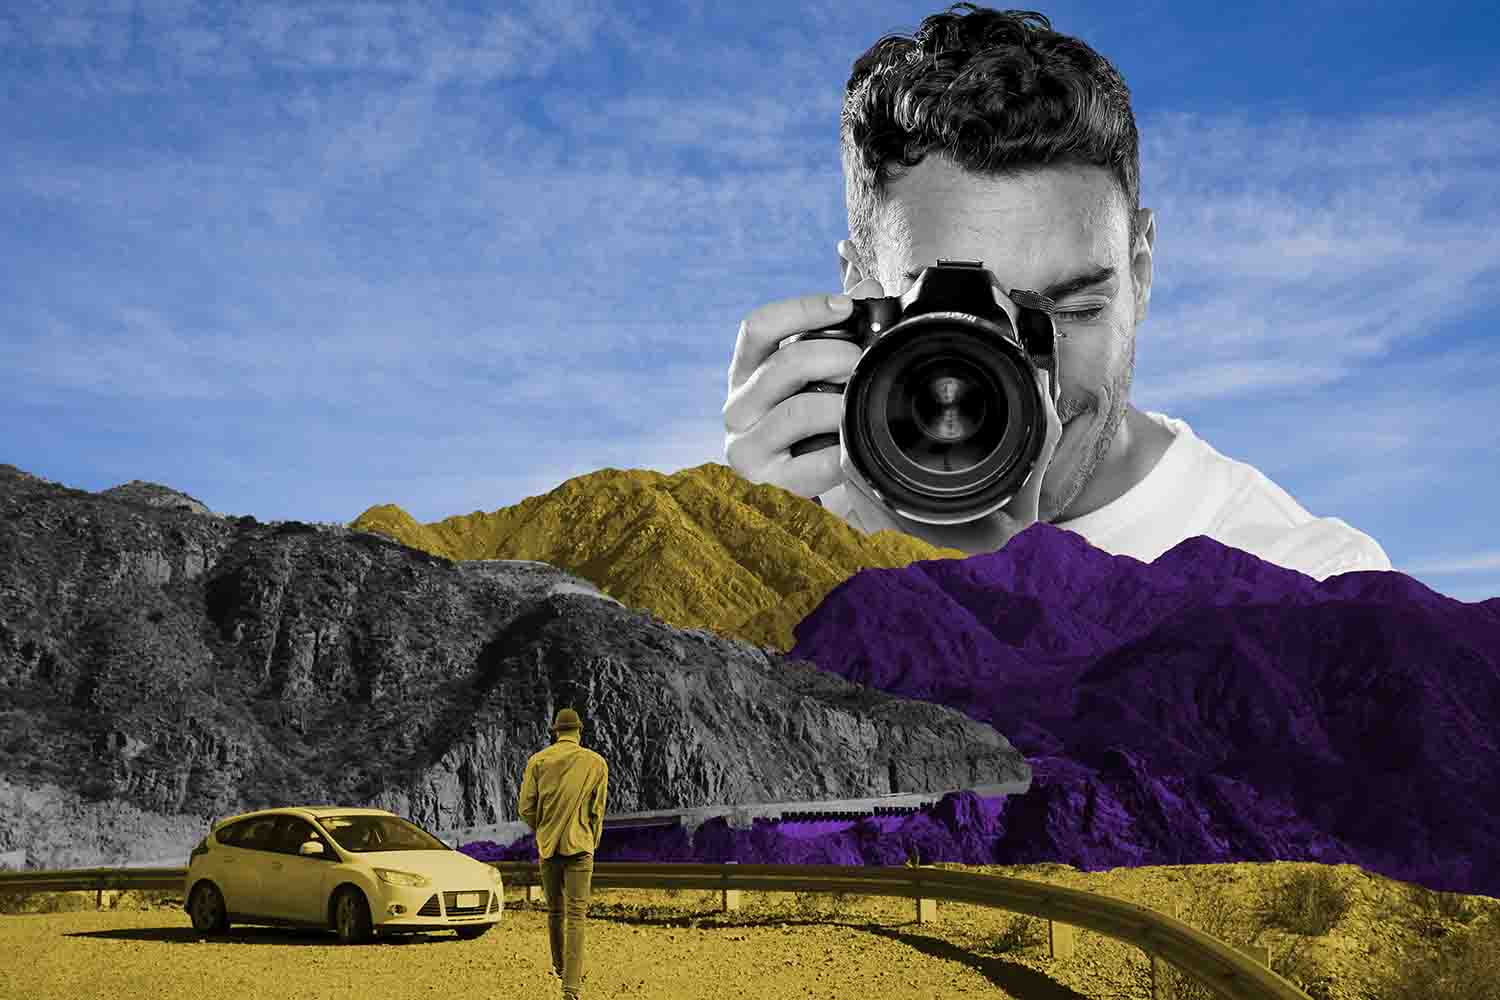 Experiment with Composition[/caption]
Also Read This: How to Unlicense Adobe Stock Photos in Case of Mistakes
Don't Be Afraid to Crop
One of the advantages of macro photography is that it allows you to capture even the smallest details of your subject. However, it's not always possible to capture the perfect composition in-camera. That's where cropping comes in.
Cropping is the process of trimming the edges of your image to create a more visually pleasing composition. In macro photography, cropping can be particularly useful for creating extreme close-ups, eliminating distractions, and focusing on specific details of your subject.
When cropping your images, it's important to maintain a high resolution to ensure that your image remains sharp and detailed. This means starting with a high-quality image and avoiding excessive cropping that could result in pixelation or blurriness.
Another consideration when cropping your images is the aspect ratio. Aspect ratio is the relationship between the width and height of your image. Most cameras shoot in a 3:2 aspect ratio, but you may want to experiment with other aspect ratios, such as square or 4:3, to create a more balanced composition.
Finally, keep in mind that cropping should be used as a tool to enhance your images, not as a crutch to fix a poorly composed shot. It's always best to aim for the best composition in-camera, but don't be afraid to crop if it can improve your final image.
In conclusion, cropping is a useful technique in macro photography that can help you achieve a more dynamic and visually striking composition. By cropping your images strategically, you can highlight the intricate details of your subject and create images that are both beautiful and compelling. Here is a webinar video that delves into the realm of macro photography exploration.
Also Read This: How to Block a YouTube Channel and Enhance Your Viewing Experience
Pros & Cons
| Pros | Cons |
|---|---|
| Understanding color theory can help you create more visually pleasing and harmonious images. | Overusing or misusing color theory can result in images that appear unnatural or forced. |
| Using complementary colors in your images can create a strong visual impact and draw the viewer's attention to the subject. | Focusing too much on color theory can take away from the other important elements of photography, such as composition and lighting. |
| By using color theory, you can convey different moods and emotions in your images. | Not all situations or subjects will lend themselves well to color theory, and it may not always be appropriate or necessary to use. |
| Color theory can help you create a consistent visual style in your photography. | Limiting yourself too much to color theory can stifle your creativity and lead to a lack of variety in your images.
|
Also Read This: How to Change Your Email for YouTube
Conclusions
Macro photography is a fascinating genre that allows you to capture intricate details and textures that might not be visible to the naked eye. While it requires patience, practice, and the right equipment, the rewards of macro photography are well worth the effort.
When it comes to taking successful macro shots, there are several key tips and techniques to keep in mind. Using a narrow aperture, controlling your lighting, and experimenting with composition can all help you achieve a more visually striking image. And if your initial composition isn't perfect, don't be afraid to crop your image to highlight specific details or create a more balanced composition.
While there are some drawbacks to cropping, such as a loss of resolution or an unnatural composition, it remains a useful tool for macro photographers. By balancing the pros and cons of cropping and considering it as one of many techniques at your disposal, you can create stunning macro images that showcase the beauty and complexity of the world around us.
FAQs
What is macro photography?
Macro photography is a technique in which the camera is used to capture close-up images of small objects or details, often at a 1:1 or greater magnification ratio.
What equipment do I need for macro photography?
To shoot macro photos, you will need a camera with manual controls, a macro lens or extension tubes, a tripod, and a remote shutter release. You may also need a diffuser or reflector to control the lighting.
How do I choose the right aperture for macro photography?
When shooting macro photos, a smaller aperture (higher f-number) is typically used to increase depth of field and keep the entire subject in focus. However, a too small aperture can cause diffraction and reduce image sharpness. Experiment with different apertures to find the right balance between depth of field and image sharpness.