Introduction
Long exposure photography is a technique that has become increasingly popular in recent years, with many photographers using it to create stunning images of landscapes, seascapes, and night scenes. By leaving the camera's shutter open for an extended period of time, long exposure photography captures both still subjects and any movement in the scene, resulting in unique and ethereal images. However, mastering this technique requires patience, experimentation, and attention to detail.
In this guide, we will explore some tips and techniques for long exposure photography to help you achieve the desired effect and capture beautiful images.
Also Read This: OK.ru as a Family-Friendly Platform for Sharing and Staying Connected
Use a tripod
Using a tripod is one of the most important tips for long exposure photography. This is because any movement of the camera during the exposure will result in a blurry image. A sturdy tripod will keep the camera steady and ensure that the image is sharp and in focus.
When choosing a tripod, it's important to consider its height, weight, and stability. A tripod that is too short may not allow you to get the desired composition, while a tripod that is too heavy may be difficult to carry around. Look for a tripod that is lightweight but sturdy, with adjustable legs that can be positioned on uneven terrain.
When setting up your tripod, make sure it is on a stable surface, such as a level ground, and that the legs are fully extended and locked in place. Use the tripod's center column to adjust the height of the camera, but be careful not to extend it too far as this can compromise the stability of the tripod.
In addition to using a tripod, it's also important to use a remote shutter release or the camera's self-timer to trigger the shutter without physically touching the camera, which can cause vibrations that result in a blurry image.
[caption id="attachment_192693" align="alignnone" width="1500"]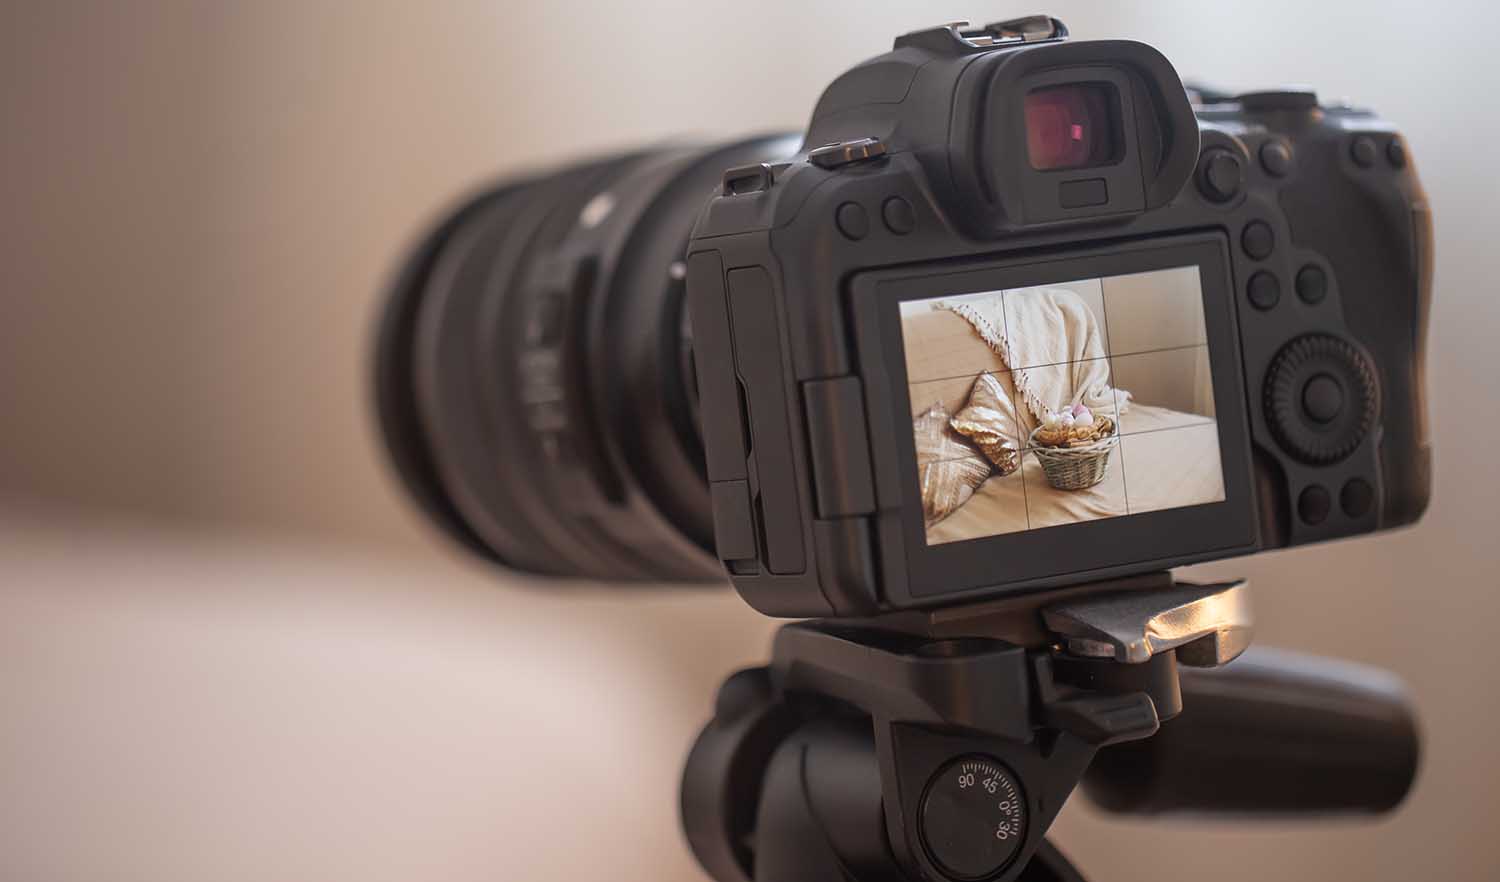 Use a tripod[/caption]
Also Read This: How to Create a Private Telegram Channel with Ease
Use a remote shutter release
Using a remote shutter release is another important tip for long exposure photography. A remote shutter release allows you to trigger the camera's shutter without physically touching it, which can cause vibrations that result in a blurry image. This is especially important when using a tripod, as even the slightest movement can cause blur.
There are several types of remote shutter releases available, including wired and wireless options. Wired remote shutter releases connect directly to the camera's shutter release port, while wireless options use infrared or radio signals to trigger the shutter.
When using a remote shutter release, make sure to position the camera and frame the shot before triggering the shutter. This will ensure that the camera remains steady during the exposure and that the image is sharp and in focus. If you don't have a remote shutter release, you can also use the camera's self-timer to trigger the shutter without touching the camera.
[caption id="attachment_192695" align="alignnone" width="1500"] Use a remote shutter release[/caption]
Also Read This: How to Download Images from Behance
Choose the right time of day
Choosing the right time of day is crucial for long exposure photography, as it requires a lot of light to capture a well-exposed image. Here are some tips for choosing the right time of day:
- Daytime: Long exposure photography is often done during the daytime, when there is plenty of natural light. This is especially true when shooting subjects such as waterfalls, where the movement of the water can create a stunning effect when captured with a slow shutter speed.
- Golden Hour: The golden hour, which occurs during the hour after sunrise and before sunset, is a great time to shoot long exposure photos. During this time, the light is soft and warm, and the sky often has beautiful colors that can add depth and interest to your photos.
- Blue Hour: The blue hour, which occurs just before sunrise and just after sunset, is another great time to shoot long exposure photos. During this time, the sky has a deep blue color, which can create a dramatic backdrop for your photos.
- Nighttime: Long exposure photography is also popular at night, when bright artificial light sources can be used to capture stunning images. This is often done in urban settings, where the light from buildings and street lamps can create interesting patterns and textures when captured with a slow shutter speed.
[caption id="attachment_192696" align="alignnone" width="1500"]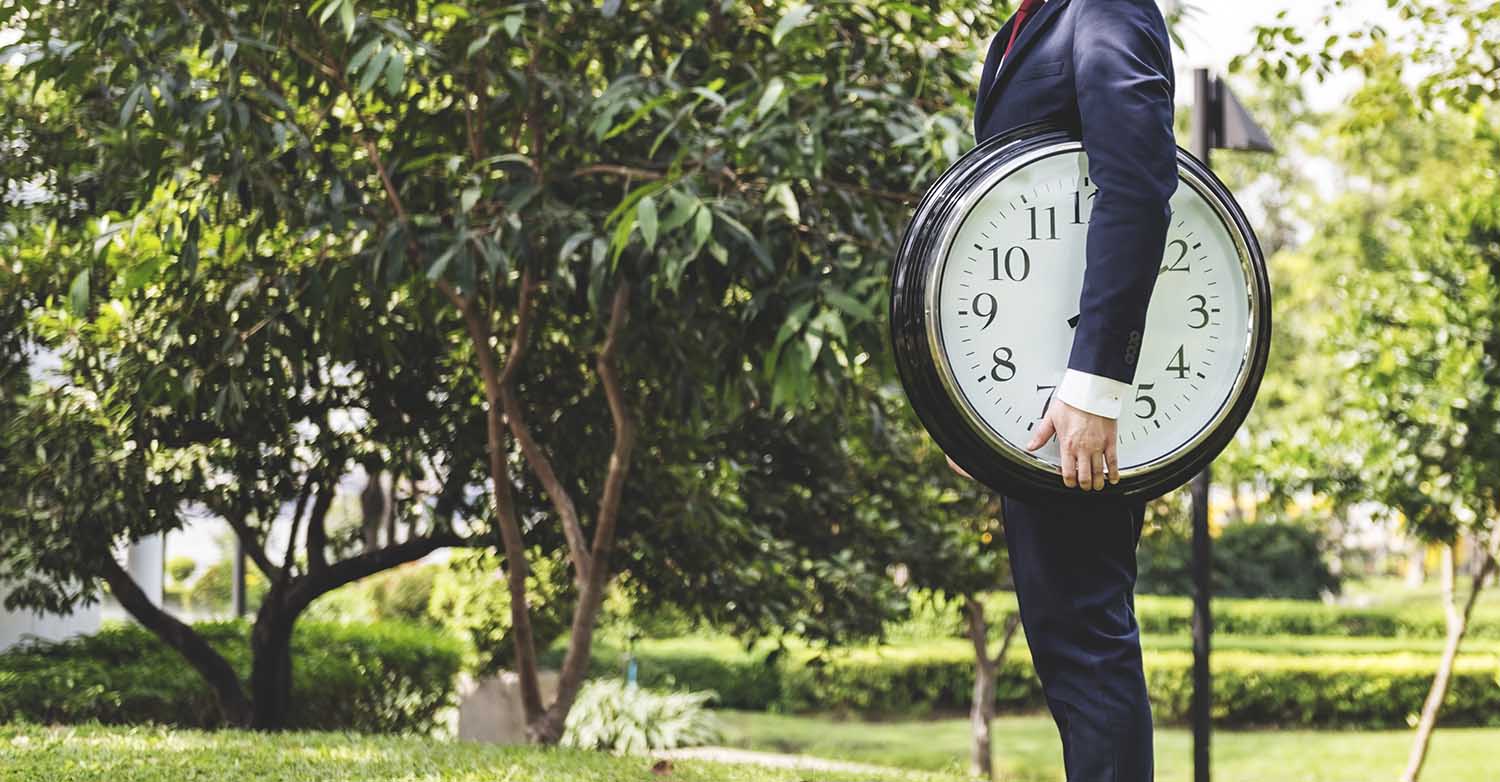 Choose the right time of day[/caption]
Also Read This: Understanding the Causes of a Rumbling Car When Stopping
Use a neutral density (ND) filter
Using a neutral density (ND) filter is another important tip for long exposure photography. An ND filter is a dark filter that reduces the amount of light entering the lens, allowing for longer shutter speeds without overexposing the image.
ND filters are available in a variety of strengths, ranging from one-stop to 10-stop filters. A one-stop filter reduces the amount of light entering the lens by one stop, while a 10-stop filter reduces the amount of light by 10 stops. The strength of the filter you choose will depend on the amount of light available and the effect you want to achieve.
When using an ND filter, it's important to adjust the camera's settings accordingly. Start by setting the aperture to the desired value and adjusting the ISO to the lowest setting possible. Then, use the ND filter to reduce the amount of light entering the lens, allowing for longer shutter speeds.
Keep in mind that using an ND filter will also affect the color temperature of the image, so it's important to adjust the white balance accordingly. This can be done in-camera or in post-processing. Additionally, because an ND filter reduces the amount of light entering the lens, it can also make it difficult to see through the viewfinder or LCD screen. To compensate for this, you can use a smartphone app that simulates the effects of an ND filter, or simply remove the filter when framing and focusing the shot.
[caption id="attachment_192697" align="alignnone" width="1500"] Use a neutral density (ND) filter[/caption]
Also Read This: How to Access Getty Images for Free on Tumblr
Experiment with shutter speed
Experimenting with shutter speed is a key aspect of long exposure photography, as it allows you to control the amount of time that the camera's shutter is open and thus the amount of movement that is captured in the image.
To create a long exposure effect, you will generally need to use shutter speeds of one second or longer. Depending on the amount of light available, you may need to use an ND filter to achieve longer shutter speeds without overexposing the image.
Here are some general guidelines for choosing a shutter speed:
- To create a smooth, flowing effect when photographing waterfalls, use a shutter speed of
- , and up to several seconds or more, depending on the amount of movement in the water and the desired effect.
- To capture light trails from cars or other moving objects, use a shutter speed of several seconds or more, depending on the speed of the object and the desired effect.
- To capture star trails, use a shutter speed of several minutes or more, depending on the length of the star trails and the desired effect.
- To create a motion blur effect, use a shutter speed that is long enough to capture the movement of the subject, but short enough to keep the subject recognizable. This will depend on the speed of the subject and the desired effect.
Remember that the longer the shutter speed, the more important it is to keep the camera steady. Use a tripod and a remote shutter release to minimize camera shake and ensure sharp, well-exposed images. And don't be afraid to experiment with different shutter speeds to find the perfect balance between sharpness and motion blur.
[caption id="attachment_192698" align="alignnone" width="1500"] Experiment with shutter speed[/caption]
Also Read This: How to Post a YouTube Video from Your iPhone
Consider your composition
Composition is an essential aspect of any type of photography, and long exposure photography is no exception. Here are some tips to consider when composing your long exposure shots:
- Use leading lines: Leading lines are a great way to draw the viewer's eye into the image and create a sense of depth and dimensionality. Look for natural or man-made lines in your scene, such as roads, rivers, or bridges, and use them to create a sense of movement and flow in your image.
- Include foreground interest: Adding foreground interest can help to anchor the image and give it a sense of place. Look for interesting elements in the foreground, such as rocks, trees, or other objects, and use them to add depth and texture to the image.
- Frame your subject: Framing your subject can help to create a sense of context and focus the viewer's attention. Look for natural or man-made frames in your scene, such as arches, doorways, or trees, and use them to create a sense of perspective and depth.
- Consider the rule of thirds: The rule of thirds is a fundamental compositional rule in photography that involves dividing the image into thirds, both vertically and horizontally, and placing the subject at one of the intersection points. This can help to create a sense of balance and harmony in the image.
- Experiment with angles: Experimenting with different angles can help to create a sense of drama and interest in your images. Try shooting from a low angle to emphasize the foreground, or from a high angle to create a sense of scale and perspective.
Remember that composition is a matter of personal preference, and what works for one person may not work for another. Don't be afraid to experiment and try new things to find the composition that works best for you and your subject.
[caption id="attachment_192699" align="alignnone" width="1500"] Consider your composition[/caption]
Also Read This: Is Telegram Facing Shutdown Soon? The Latest News
Shoot in RAW
Shooting in RAW format is highly recommended for long exposure photography. RAW files contain more image data than JPEG files, giving you greater flexibility when it comes to adjusting exposure, color, and other settings in post-processing.
When shooting in RAW, the camera records all of the image data captured by the sensor, without applying any compression or processing. This means that RAW files are much larger than JPEG files, but they also contain more information, including more detail in the highlights and shadows, as well as a wider range of colors.
Shooting in RAW allows you to make adjustments to the image in post-processing without losing quality. For example, you can adjust the exposure, contrast, and white balance of the image without introducing noise or other artifacts.
Keep in mind that shooting in RAW requires more storage space than shooting in JPEG, so make sure you have plenty of memory cards or external storage available. Additionally, RAW files require special software to view and process, so you will need to use a program like Adobe Lightroom or Photoshop to edit your images.
Overall, shooting in RAW gives you more flexibility and control over your long exposure images, making it an essential tool for serious photographers. Here's a video featuring five valuable tips for long exposure photography.
Also Read This: Exploring the Influence of Algorithms and Content Creators on YouTube
Pros & Cons
| Pros | Cons |
|---|---|
| Contains more image data | Requires more storage space |
| Greater flexibility in editing | Requires special software for post-processing |
| More detail in highlights | Slower write speeds to memory card |
| More detail in shadows | Requires more post-processing time |
| Wider range of colors | Larger file sizes |
Conclusion
Long exposure photography can be a challenging but rewarding technique for capturing the movement and beauty of the world around us. By using a sturdy tripod, a remote shutter release, and a neutral density filter, you can create long exposures even in bright daylight conditions. Experimenting with shutter speed and composition can help you create images with a unique and artistic look. Shooting in RAW format gives you more flexibility and control over your final image in post-processing. By following these tips and techniques, you can create stunning long exposure images that capture the essence and beauty of the world around us.
FAQs
What is long exposure photography?
Long exposure photography is a technique in which the camera's shutter is left open for an extended period of time, allowing light to enter the camera and create a blur or streak effect in moving subjects.
What equipment do I need for long exposure photography?
To capture long exposures, you will need a camera with manual controls, a sturdy tripod, and a remote shutter release. You may also need neutral density filters to reduce the amount of light entering the camera and allow for longer exposures.
What are some tips for getting sharp long exposure images?
To get sharp long exposure images, use a sturdy tripod, a remote shutter release, and a timer delay to prevent camera shake. Make sure to focus carefully and use a smaller aperture for greater depth of field.
How do I choose the right shutter speed for long exposure photography?
The right shutter speed for long exposure photography depends on the effect you want to achieve. Experiment with different shutter speeds to capture the movement of your subject, whether it's a silky smooth waterfall or light trails from moving cars.
What are some creative ways to use long exposure photography?
Long exposure photography can be used to create a variety of creative effects, such as capturing the movement of stars in the night sky, creating abstract images of moving water, or capturing light trails from moving objects.
Can I shoot long exposures without a tripod?
While it is possible to shoot long exposures without a tripod, it is much more difficult to get sharp images without camera shake. A sturdy tripod is highly recommended for long exposure photography.
Should I shoot in RAW or JPEG format for long exposure photography?
It is generally recommended to shoot in RAW format for long exposure photography, as RAW files contain more image data and give you greater flexibility in post-processing. However, shooting in JPEG format may be sufficient if you are happy with the results straight out of the camera.