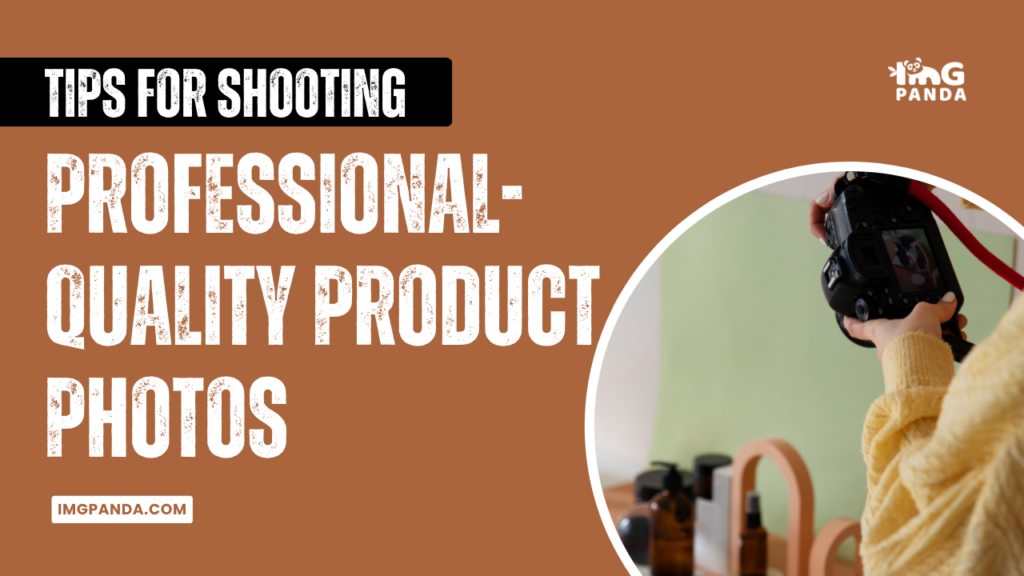
Introduction
When it comes to e-commerce, high-quality product photography is essential for catching the attention of potential customers and driving sales. Professional-looking photos can help your products stand out and give customers a better understanding of what they are buying. In this discussion, we will explore some tips for shooting professional-quality product photos, including lighting, composition, product positioning, the use of props, editing, and using a high-quality camera.
By following these tips, you can create visually appealing product photos that showcase your products in the best possible way and help your business succeed.
Also Read This: Mastering the Art of Homemade Ice Cream with an Ice Cream Maker
Use proper lighting
When it comes to lighting for product photography, there are a few things to keep in mind:
- Use natural light if possible: Natural light is often the best choice for product photography. If you're shooting indoors, try setting up near a window or other natural light source. However, be aware of the changing light throughout the day and how it affects your shots.
- Use a light box or soft box: If natural light isn't an option or you want more control over your lighting, consider using a light box or soft box. These tools help to diffuse the light and create a soft, even light that is perfect for product photography.
- Use multiple light sources: If you're using artificial light, consider using multiple light sources to create a more even light. Position the lights at different angles to eliminate shadows and create a more natural look.
- Avoid harsh shadows: Harsh shadows can be distracting and take away from the product. Use diffused light sources and reflectors to minimize shadows.
- Adjust the white balance: Make sure the white balance is set correctly for your lighting setup. This will ensure that the colors in your photos are accurate and true to li
By following these lighting tips, you'll be able to create professional-quality product photos that showcase your products in the best possible light.
[caption id="attachment_192618" align="alignnone" width="1500"] Use proper lighting[/caption]
Also Read This: How to Upload iPhone Video to YouTube
Choose the right background
Choosing the right background is crucial for product photography, as it can make or break the overall look of your photos. Here are some tips for choosing the right background:
- Use a plain or neutral background: A plain or neutral background, such as white or gray, is often the best choice for product photography. This allows the product to stand out and ensures that the focus is on the product itself.
- Consider the product's color: When choosing a background, consider the color of the product. You want to choose a background that will complement the product and not clash with it.
- Use a textured background: If you want to add some texture or interest to your photos, consider using a textured background. Just make sure that the texture doesn't overpower the product.
- Use a seamless background: A seamless background is ideal for product photography as it creates a clean, consistent look. You can purchase a roll of seamless paper in various colors or opt for a vinyl or fabric backdrop.
- Experiment with different backgrounds: Don't be afraid to experiment with different backgrounds to find what works best for your product. Try out different colors, textures, and patterns to see what works best for your product.
By following these tips, you'll be able to choose the right background for your product photos, ensuring that they look professional and visually appealing.
[caption id="attachment_192619" align="alignnone" width="1500"]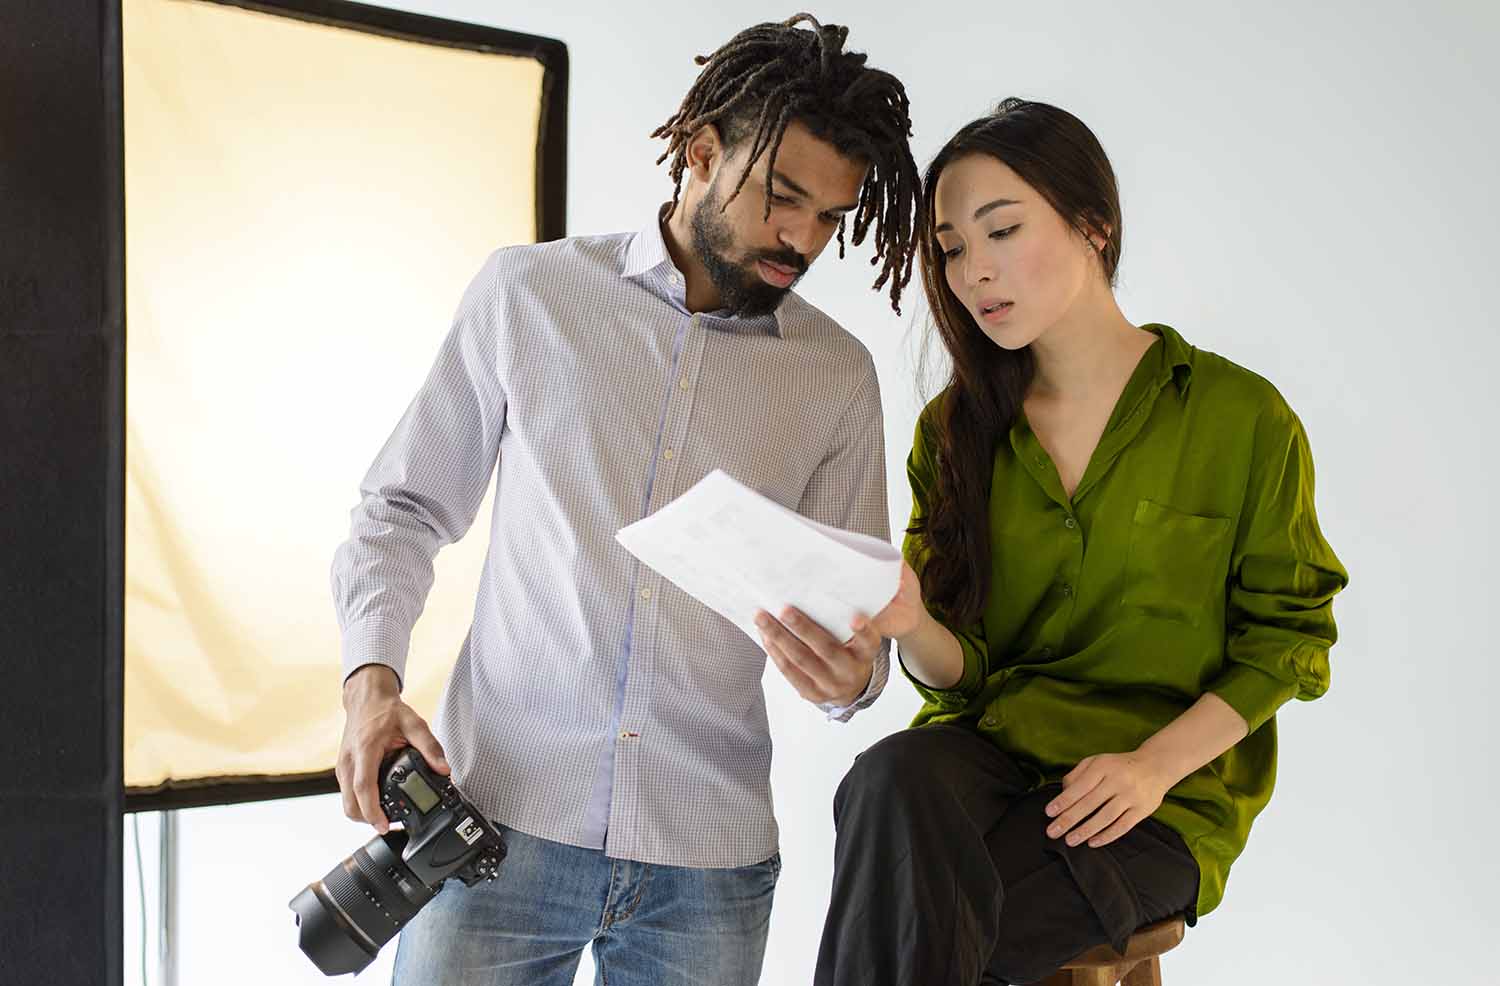 Choose the right background[/caption]
Also Read This: Best Practices for Engagement Through Hyperlinking in LinkedIn Posts
Use a tripod
Using a tripod is essential for product photography because it helps to stabilize your camera and ensures that your photos are sharp and in focus. Here are some tips for using a tripod:
- Use a sturdy tripod: Make sure your tripod is sturdy enough to support your camera and lens. A cheap, flimsy tripod can cause your camera to wobble, resulting in blurry photos.
- Adjust the height: Adjust the height of your tripod so that the camera is level with the product. This will ensure that your photos are straight and in focus.
- Use a remote or timer: To further minimize camera shake, use a remote or timer to trigger the shutter instead of pressing the shutter button manually.
- Fine-tune your composition: Using a tripod allows you to fine-tune your composition and make small adjustments to the product's position or angle. This can make a big difference in the overall look of your photos.
- Use manual focus: When using a tripod, it's best to use manual focus instead of auto focus. This allows you to ensure that the product is in focus and eliminates the risk of the camera focusing on the wrong area.
By following these tips, you'll be able to use your tripod effectively and take professional-quality product photos that are sharp and in focus.
[caption id="attachment_192620" align="alignnone" width="1500"]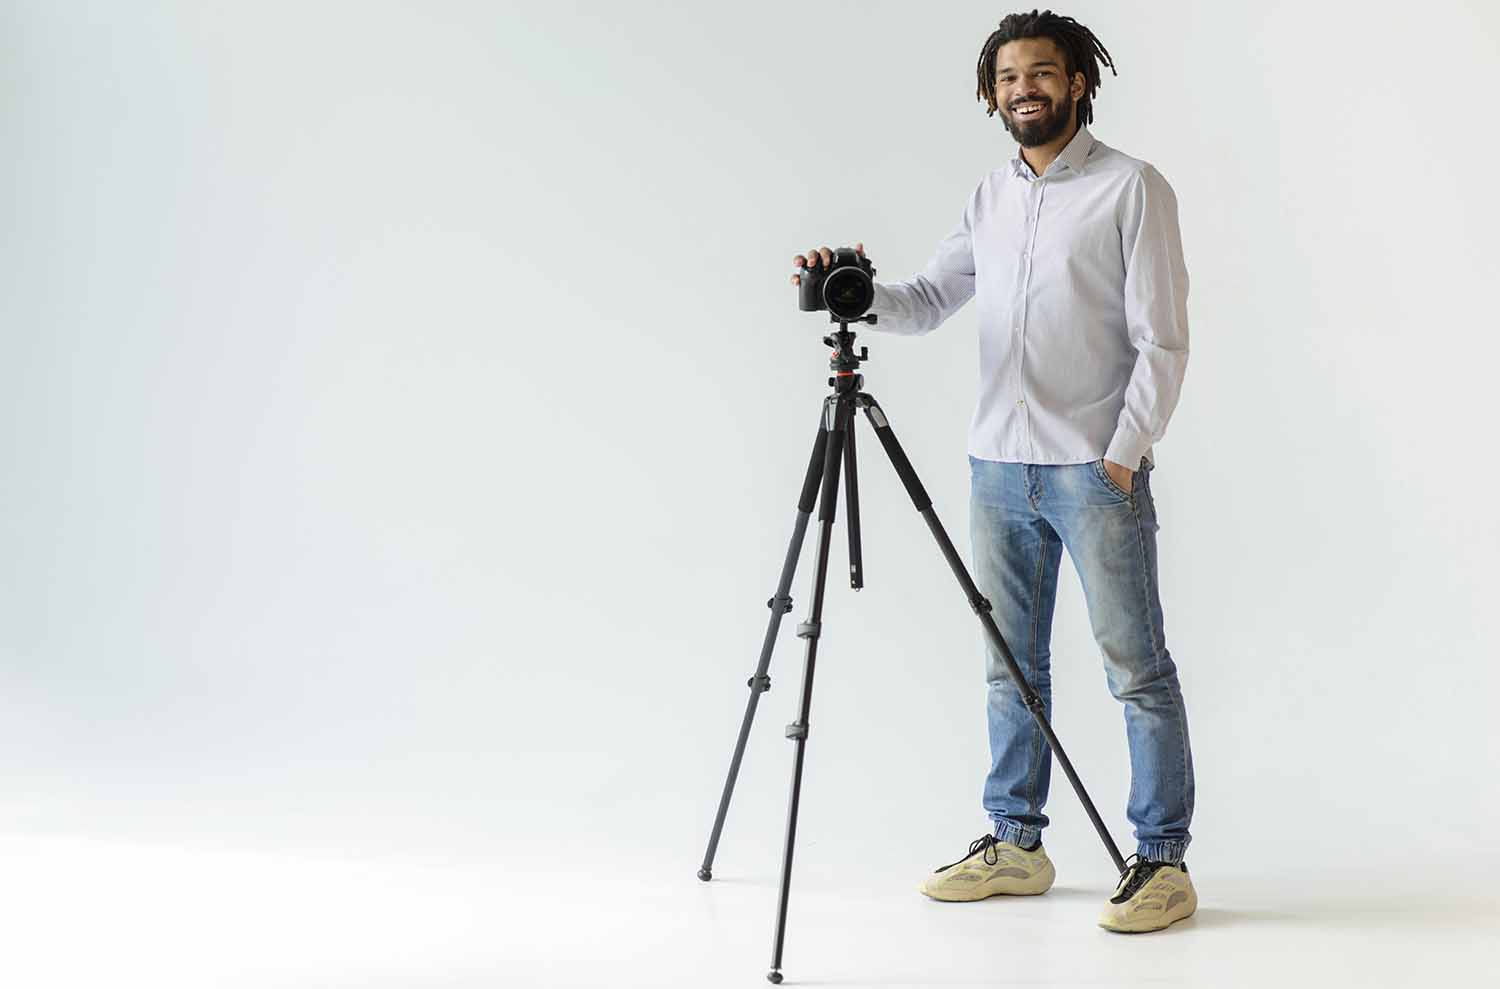 Use a tripod[/caption]
Also Read This: How to Update Your YouTube Video with Ease
Shoot from different angles
Shooting your product from different angles is essential for product photography, as it allows you to showcase the product's features and details. Here are some tips for shooting from different angles:
- Start with a standard angle: Start by taking a standard shot of the product from a straight-on angle. This will serve as your baseline and allow you to compare other shots to ensure consistency.
- Shoot from a low angle: Shooting from a low angle can make the product appear larger and more imposing. This works well for products with a strong presence or visual impact.
- Shoot from a high angle: Shooting from a high angle can make the product appear smaller and more approachable. This works well for products that are small or intricate.
- Shoot from the side: Shooting from the side can help to showcase the product's depth and dimensions. This is particularly effective for products with interesting textures or patterns.
- Focus on details: Don't be afraid to zoom in and focus on specific details of the product, such as buttons, seams, or textures. This can add visual interest and give customers a better sense of what the product looks like up close.
By shooting from different angles, you'll be able to create a diverse set of product photos that showcase the product's features and details, giving customers a better sense of what they can expect from the product.
[caption id="attachment_192621" align="alignnone" width="1300"] Shoot from different angles[/caption]
Also Read This: Easy Instructions for Adding an Image to Your LinkedIn Company Page
Use props
Using props can help create a context or story around the product, making it more appealing to the customer. Here are some tips for using props in product photography:
- Choose props that complement the product: The props you choose should complement the product, not overpower it. For example, if you are photographing a camera, you could use a tripod or camera bag as a prop.
- Keep it simple: Don't use too many props or clutter the photo. Keep it simple and focused on the product.
- Use props to show scale: If your product is small, you could use a coin or ruler as a prop to show the size.
- Show the product in use: Using a model to demonstrate how the product is used can help the customer visualize themselves using it.
- Keep it consistent: Use the same style and color of props across all product photos to maintain a consistent look.
Remember, the focus should always be on the product, so don't let the props overshadow it. Props should enhance the product, not distract from it.
[caption id="attachment_192622" align="alignnone" width="1500"]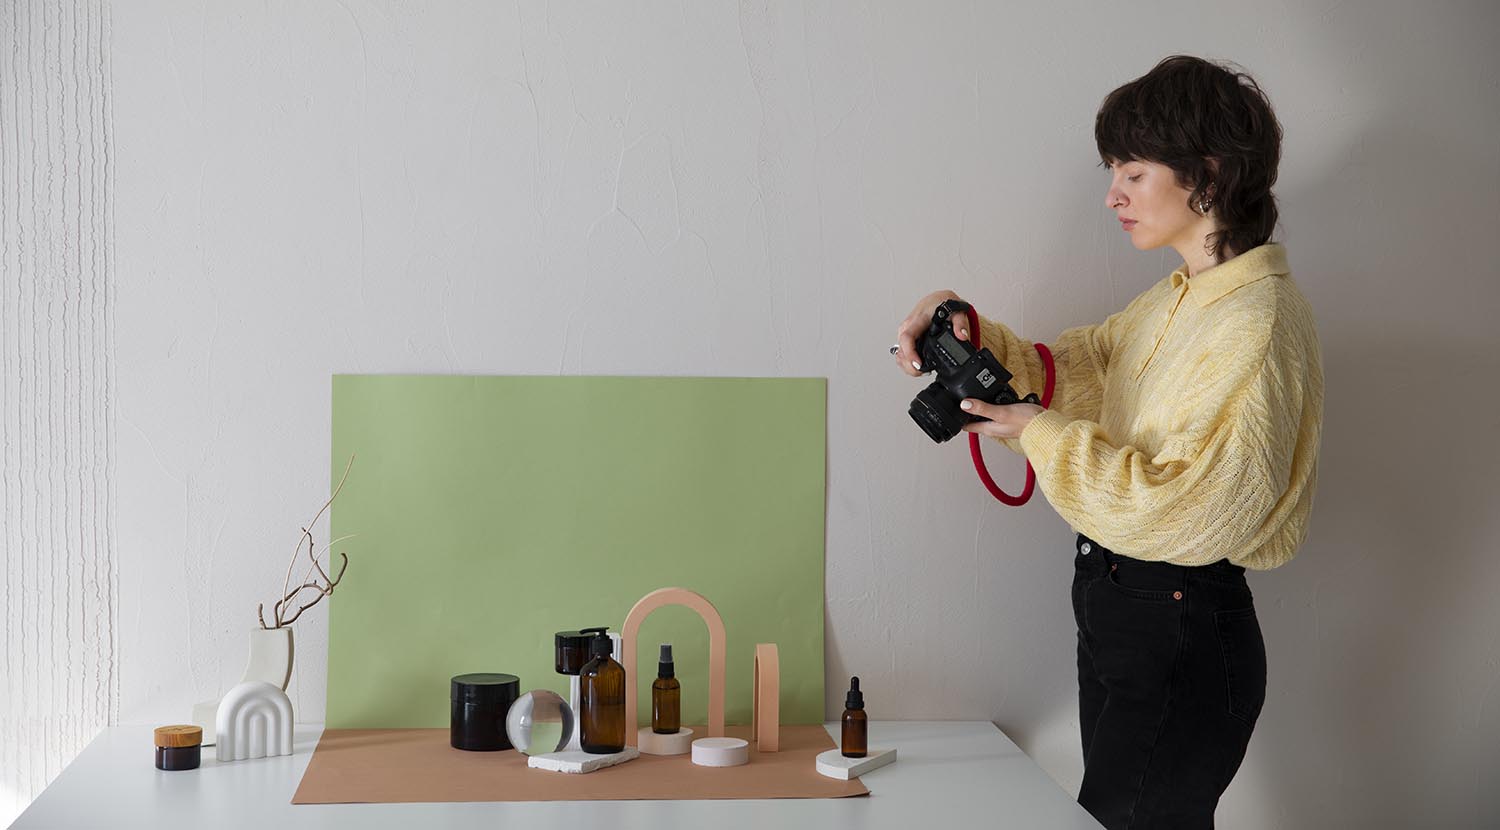 Use props[/caption]
Also Read This: How to Create a Collection on Behance
Edit your photos
Editing your product photos can help enhance their quality and make them look more professional. Here are some tips for editing product photos:
- Adjust brightness and contrast: Brightness and contrast can make a huge difference in the look of your photos. Adjust these settings to make your product stand out and look more appealing.
- Crop and straighten: Crop your photos to remove any unwanted background or distractions, and straighten them to ensure they are aligned properly.
- Remove any blemishes: Use the clone stamp tool or healing brush to remove any blemishes or imperfections on the product.
- Adjust color balance: Use the color balance tool to ensure that the colors in the photo are accurate and true to life.
- Add a watermark: Adding a watermark to your product photos can help protect them from being stolen or used without permission.
- Resize and optimize for the web: Resize your photos to the appropriate size for your website or online store, and optimize them for the web to ensure fast loading times.
Remember to keep the editing minimal and avoid over-processing your photos, as this can make them look fake and unprofessional. The goal of editing is to enhance the quality of the photo, not to create something that looks completely different from the original.
[caption id="attachment_192623" align="alignnone" width="1500"] Edit your photos[/caption]
Also Read This: Is the Song "Does He Know" Available on Dailymotion?
Pay attention to product positioning
Product positioning is an important aspect of product photography that can greatly impact the overall appeal of your photos. Here are some tips for positioning your product in your photos:
- Use the rule of thirds: Position your product off-center using the rule of thirds to create a more visually appealing composition.
- Show the product from different angles: Take photos of the product from different angles to showcase its features and details. Experiment with different angles to find the best way to showcase your product.
- Emphasize the main feature: Position your product in a way that emphasizes its main feature or selling point. For example, if you are photographing a watch, position it in a way that highlights its face or unique design.
- Use negative space: Use negative space to draw attention to your product and make it stand out. This could be a plain background or an empty space in the photo.
- Show the product in use: Photographing the product in use can help the customer visualize themselves using it and can make the product more relatable.
Remember that the positioning of your product should be intentional and thought-out. Don't be afraid to experiment with different positions and angles to find what works best for your product.
[caption id="attachment_192624" align="alignnone" width="1500"]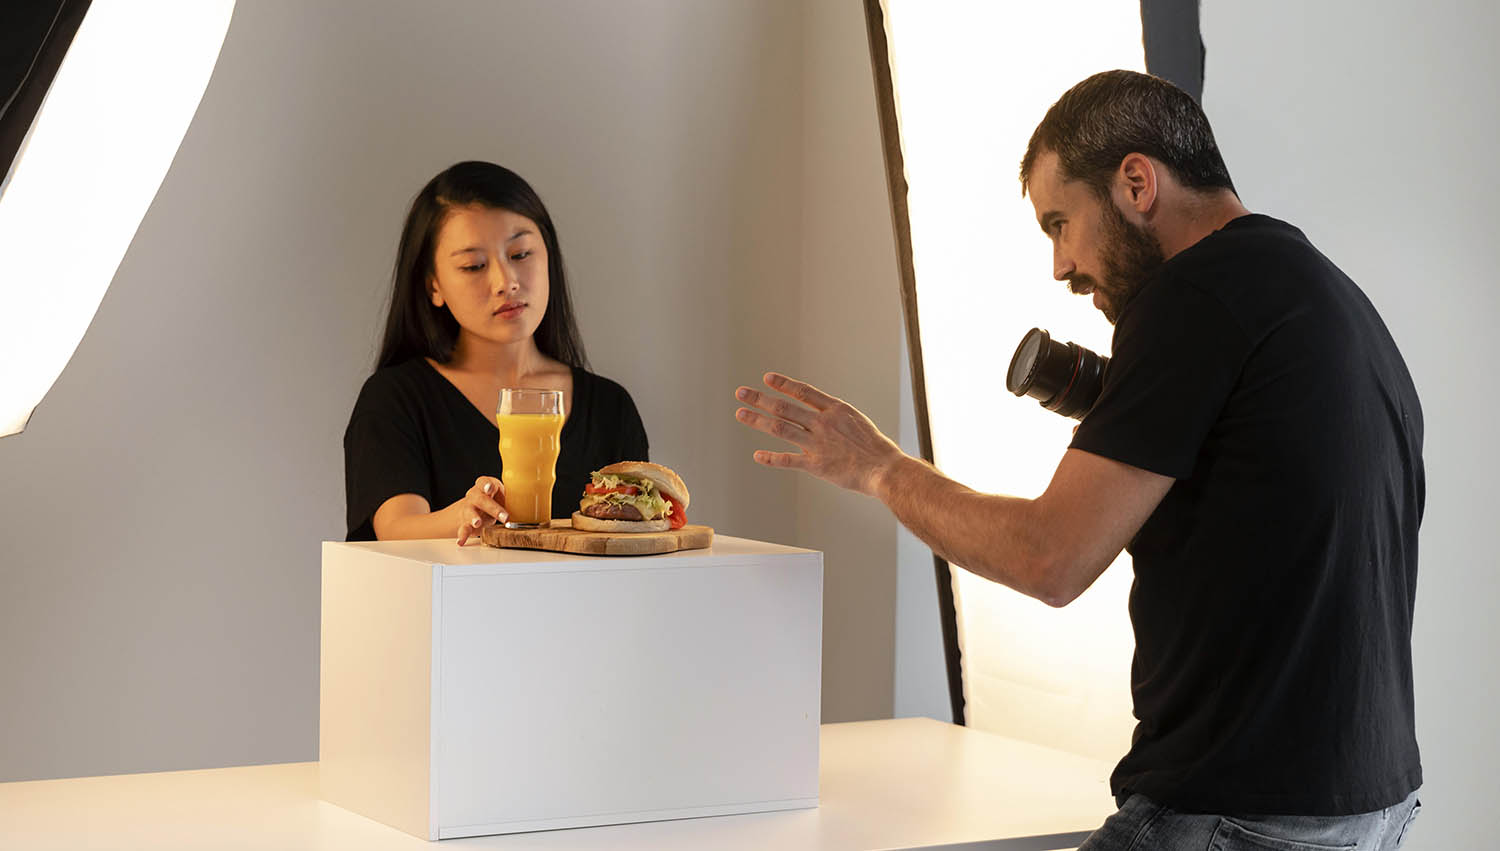 Pay attention to product positioning[/caption]
Also Read This: Design Baseball Cards Using Canva Baseball Card Template
Use a high-quality:
Using a high-quality camera is essential for capturing professional-quality product photos. Here are some tips for choosing and using a high-quality camera:
- Choose a camera with a high resolution: Look for a camera with a high resolution (at least 12 megapixels) to capture every detail of your product.
- Use a tripod: Using a tripod can help keep your camera steady and reduce the risk of blurry photos.
- Use the right lens: Use a lens that is appropriate for the type of product you are photographing. A macro lens is great for capturing small details, while a wide-angle lens can be used to capture a larger scene.
- Shoot in RAW format: Shooting in RAW format allows for more flexibility when editing your photos and can help you achieve better image quality.
- Use manual settings: Manual settings give you more control over your camera's settings and can help you achieve the best possible results. Experiment with different settings to find what works best for your product.
- Shoot in natural light: Natural light is ideal for product photography, so try to shoot in a well-lit area near a window or outside if possible.
Remember, using a high-quality camera is just one aspect of capturing professional-quality product photos. Proper lighting, composition, and editing are also important factors that contribute to the overall quality of your photos. Here's a video offering valuable insights: "Enhance Your Product Photography with These 10 Tips."
Also Read This: Step by Step Guide to Breakdance Moves for Beginners on Dailymotion
Pros and Cons
Pros:
- Organization: Structures allow for the organization of related data into a single unit, making it easier to manage and access.
- Efficiency: Using structures can lead to faster and more efficient code, as data can be accessed and manipulated in a single step.
- Flexibility: Structures can be used to create custom data types, which can be tailored to specific needs or requirements.
- Readability: Well-designed structures can make code more readable and easier to understand, especially for other programmers.
Also Read This: Understanding Why YouTube Disables Your Comments and How to Fix Comment Section Issues
Cons:
- Complexity: Using structures can make code more complex, especially if the structures themselves are complex or require nested structures.
- Memory usage: Structures can take up more memory than individual variables, especially if they contain a lot of data.
- Debugging: Debugging code that uses structures can be more difficult, as it may require tracing through multiple levels of nested structures.
Overuse: Overusing structures can lead to bloated code and decreased performance, especially if the structures are not designed efficiently.
[caption id="attachment_192521" align="alignnone" width="1500"] Pros and Cons[/caption]
Also Read This: How to Obtain Getty Images Without Watermarks Legally
Conclusion
In conclusion, there are several important factors to consider when shooting professional-quality product photos. These include proper lighting, composition, product positioning, the use of props, and editing. Using a high-quality camera and lens, shooting in RAW format, and using manual settings can also help you achieve better image quality. It's important to experiment with different techniques and settings to find what works best for your product and brand. With the right techniques and equipment, you can create visually appealing product photos that showcase your products in the best possible way and help drive sales for your business.
FAQs
What equipment do I need to shoot professional-quality product photos?
To shoot professional-quality product photos, you will need a camera with manual controls, a tripod, lighting equipment, and a backdrop or set. You may also need props, such as stands or clamps, to hold the product in place.
What are some tips for lighting product photos?
Lighting is critical for product photography. Use diffused lighting to reduce harsh shadows and even out the light across the product. You can use natural light or artificial light, such as studio lights or light boxes.
How can I create a professional-looking backdrop for product photos?
A plain white or neutral-colored backdrop is a classic choice for product photography. You can use a roll of seamless paper, a fabric backdrop, or a plain wall or table. Make sure the backdrop is clean and free of distracting elements.
How do I make the product look its best in the photo?
Clean the product thoroughly and make sure it is in good condition. Position the product at an angle that highlights its best features and use props or stands to hold it in place.
Should I shoot in RAW or JPEG format for product photography?
It is generally recommended to shoot in RAW format for product photography, as RAW files contain more image data and give you greater flexibility in post-processing. However, shooting in JPEG format may be sufficient if you are happy with the results straight out of the camera.
What are some common mistakes to avoid when shooting product photos?
Common mistakes to avoid when shooting product photos include using poor lighting, failing to clean the product thoroughly, and using distracting or unprofessional backgrounds. Make sure to also pay attention to composition and framing to make the product stand out.