
Introduction
The world of stock photography offers a lucrative opportunity for photographers to monetize their creative talent, and iStock is a leading platform in this industry. If you're eager to sell your photos on iStock, this comprehensive guide will provide you with the essential information you need to become a successful iStock contributor. We'll explore the intricacies of iStock's contributor program, the image submission process, and the steps involved in setting up your account. Additionally, we'll cover important aspects like photo preparation, pricing, marketing strategies, and tips for achieving long-term success. Prepare to embark on an exciting journey into the world of iStock photography and unleash your earning potential.
Also Read This: Understanding User Frustrations with YouTube
Understanding iStock and its Contributor Program
iStock is a renowned stock photography platform that connects photographers with potential buyers seeking high-quality images for various purposes. As an iStock contributor, you can showcase and sell your photographs to a wide range of customers, including businesses, designers, marketers, and content creators.
Explanation of iStock's contributor program and its benefits
The iStock contributor program provides a platform for photographers to monetize their work by licensing their photos to customers worldwide. By joining this program, you gain access to a vast customer base and the potential to earn a passive income from your images.
Benefits of becoming an iStock contributor include:
- Global Reach: iStock's extensive network allows your photos to reach customers worldwide, increasing the chances of sales and exposure.
- Income Opportunities: You earn royalties every time your photo is licensed, providing a potential source of passive income.
- Flexible Work Environment: As an iStock contributor, you have the freedom to work on your own terms, uploading photos at your convenience.
- Exposure and Recognition: iStock provides a platform to showcase your work and gain recognition in the photography community.
Requirements and eligibility criteria for joining iStock as a contributor
To become an iStock contributor, you must meet certain requirements and eligibility criteria, which typically include:
- Age: You must be at least 18 years old to participate in the iStock contributor program.
- Legally Valid Identification: iStock requires contributors to submit valid identification documents to verify their identity and eligibility.
- Quality Standards: Your photos must meet iStock's quality standards, which include technical aspects such as resolution, focus, lighting, and composition.
- Model and Property Releases: If your photos include recognizable people or private property, you will need signed model or property releases.
- Exclusive vs. Non-Exclusive: iStock allows you to choose between an exclusive or non-exclusive contributor agreement, depending on your preferences.
Overview of the submission process and image guidelines
Submitting your photos to iStock involves a straightforward process, which typically includes the following steps:
- Image Selection: Carefully curate and select the photos you wish to submit. Choose high-quality images that are unique, visually appealing, and have market potential.
- Upload and Metadata: Use iStock's contributor portal to upload your images and provide essential metadata, including titles, descriptions, and relevant keywords. This information helps customers find your photos through search queries.
- Review Process: After submission, your images go through a review process conducted by iStock's team of experts. They assess your images for quality, technical aspects, and compliance with iStock's guidelines.
- Approval and Licensing: If your images pass the review process, they will be approved and made available for licensing on the iStock platform. Customers can purchase licenses to use your photos for their specific needs.
Understanding iStock's submission process and adhering to their image guidelines is crucial for maximizing your chances of approval and ensuring a seamless experience as an iStock contributor.
[caption id="attachment_185398" align="alignnone" width="2560"] Understanding iStock and its Contributor Program[/caption]
Also Read This: How to Unban Your Telegram Account with Effective Solutions
Preparing Your Photos for iStock
Selecting the right photos to sell on iStock
- Market Research: Conduct research on iStock to understand the types of photos that are in demand. Analyze popular categories, themes, and styles to guide your selection process.
- Unique and Marketable Content: Focus on capturing images that stand out and have market potential. Look for subjects or concepts that are in demand but not oversaturated in the iStock marketplace.
- High-Quality Standards: Ensure that your photos meet iStock's quality requirements. Pay attention to factors such as sharpness, exposure, color accuracy, and overall technical excellence.
Enhancing and editing your photos for optimal quality
- Basic Adjustments: Make necessary adjustments to improve the overall quality of your photos. This may include cropping, straightening, and adjusting exposure, contrast, and saturation levels.
- Noise Reduction and Sharpening: Utilize noise reduction techniques to minimize grain or digital noise in your images. Apply selective sharpening to enhance details and make your photos visually appealing.
- Color Correction and White Balance: Correct any color cast or imbalance in your photos to ensure accurate and natural-looking colors. Adjust white balance to eliminate unwanted color tints.
- Retouching and Cleanup: Remove distractions, blemishes, or other imperfections from your photos using appropriate retouching techniques. However, avoid excessive manipulation that may compromise the integrity of the image.
Understanding copyright and licensing requirements
- Ownership and Copyright: Ensure that you have the legal rights to sell the photos you submit. Only submit photos that you own the copyright to, or for which you have obtained the necessary permissions and releases.
- Model and Property Releases: If your photos include recognizable people or private property, obtain signed model or property releases. This ensures that you have the legal authority to license those images for commercial use.
- Intellectual Property and Trademarks: Avoid including any copyrighted logos, trademarks, or intellectual property in your photos. This includes brand names, recognizable artwork, and recognizable buildings or landmarks.
- Editorial vs. Commercial Content: Understand the distinction between editorial and commercial content. Editorial photos may have certain restrictions regarding their usage and require additional information or context.
By carefully selecting, enhancing, and complying with copyright and licensing requirements, you can ensure that your photos are ready for submission to iStock. Investing time and effort in preparing your photos will increase their marketability and improve your chances of success as an iStock contributor.
[caption id="attachment_185399" align="alignnone" width="1500"] Preparing Your Photos for iStock[/caption]
Also Read This: Finding iStock Images A Beginnerâs Search Guide
Registering and Setting Up an iStock Contributor Account
To become an iStock contributor and start selling your photos on the platform, you need to register and set up an iStock contributor account. Follow these steps to get started:
- Visit the iStock Website: Go to the iStock website (https://www.istockphoto.com/) using your preferred web browser.
- Navigate to the Contributor Page: Locate the "Sell Images" or "Contributor" link on the iStock homepage. Click on it to access the contributor section.
- Sign Up or Log In: If you're a new user, click on the "Sign Up" or "Join Now" button to create your iStock contributor account. If you already have an account, log in using your existing credentials.
- Complete the Registration Form: Fill out the registration form with the required information. This typically includes your name, email address, username, and password. Read and accept the terms and conditions.
- Verify Your Email: After submitting the registration form, check your email inbox for a verification email from iStock. Click on the verification link provided to confirm your email address.
- Set Up Your Contributor Profile: Once your email is verified, you'll be directed to set up your contributor profile. Provide additional details, such as your bio, location, and any relevant photography credentials or experience.
- Personalize Your Portfolio: Customize your portfolio by adding a profile picture or logo, creating a bio that showcases your photography style or expertise, and selecting a cover image that represents your work.
- Legal Agreements: Review and agree to the legal agreements and terms specific to iStock's contributor program. These agreements outline the rights and responsibilities of both iStock and contributors.
- Tax and Payment Information: Provide your tax and payment details in order to receive earnings from iStock. This may include your tax identification number and preferred payment method.
- Submit Identification Documents: iStock may require you to submit valid identification documents for verification purposes. This is to ensure compliance with legal and regulatory requirements.
- Explore Training and Resources: Take advantage of iStock's training materials, tutorials, and resources to further enhance your understanding of the platform and improve your chances of success as a contributor.
Once you have completed these steps, you'll be officially registered as an iStock contributor. You can then proceed to upload and submit your photos for review and licensing. Remember to regularly update your contributor profile and portfolio to attract potential buyers and maximize your earning potential on iStock.
[caption id="attachment_185400" align="alignnone" width="1500"] Registering and Setting Up an iStock Contributor Account[/caption]
Also Read This: Quick and Simple Tutorials for Creating Bun Hairstyles
Uploading and Submitting Photos to iStock
Uploading and submitting your photos to iStock is a straightforward process. Follow these steps to ensure a smooth submission:
- Access the iStock Contributor Portal: Log in to your iStock contributor account and navigate to the contributor portal. This is where you manage your portfolio and upload your photos.
- Prepare Your Photos: Ensure that your photos meet iStock's submission requirements. This includes technical specifications such as file format, resolution, and file size. Review iStock's guidelines for any specific image criteria.
- Select the Upload Option: In the contributor portal, locate the option to upload your photos. Depending on the portal's design, you may find a button or link that says "Upload" or "Submit Photos."
- Choose Individual or Batch Upload: iStock provides options for individual or batch uploads. Individual uploading allows you to add metadata for each photo individually, while batch uploading allows you to upload multiple photos at once.
- Select Your Photos: Use the file browser within the uploader to select the photos you want to submit. You can typically select multiple photos by holding the Ctrl or Shift key while clicking on the files.
- Upload Progress: Once you've chosen your photos, the uploader will display the progress of the upload. This may take some time depending on the file sizes and your internet connection. Avoid closing the browser or navigating away until the upload is complete.
- Add Metadata: After the upload is complete, you'll need to add metadata to your photos. This includes providing titles, descriptions, and relevant keywords. Accurate and descriptive metadata improves the discoverability of your photos.
- Model and Property Releases: If your photos feature recognizable people or private property, ensure you have the necessary model or property releases. Upload these releases along with your photos, if required.
- Review Your Submission: Before finalizing the submission, review the uploaded photos and associated metadata for accuracy and completeness. Make any necessary adjustments or corrections.
- Submit for Review: Once you're satisfied with the photos and metadata, submit them for review by iStock's team. Depending on the volume of submissions, the review process may take some time.
- Monitor the Review Process: Keep an eye on your contributor portal for updates on the review process. iStock will notify you regarding the status of your submissions, whether they are approved or require further modifications.
- Post-Approval Management: If your photos are approved, they will become available for licensing on iStock. Regularly monitor your contributor account to track sales, make updates to your portfolio, and manage your licensed images.
By following these steps, you can effectively upload and submit your photos to iStock. Remember to adhere to iStock's guidelines and provide accurate and relevant metadata to increase the chances of your photos being approved and attracting potential buyers.
[caption id="attachment_185401" align="alignnone" width="2560"]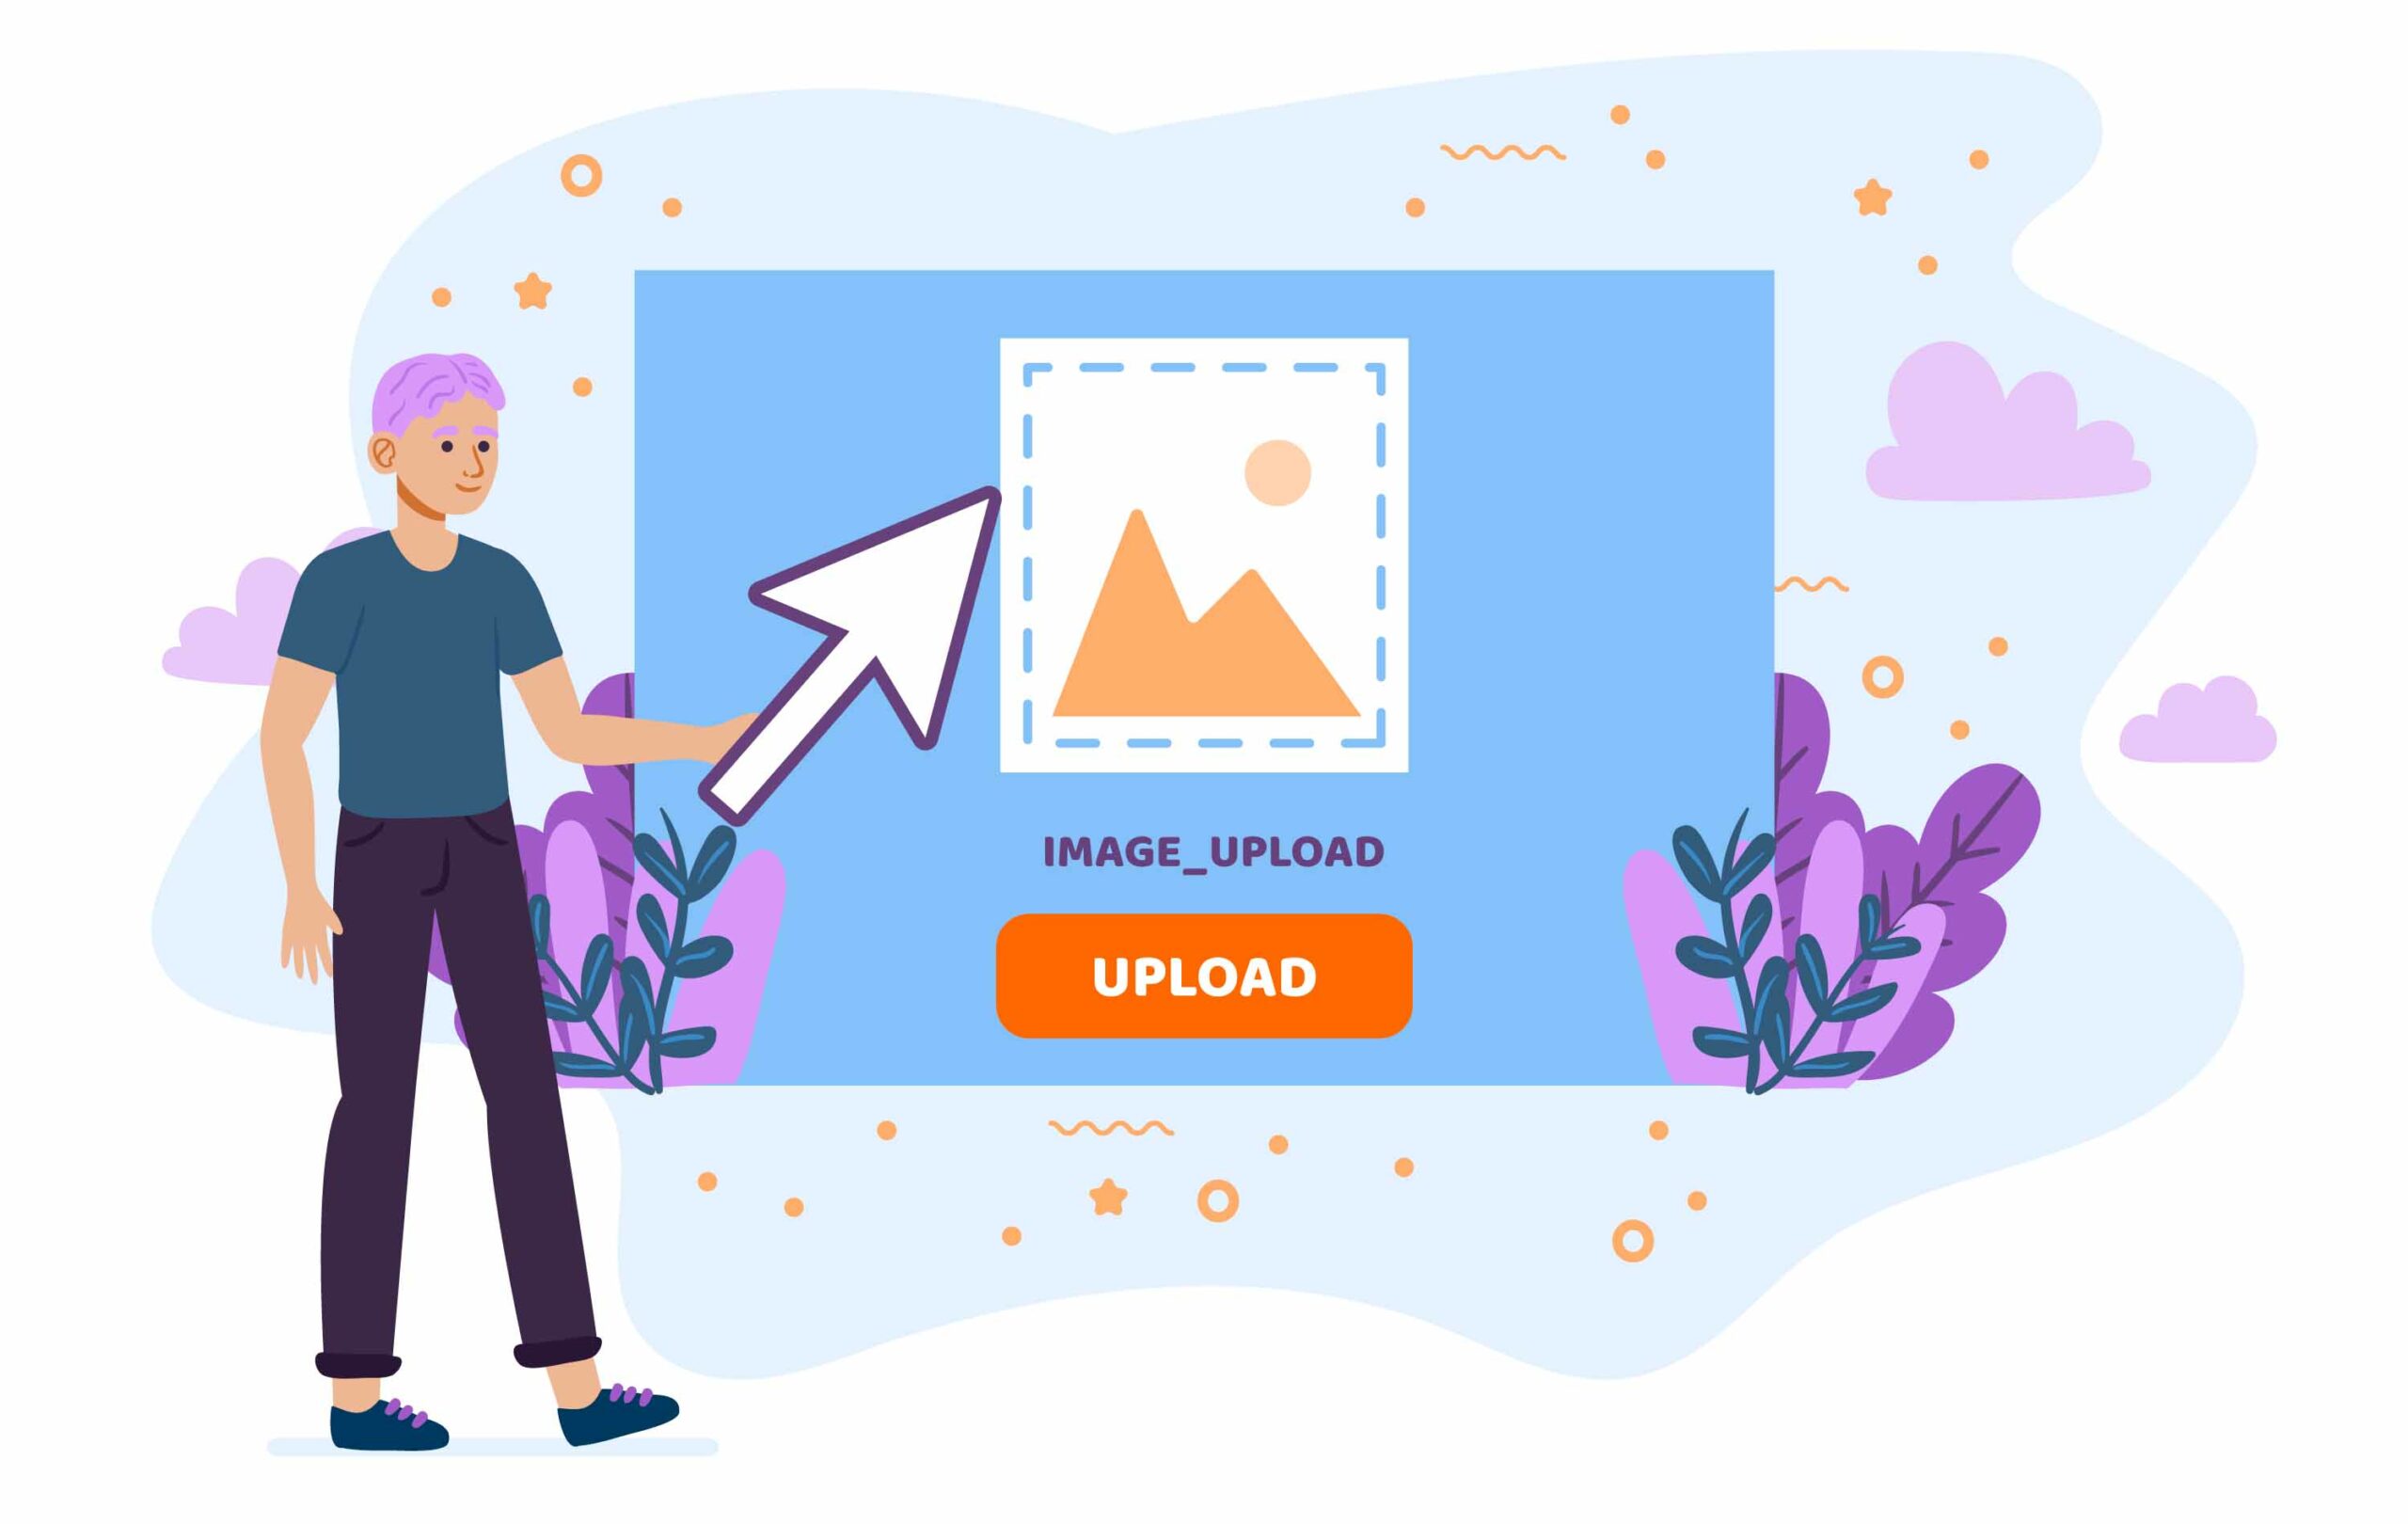 Uploading and Submitting Photos to iStock[/caption]
Also Read This: Discovering the Most Popular YouTube Shorts
Review Process and Approval Guidelines
Once you've submitted your photos to iStock, they undergo a review process conducted by iStock's team of experts. Understanding the review process and approval guidelines is crucial for increasing your chances of having your photos approved for licensing. Here's what you need to know:
Review Process:
- Initial Review: After submission, your photos go through an initial review where they are assessed for technical quality, composition, and adherence to iStock's guidelines.
- Technical Evaluation: iStock's team examines technical aspects such as focus, exposure, noise levels, and color accuracy. They ensure that your photos meet the required technical standards.
- Compliance Check: The team checks for compliance with iStock's guidelines, including image content, copyright and legal requirements, model and property releases (if applicable), and avoidance of intellectual property violations.
Approval Guidelines:
- Technical Quality: Your photos must demonstrate technical excellence. They should be sharp, properly exposed, and free of significant noise or artifacts. Pay attention to details like composition, lighting, and focus.
- Market Demand: iStock seeks images that have market potential and cater to the needs of their customer base. Consider popular themes, current trends, and subjects that are in demand when selecting and submitting your photos.
- Unique and Original Content: iStock values unique and original content that stands out from the competition. Avoid submitting images that are too similar to existing content on iStock or that can be easily replicated.
- Commercial Viability: iStock is primarily a commercial stock photography platform. Ensure that your photos have commercial appeal and can be used by businesses, advertisers, designers, and other customers for commercial purposes.
- Legal and Copyright Compliance: Your photos should not infringe upon any copyrights, trademarks, or intellectual property rights. If your images feature recognizable people or private property, ensure you have the necessary model or property releases.
Rejection and Resubmission:
- Rejection Reasons: If your photos are rejected, iStock will provide you with specific reasons for the rejection. Common reasons include technical issues, lack of market appeal, insufficient quality, or non-compliance with guidelines.
- Learning from Rejections: Use the feedback provided by iStock to improve your photography skills and understand the areas that need attention. Consider the reasons for rejection and make necessary adjustments for future submissions.
- Resubmission: If your photos are rejected, you have the opportunity to make improvements and resubmit them for review. Take the feedback into account, make necessary changes, and submit your improved versions.
It's important to note that the review process may vary in duration, depending on the volume of submissions. Patience is key during this phase. Continuously work on improving your photography skills, understanding market trends, and meeting iStock's quality standards to increase your chances of approval.
By understanding the review process and following iStock's approval guidelines, you can enhance the quality and marketability of your photos, increasing the likelihood of successful approval and licensing on iStock.
[caption id="attachment_185402" align="alignnone" width="1500"] Review Process and Approval Guidelines[/caption]
Also Read This: Is Depositphotos.com a Trustworthy Stock Photo Service?
Pricing and Earnings on iStock
Understanding the pricing structure and potential earnings on iStock is essential for maximizing your revenue as an iStock contributor. Here's an overview of how pricing works and how you can earn money on the platform:
Pricing Model:
- Royalty-Free (RF): iStock operates on a royalty-free pricing model, which means customers pay a one-time fee to license and use your photos without any additional recurring charges.
- Standard License: The standard license is the most common type of license on iStock. It allows customers to use your photos for a wide range of purposes, such as websites, marketing materials, and print media, with certain restrictions.
- Extended License: iStock also offers extended licenses, which provide customers with additional usage rights. This includes uses that are more extensive or have higher visibility, such as in merchandise or broadcast.
Earnings Structure:
- Royalties: As an iStock contributor, you earn royalties based on the licensing fees for your photos. iStock offers a tiered royalty structure, which means your earnings increase as you achieve higher sales volumes or move up the contributor levels.
- Exclusive vs. Non-Exclusive: iStock provides an option to become an exclusive contributor, meaning you sell your photos exclusively through iStock. Exclusive contributors generally earn higher royalties compared to non-exclusive contributors.
- Contributor Levels: iStock has different contributor levels based on your sales and performance. Higher levels come with increased benefits, such as higher royalties and enhanced visibility for your photos.
Determining Pricing:
- iStock sets the pricing for licensing your photos based on various factors, including image size, license type, and the customer's usage requirements. iStock has a pricing calculator that you can use to estimate the pricing for your images.
- iStock periodically reviews and adjusts their pricing structure to align with market demands and industry standards. Keep an eye on updates from iStock regarding pricing changes and adjustments.
Earnings Potential:
- Earnings per Download: Your earnings per download depend on various factors, such as the license type, your contributor level, and whether you're an exclusive or non-exclusive contributor. Higher-level contributors and exclusive contributors generally earn higher royalties per download.
- Sales Volume: Your overall earnings on iStock depend on the number of downloads your photos receive. The more your photos are licensed, the greater your earning potential.
- Marketing and Promotion: Actively promoting your portfolio and attracting potential customers can boost your sales volume and earnings. Utilize social media, your personal website, and other channels to showcase and market your iStock portfolio.
- Consistency and Quality: Maintaining a consistent stream of high-quality, marketable photos on iStock can lead to increased downloads and earnings over time. Regularly add new content and improve your skills to attract more customers.
Payment and Payouts:
- Payment Schedule: iStock operates on a monthly payment schedule. You'll receive your earnings for a given month in the following month, usually around the 15th.
- Payment Methods: iStock offers various payment methods, including PayPal, Payoneer, and Skrill. Select the payment method that suits you best during the setup process.
- Payment Threshold: There is a minimum earnings threshold you must reach before receiving a payout. This threshold varies based on your chosen payment method.
Understanding the pricing structure, earning potential, and payment process on iStock allows you to set realistic expectations and develop strategies to maximize your earnings. By consistently uploading high-quality content, marketing your portfolio, and staying engaged with the iStock community, you can increase your chances of generating a steady income from your photos on iStock.
[caption id="attachment_185403" align="alignnone" width="1500"] Pricing and Earnings on iStock[/caption]
Marketing and Promoting Your iStock Portfolio
Marketing and promoting your iStock portfolio is essential for increasing your visibility, attracting potential customers, and maximizing your sales potential. Here are some effective strategies to market and promote your iStock portfolio:
Optimize Your Portfolio:
- Select your Best Images: Showcase your best and most marketable images in your iStock portfolio. Quality matters, so focus on photos that are technically excellent, visually appealing, and aligned with market trends.
- Categorize and Tag: Organize your images into relevant categories and add accurate and descriptive keywords. This helps customers find your photos through iStock's search functionality and improves their discoverability.
- Create Engaging Titles and Descriptions: Craft compelling titles and descriptions for your images. Use keywords strategically while maintaining clarity and conciseness.
Leverage Social Media:
- Share on Social Platforms: Utilize social media platforms such as Instagram, Facebook, Twitter, and Pinterest to showcase your iStock portfolio. Share previews of your images, behind-the-scenes content, and updates about your latest work.
- Engage with the Photography Community: Interact with fellow photographers, influencers, and potential customers in the photography community. Participate in discussions, share tips, and provide value to build relationships and gain exposure.
Build a Personal Website or Blog:
- Create a Professional Website: Establish a personal website or blog to showcase your portfolio and provide additional information about your photography services. Customize it with your branding and optimize it for search engines.
- Blog about Photography Topics: Write informative and engaging blog posts about photography-related topics, sharing your expertise and insights. This can attract visitors to your website and help establish your authority as a photographer.
Collaborate and Network:
- Collaborate with Other Creatives: Collaborate with other photographers, models, stylists, and artists on joint projects. This allows you to expand your network, create diverse content, and tap into their audience.
- Attend Events and Workshops: Participate in photography events, workshops, and conferences to network with industry professionals and enthusiasts. This can lead to valuable connections and exposure for your work.
Engage with the iStock Community:
- Participate in Forums and Discussions: Engage with the iStock community by participating in forums, discussions, and groups. Share your knowledge, seek feedback, and connect with fellow contributors and customers.
- Take Advantage of iStock Features: Utilize iStock's features like the "Editorial Focus" or "Trending Topics" to align your content with current trends and events. This can increase your chances of being noticed by customers.
Offer Special Promotions:
- Limited-Time Offers: Periodically offer limited-time promotions or discounts on your iStock portfolio to attract new customers or incentivize repeat purchases. Promote these offers through your marketing channels.
- Exclusive Content for Subscribers: Offer exclusive content or benefits to subscribers of your newsletter or mailing list. This encourages customer loyalty and gives them a reason to stay connected with your work.
Remember, consistency and quality are key. Regularly update your portfolio with fresh and relevant content, engage with your audience, and adapt your marketing strategies based on feedback and market trends. By actively promoting your iStock portfolio and building your brand as a photographer, you can increase your visibility and generate more sales on the platform.
Best Practices and Tips for Success on iStock
- Consistency in uploading new content and maintaining a diverse portfolio
- Keeping up with trends and customer demands in the stock photography market
- Seeking feedback and continuously improving your photography skills
[caption id="attachment_185404" align="alignnone" width="1500"] Marketing and Promoting Your iStock Portfolio[/caption]
Conclusion
In conclusion, becoming an iStock contributor and selling your photos on the platform can be a rewarding endeavor. By following the comprehensive guide we've provided, you can navigate the process of registering, preparing, uploading, and submitting your photos to iStock. Understanding the review process, approval guidelines, pricing structure, and marketing strategies will help you maximize your earnings and increase the visibility of your iStock portfolio.
Remember to continuously improve your photography skills, stay updated with market trends, and engage with the iStock community and broader photography networks. With dedication and persistence, you can establish a successful presence on iStock and turn your passion for photography into a lucrative venture.