Have you ever wanted to save your favorite YouTube videos directly to a USB drive? Whether it’s for offline viewing, sharing with friends, or simply to have a backup, downloading videos can be incredibly handy. In this guide, we’ll walk you through the steps to effortlessly save YouTube videos to your USB drive. So, let’s get started and make sure you have everything you need to dive into the world of offline video enjoyment!
Requirements for Saving YouTube Videos
Before you can start downloading your favorite YouTube videos, there are a few things you’ll need to gather. Let’s break it down into simple requirements:
- A Computer or Laptop: You’ll need a device with internet access to download videos from YouTube.
- Internet Connection: A stable internet connection is essential for downloading videos. Wi-Fi or wired connections are both fine!
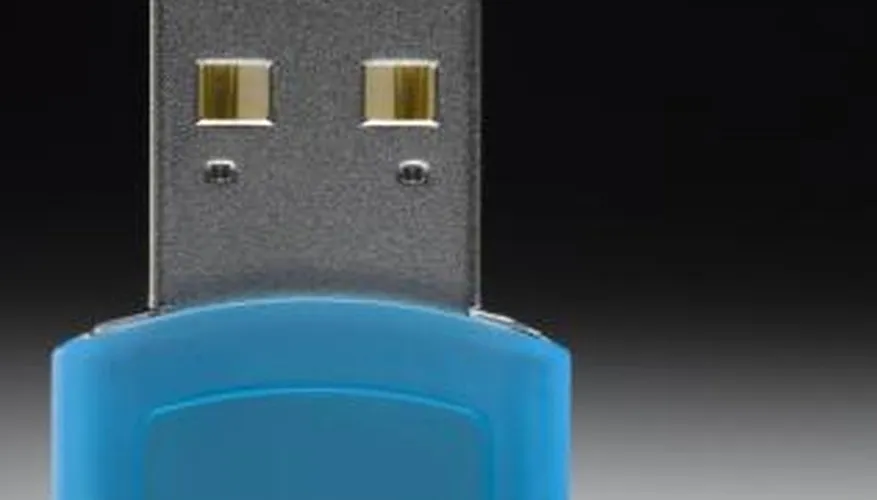
- USB Drive: Make sure you have a USB drive available, ideally with enough storage space for the videos you plan to download. A drive with at least 8GB should suffice for several videos.
- Video Downloading Software: You’ll need software that allows you to download YouTube videos. There are many free and paid options available, such as:
- 4K Video Downloader
- YTD Video Downloader
- Freemake Video Downloader
- ClipGrab
- File Format Compatibility: Ensure the downloaded video format is compatible with your USB drive. Common formats include MP4, AVI, and MKV.
Once you have these requirements in place, you’ll be all set to start saving YouTube videos directly to your USB drive!
Also Read This: Optimizing Performance: CDN for Flaticon
3. Step-by-Step Guide to Download YouTube Videos
Downloading YouTube videos might seem like a daunting task, but trust me, it’s easier than you think! Follow this simple step-by-step guide, and you’ll be saving those videos in no time.
Step 1: Choose Your Download Tool
First things first, you need to pick a video downloader. There are several options available, both online and offline. Here are a few popular choices:
- 4K Video Downloader
- YTD Video Downloader
- ClipGrab
- Online services like Y2Mate or SaveFrom.net
Step 2: Copy the Video URL
Next, head over to YouTube and find the video you want to download. Click on the share button below the video and copy the link from the pop-up window.
Step 3: Paste the URL into the Downloader
Open your chosen downloader and look for a text box where you can paste the URL. Simply right-click and select 'Paste' or use Ctrl+V (Cmd+V on Mac) to insert the link.
Step 4: Select the Format and Quality
Most downloaders allow you to choose the video format (like MP4, AVI, etc.) and the quality (720p, 1080p, etc.). Pick the options that suit your needs.
Step 5: Hit the Download Button
Finally, click the download button and watch the magic happen! Your video will begin downloading, and once it's finished, you'll find it in your designated download folder.
Also Read This: Edit Templates with Ease Using Canva Edit Template
4. Transferring Downloaded Videos to USB Drive
So, you’ve downloaded your favorite YouTube videos—great! Now, let’s talk about how to transfer those videos to your USB drive. This process is a breeze, and I’ll guide you through it step by step.
Step 1: Insert Your USB Drive
Start by plugging your USB drive into an available USB port on your computer. Make sure it’s recognized by your system. You can check this by looking for the USB drive icon in “My Computer” or “This PC.”
Step 2: Locate Your Downloaded Videos
Open the folder where your downloaded videos are stored. Typically, this will be in the “Downloads” folder unless you specified a different location during the download process.
Step 3: Copy the Videos
Select the videos you want to transfer. You can do this by clicking on the files while holding down the Ctrl key (Cmd key on Mac) for multiple selections. Once selected, right-click and choose “Copy.”
Step 4: Open Your USB Drive
Now, navigate back to “My Computer” or “This PC,” and double-click on your USB drive to open it. You should see a blank screen or any existing files you may have stored there.
Step 5: Paste the Videos
Right-click in the USB drive window and select “Paste.” Your videos will start transferring, and you can monitor the progress. Depending on the size of the files, this might take a few moments.
Step 6: Eject the USB Drive
Once the transfer is complete, don’t forget to safely eject your USB drive. You can do this by right-clicking the USB icon in the taskbar and selecting “Eject.”
And voila! You’ve successfully transferred your downloaded YouTube videos to your USB drive, ready to be watched anywhere you like!
Also Read This: How to Change Your Email ID on LinkedIn
5. Alternative Methods for Saving Videos to USB
While downloading videos directly from YouTube to a USB drive is a straightforward method, there are several alternative approaches that might suit your needs better. Let’s dive into some of these methods!
- Screen Recording: If you're unable to download a video directly, consider using screen recording software. Many computers come pre-installed with tools like Xbox Game Bar for Windows or QuickTime for Mac, which allow you to record your screen. Simply play the video, hit record, and save the output directly to your USB drive.
- Using Online Downloaders: Websites like Y2Mate or SaveFrom.net allow you to paste the URL of the YouTube video and download it to your computer. Once downloaded, you can easily transfer the file to your USB drive. Just remember to use these sites responsibly and respect copyright laws.
- Browser Extensions: There are numerous browser extensions available that enable you to download YouTube videos directly. Extensions like Video DownloadHelper or YouTube Video Downloader can be added to your browser, making it seamless to download videos for later transfer to your USB.
- Using VLC Media Player: If you’re familiar with VLC, it’s a powerful tool that can also download YouTube videos. You just need to copy the video URL, open VLC, go to “Media,” and select “Open Network Stream.” Once the video plays, you can convert and save it directly to your USB drive.
- Using Command-Line Tools: For those who are a bit tech-savvy, tools like youtube-dl can be used from the command line to download videos directly to a USB drive. While this method may seem intimidating, it’s very efficient for bulk downloads.
These alternative methods can provide flexibility and convenience depending on your preferences and tech-savviness. Just make sure to check the legality of downloading content before proceeding!
6. Conclusion
In today’s digital age, having the ability to save YouTube videos directly to a USB drive is a fantastic way to enjoy your favorite content offline. Whether you're a student looking to save lectures, a traveler wanting entertainment on the go, or just someone who enjoys collecting videos, knowing the right methods can make your life easier.
We’ve discussed various approaches, from direct downloads to alternative methods like screen recording and using browser extensions. Each method offers its own set of benefits, so you can choose the one that best fits your needs. Just remember to respect copyright laws and ensure you have permission to download content when applicable.
So, grab your USB drive and start saving those videos! With the right tools and knowledge, you can create your personal library of YouTube videos in no time. Happy downloading!