Welcome to the world of video editing! If you're a beginner looking to enhance your YouTube videos, you’ve come to the right place. iMovie is a fantastic tool that makes the editing process straightforward and enjoyable. In this guide, we’ll explore the benefits of using iMovie and provide you with easy-to-follow tips on how to get started with adding your videos. Let’s dive in!
Why Use iMovie for Video Editing?
iMovie is an excellent choice for beginners who want to create polished videos without a steep learning curve. Here are several reasons why iMovie stands out:
- User-Friendly Interface: iMovie is designed with simplicity in mind. The layout is intuitive, allowing you to navigate through tools easily, even if you’ve never edited a video before.
- Seamless Integration: If you’re using a Mac or an iOS device, iMovie integrates effortlessly with your existing Apple ecosystem. You can start editing on one device and continue on another without a hitch.
- High-Quality Output: iMovie supports 4K video editing, which means you can create stunning, high-resolution content for your YouTube channel. Your audience will appreciate the clarity!
- Variety of Templates and Themes: With a wide range of templates, themes, and transitions, iMovie allows you to add a professional touch to your videos quickly. This can be especially helpful for creating engaging introductions or closing segments.
- Easy Audio Editing: Adding music or voiceovers is a breeze. You can adjust sound levels, add effects, and sync audio with your visuals effortlessly.
In summary, iMovie is perfect for beginners due to its user-friendly design, high-quality output, and extensive features that cater to all your basic editing needs. Happy editing!
Also Read This: Exploring Adobe Stock from InDesign to Discover the Ideal Visuals
Preparing Your YouTube Video for iMovie
Before you dive into iMovie, it's essential to get your YouTube video ready. This preparation can make the editing process smoother and more efficient. Here are some crucial steps to consider:
- Choose the Right Video Format: iMovie supports various formats, but the most common and compatible format is MP4. Ensure your YouTube video is downloaded in MP4 format for seamless integration.
- Trim Unnecessary Parts: If your video includes lengthy intros or outros, consider trimming them before importing. This way, you’ll save time and keep your project focused.
- Check Video Quality: High-definition (HD) videos (720p, 1080p) look significantly better in iMovie. Make sure your YouTube video is of good quality; otherwise, it might not do justice to your edits.
- Organize Your Files: Create a dedicated folder on your computer for the project. Include your YouTube video, any additional audio files, images, or elements you plan to use.
- Make Necessary Adjustments: Adjust the video's brightness and contrast using video editing software before importing it into iMovie to set a strong foundation for your editing process.
By prepping your YouTube video carefully, you can ensure a smoother workflow in iMovie, allowing you to focus on creativity rather than technical issues.
Also Read This: Changing Your Foap Username: A Quick How-To Guide
Steps to Import YouTube Video into iMovie
Now that you’ve prepared your video, let’s walk through the steps to import it into iMovie. This process is straightforward and will have you editing in no time!
- Open iMovie: Start by launching the iMovie application on your Mac. You’ll be greeted with a clean interface ready for your creativity.
- Create a New Project: Click on the “Create New” button, then select “Movie.” This will open a new project window where you can start your editing journey.
- Import Your Video: Click on the “Import Media” button located in the toolbar. A new window will pop up. Navigate to the folder where you saved your YouTube video and select it.
- Drag and Drop: Alternatively, you can simply drag your YouTube video file into the iMovie project from your folder. This method is often quicker and more intuitive.
- Confirm Import: Once the video appears in the media section of iMovie, you’re good to go! Double-check to ensure the video is imported correctly and is ready for editing.
And just like that, you’ve successfully imported your YouTube video into iMovie! Now you can explore all the fun editing features to make your video shine.
Also Read This: How to Remove Getty Images Watermark on Tumblr
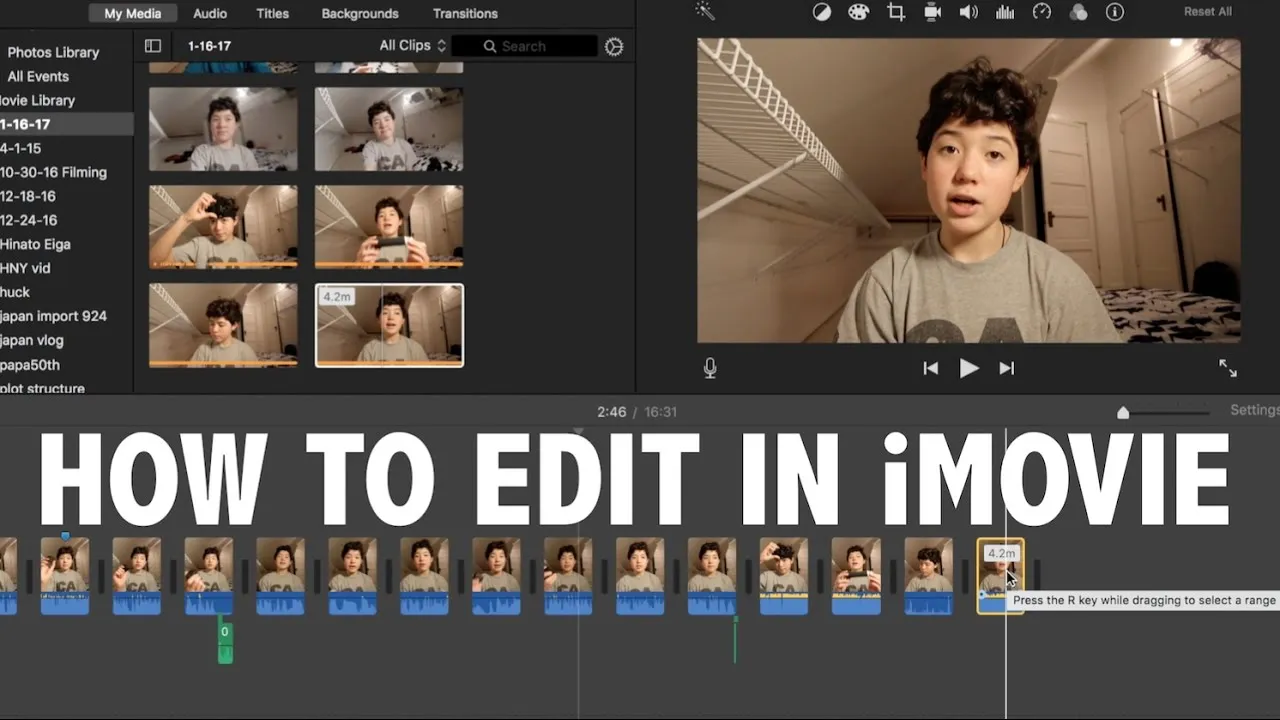
5. Editing Your YouTube Video in iMovie
Editing your YouTube video in iMovie can seem daunting at first, but it’s a straightforward process that opens up a world of creative possibilities. Once you’ve imported your video, it’s time to make it shine!
Here are some essential editing tips:
- Trim Clips: You can cut out unnecessary sections by selecting the clip and dragging the edges to the desired length. This helps keep your video engaging and concise.
- Add Transitions: Smooth transitions between clips enhance the flow of your video. Go to the Transitions tab and drag your favorite transition onto the timeline between two clips.
- Incorporate Text: Want to add titles or captions? Click on the Titles tab, choose a style, and drag it onto your timeline. Customize the text to fit your theme!
- Enhance Audio: Good audio is crucial! Use the Audio Adjustments tool to balance background music and voiceover. Don't forget to check the audio levels to avoid jarring shifts!
- Color Correction: Brighten up your footage with color correction. Click on a clip, select Color Correction, and adjust the sliders until you achieve the perfect look.
With these tips, your YouTube video will have a professional touch, making it more appealing to viewers!
Also Read This: Understanding the Science of Ear Rumbling and Its Frequency Among People
6. Exporting Your Final Video
After pouring your creativity into editing, it’s time to export your final video. This step is crucial to ensure your masterpiece is ready for YouTube!
Follow these simple steps to export your video:
- Click on “File”: Start by clicking on the File menu at the top left of your screen.
- Select “Share”: In the dropdown, choose the Share option.
- Choose “File”: Here, you can export your video to a file format suitable for YouTube. Select File.
- Adjust Settings: A new window will pop up. Here you can select Resolution, Quality, and Compress options. For YouTube, a resolution of 1080p is typically ideal.
- Name Your File: Give your video a catchy name to attract viewers!
- Click “Next”: Choose where to save your video and hit Save.
Once the export is complete, you’re ready to upload your video to YouTube! Congratulations on taking your first steps into video editing!
Easy Editing Tips for Beginners to Add a YouTube Video to iMovie
iMovie is a user-friendly video editing software available on macOS and iOS, making it an excellent choice for beginners looking to create and edit videos. Adding a YouTube video to your iMovie project can enhance your content, providing valuable visual elements. Here are some easy editing tips to help you get started:
Step-by-Step Guide to Add a YouTube Video to iMovie
- Download the YouTube Video: Before you can add a YouTube video to iMovie, you need to download it. Use a reliable online downloader or a dedicated application to save the video in a compatible format (preferably .mp4).
- Open iMovie: Launch iMovie on your Mac. If you don't have it, download it from the App Store.
- Create a New Project: Click on "Create New" and select "Movie" to start a new project.
- Import the Video: Click on the "Import Media" button, locate the downloaded YouTube video, and import it into your iMovie library.
- Add the Video to the Timeline: Drag the video from the library to the timeline at the bottom of the screen. This is where you’ll arrange your clips.
- Edit Your Video: Use the various editing tools available in iMovie, such as trimming, splitting, and adding transitions, to customize your video.
- Export Your Project: Once you're satisfied with your edits, click on the "File" menu, select "Share," and then "File" to export your finished video.
Editing Tips
- Utilize Keyboard Shortcuts: Familiarize yourself with iMovie keyboard shortcuts to speed up your editing process.
- Keep It Simple: Avoid overloading your video with effects; simplicity often leads to better engagement.
- Regularly Save Your Work: Make sure to save your project frequently to avoid losing any progress.
In conclusion, adding a YouTube video to iMovie is a straightforward process that can significantly enhance your projects. By following these easy editing tips, beginners can create polished videos that captivate their audience.