Uploading a video to YouTube using your iPhone is a straightforward process that empowers you to share your creativity with the world. Whether you're a budding vlogger, a passionate traveler, or simply want to showcase your latest project, your iPhone is a powerful tool at your disposal. In this guide, we’ll walk you through the steps to ensure a smooth uploading experience, helping you get your content out there quickly and easily.
Preparing Your Video for Upload
Before hitting that upload button, it’s essential to prepare your video for the best viewing experience. Here’s how to get your video ready:
- Choose the Right Format: Ensure your video is in a compatible format. The most commonly used formats are MP4, MOV, or AVI.
- Check Video Quality: You want your audience to watch your video in high definition. Always aim for at least 1080p resolution.
- Edit Your Video: Use apps like iMovie or InShot to trim unnecessary parts, add music, or insert text overlays. This enhances your video’s quality and engagement.
- Add Thumbnails: Create an eye-catching thumbnail that represents your video content. You can design one using apps like Canva or Adobe Spark.
- Consider Your Audio: Clear audio is crucial! If you recorded with background noise, consider using an app to enhance the audio quality.
Once you’ve prepared your video, ensure you have a stable internet connection for a smooth upload process. You might even want to connect to Wi-Fi to avoid using up your mobile data!
Now, you're all set to upload your well-prepared video to YouTube. It’s a fantastic way to share your story, ideas, or talents with the world!
Also Read This: FuboTV vs YouTube TV – A Comprehensive Comparison
Steps to Upload a Video on YouTube via iPhone
Uploading a video to YouTube from your iPhone is a breeze, thanks to the user-friendly app. Follow these simple steps to get your content out there:
- Open the YouTube App: Locate and tap on the YouTube app on your iPhone. If you haven't installed it yet, head to the App Store and download it.
- Sign In: Make sure you're logged into your YouTube account. Tap on the profile icon in the top right corner to sign in or switch accounts.
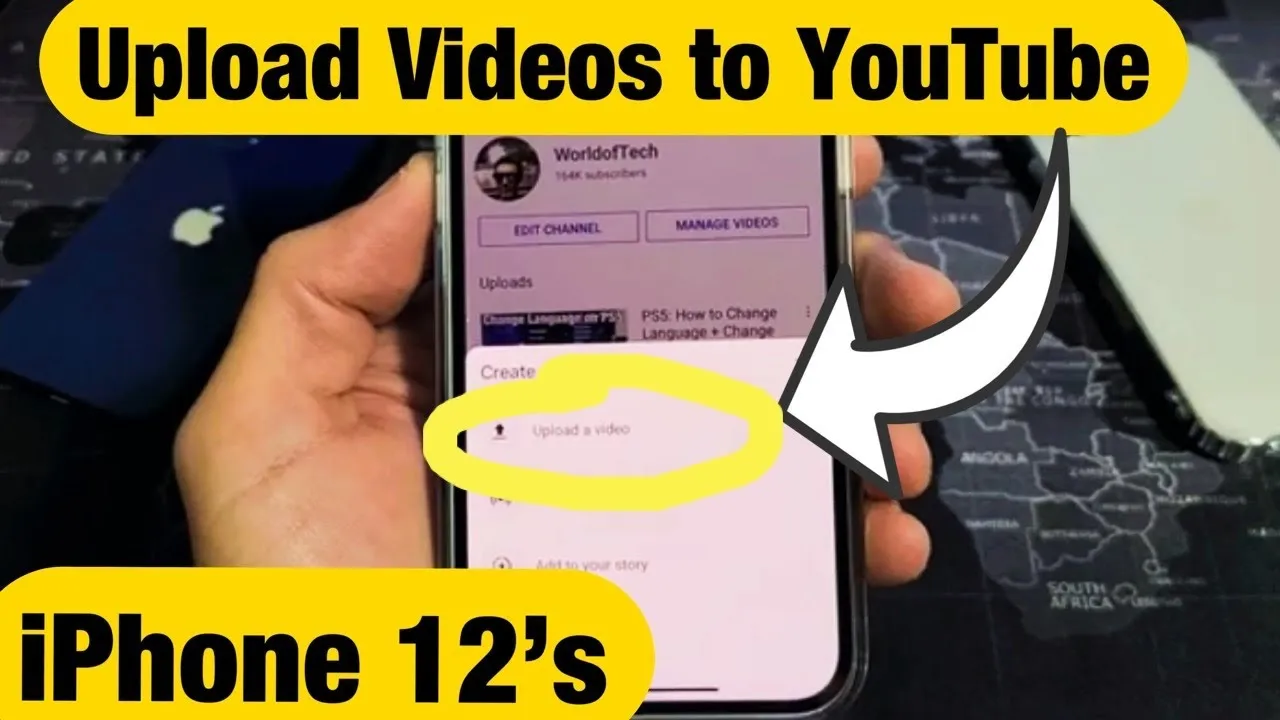
- Tap the Upload Icon: Look for the '+' icon at the bottom center of the screen. This is your gateway to uploading videos.
- Select Your Video: Choose 'Upload a video' and then select the video you want to upload from your camera roll. You can preview it before proceeding.
- Add Details: Enter a catchy title, description, and tags that best describe your video. This helps viewers find your content more easily!
- Set Privacy Settings: Choose who can view your video—public, unlisted, or private. Public means anyone can see it, while private limits it to you and specific users.
- Upload: Once you’re satisfied with everything, hit the 'Upload' button. Your video will start processing, and you’ll receive a notification when it’s live!
And voila! Your video is now on YouTube, ready for the world to see.
Also Read This: How to Create a YouTube Subscribe Link for Your Channel
Editing Options Before Uploading
Before you hit that upload button, the YouTube app offers some handy editing options to enhance your video. Let’s explore what you can do:
- Trim Your Video: If you need to cut out any unnecessary parts, simply use the trim feature. Slide the ends to adjust the duration.
- Add Music: You can add royalty-free music from YouTube's library to enhance the mood of your video. Just choose a track that fits!
- Apply Filters: Want to give your video a fresh look? Explore various filters to add some flair to your footage.
- Adjust Video Details: Tweak the brightness, contrast, and saturation to make your video visually appealing.
- Add Text and Stickers: Insert text overlays or fun stickers to highlight key points or add personality to your video.
These editing tools let you polish your video and make it stand out, ensuring it's ready for your audience to enjoy!
Also Read This: What Episode Features the Rumbling in Attack on Titan
5. Adding Descriptions and Tags
Once you've uploaded your video, it's time to make it stand out. Adding a compelling description and relevant tags is crucial for helping viewers find your content. Here’s how to do it:
Creating a Great Description:
- Be Clear and Concise: Start with a brief summary of your video. What can viewers expect? Aim for the first few sentences to grab attention, as they often appear in search results.
- Include Keywords: Think about what your audience might search for. If your video is about cooking pasta, include keywords like "easy pasta recipe" or "quick Italian dishes" in your description.
- Add Links: You can include links to your social media, related videos, or your website. This encourages viewers to explore more of your content.
Utilizing Tags Effectively:
- Relevance is Key: Use tags that are specific to your video’s content. For a video about hiking trails, you might use tags like "hiking," "outdoor adventures," and "travel tips."
- Mix Broad and Specific Tags: Combine general tags (like "travel") with more specific ones (like "New York hiking trails") to maximize your video’s reach.
- Limit Your Tags: YouTube allows up to 500 characters for tags. Use them wisely and avoid stuffing irrelevant ones.
By adding thoughtful descriptions and tags, you're not just enhancing your video's visibility but also providing your audience with context that can lead to higher engagement.
Also Read This: Erase Watermarks: Removing Watermark Getty Images
6. Publishing Your Video
Now that you’ve added all the finishing touches, it’s time to publish your video! Here’s a step-by-step guide to ensure everything goes smoothly:
Reviewing Your Video Settings:
- Privacy Settings: Decide if you want your video to be public, unlisted, or private. Public videos can be seen by anyone, while unlisted ones are only accessible via a direct link.
- Thumbnails: Choose an eye-catching thumbnail. You can either select a frame from your video or upload a custom image. Thumbnails are crucial for attracting clicks!
Publishing Process:
- Hit “Publish”: Once you’re satisfied with your settings, click the “Publish” button. YouTube will process your video, which may take a few moments depending on its length.
- Share It Out: After publishing, share your video link on social media platforms, through email, or even in newsletters to get the word out!
- Engage with Viewers: Once your video is live, keep an eye on comments and feedback. Engaging with your audience fosters community and can lead to more loyal subscribers.
Remember, publishing is just the beginning! Keep promoting your video and creating more content to grow your channel.
Uploading a Video to YouTube Using Your iPhone
In the age of digital content, sharing videos has never been easier, especially with the capabilities of smartphones like the iPhone. YouTube, being one of the largest video-sharing platforms, allows users to upload and share their videos with a global audience. Here’s a comprehensive guide on how to upload a video to YouTube using your iPhone.
Before you begin the uploading process, ensure you have the following:
- YouTube App: Make sure you have the latest version of the YouTube app installed on your iPhone.
- Google Account: A valid Google account is required to upload videos.
- Video Content: Ensure your video is edited and saved on your iPhone.
Follow these steps to upload your video:
- Open the YouTube app on your iPhone.
- Tap the camera icon located at the top of the screen.
- Select the video you wish to upload from your library, or record a new video using the app.
- After selecting the video, tap Next.
- Add a title and description for your video.
- Choose the visibility settings (Public, Unlisted, or Private).
- Finally, tap Upload to publish your video.
Keep in mind that larger videos may take longer to upload, depending on your internet speed. You can also add tags and choose a thumbnail after the upload is complete.
In conclusion, uploading videos to YouTube using your iPhone is a straightforward process that can be completed in just a few easy steps, allowing anyone to share their creative content with a vast audience effortlessly.