Sharing photos online is something we tend to do without giving it much thought. However it plays a role in showcasing our visual content to the world. Whether you're a photographer, a writer or simply someone looking to cherish memories kickstarting the process of uploading images can be easy and uncomplicated. Allow me to add a touch to walk you through the first steps.
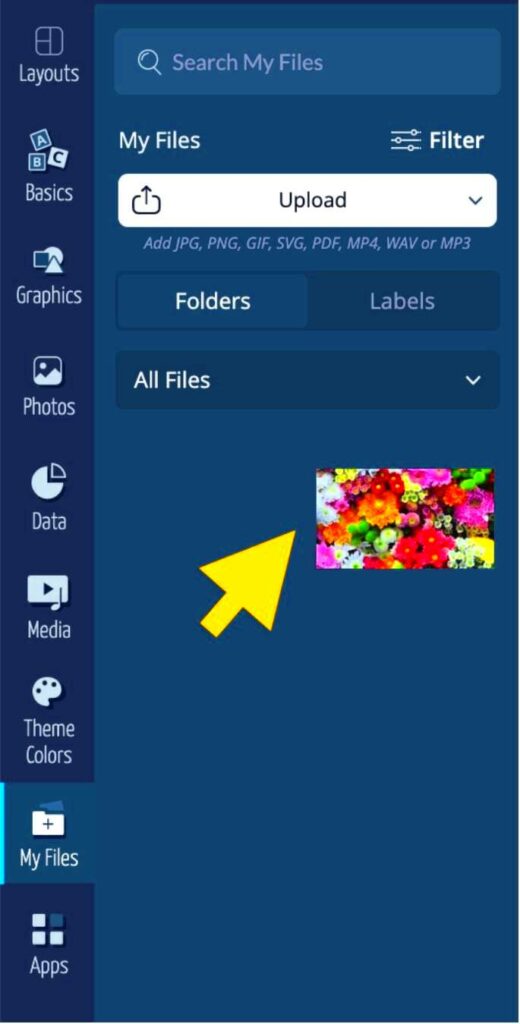
First things first, you need to choose the right platform for uploading your images. Websites like ImgPanda offer user-friendly interfaces that make the process smooth. All you need is a few clicks, and your images are online.
Heres a brief overview of the steps you need to take.
- Ensure you have a stable internet connection.
- Navigate to the upload section of your chosen platform.
- Select the images you wish to upload from your device.
- Follow the platform's prompts to complete the upload.
Based on my experience taking a moment to review your images before uploading can be a real time saver. It’s important to ensure they’re oriented correctly and have appropriate names to prevent any confusion down the line.
Choosing the Right Image Format
When it comes to sharing pictures picking the format can really impact how your images appear and function on the internet. Having dealt with different image formats throughout the years I’ve come to realize that not all formats are the same.
Here are the image formats and their ideal use cases:
| Format | Best For | Advantages |
|---|---|---|
| JPEG | Photographs | Good compression, small file size |
| PNG | Images with transparency | High quality, supports transparency |
| GIF | Animations | Supports simple animations, small file size |
| TIFF | High-quality images | Very high quality, large file size |
From what I've seen JPEG tends to be my preferred format for usage as it strikes a nice balance between quality and file size. On the other hand if you're dealing with images that have transparent backgrounds or require a higher level of quality PNG or TIFF could be more suitable options.
Also Read This: How to Share YouTube Videos on Instagram
Preparing Your Images for Upload
Before you click that upload button, it’s important to get your images ready. It’s similar to ensuring your outfit is on point before a significant occasion. The more carefully you prepare your images, the more impressive they will appear once they’re published online.
To prepare your images follow these steps
- Resize Your Images: Large images can be slow to upload and may not display well on all devices. Resize them to fit the recommended dimensions of the platform.
- Optimize for Web: Use image editing tools to compress your images without losing quality. This helps in faster loading times.
- Check Image Quality: Ensure there are no blurs or imperfections. High-quality images make a good impression.
- Rename Files: Use descriptive names instead of generic ones. This helps in organizing and retrieving them later.
In my personal experience utilizing software such as Photoshop or web based platforms to reduce the size and dimensions of images can have a noticeable impact. Taking a little time to ensure that your images are perfectly optimized before uploading them is definitely worthwhile.
Also Read This: How to Cite a Photo from Getty Images for Your Research Papers and Publications
Step-by-Step Guide to Uploading Images
Sharing pictures on the internet is something we all do often, but it can be a challenge if you're not familiar with it. Based on my experiences I've discovered that having a straightforward roadmap to follow makes things way easier. Allow me to take you through the process while sharing some of my thoughts along the way.
Here’s how you can upload images with ease:
- Choose Your Platform: Start by selecting the website or service where you want to upload your images. Platforms like ImgPanda offer a user-friendly interface, making it easier to manage your uploads.
- Log In: If required, log in to your account. Many platforms offer options to create an account or sign in via social media accounts for convenience.
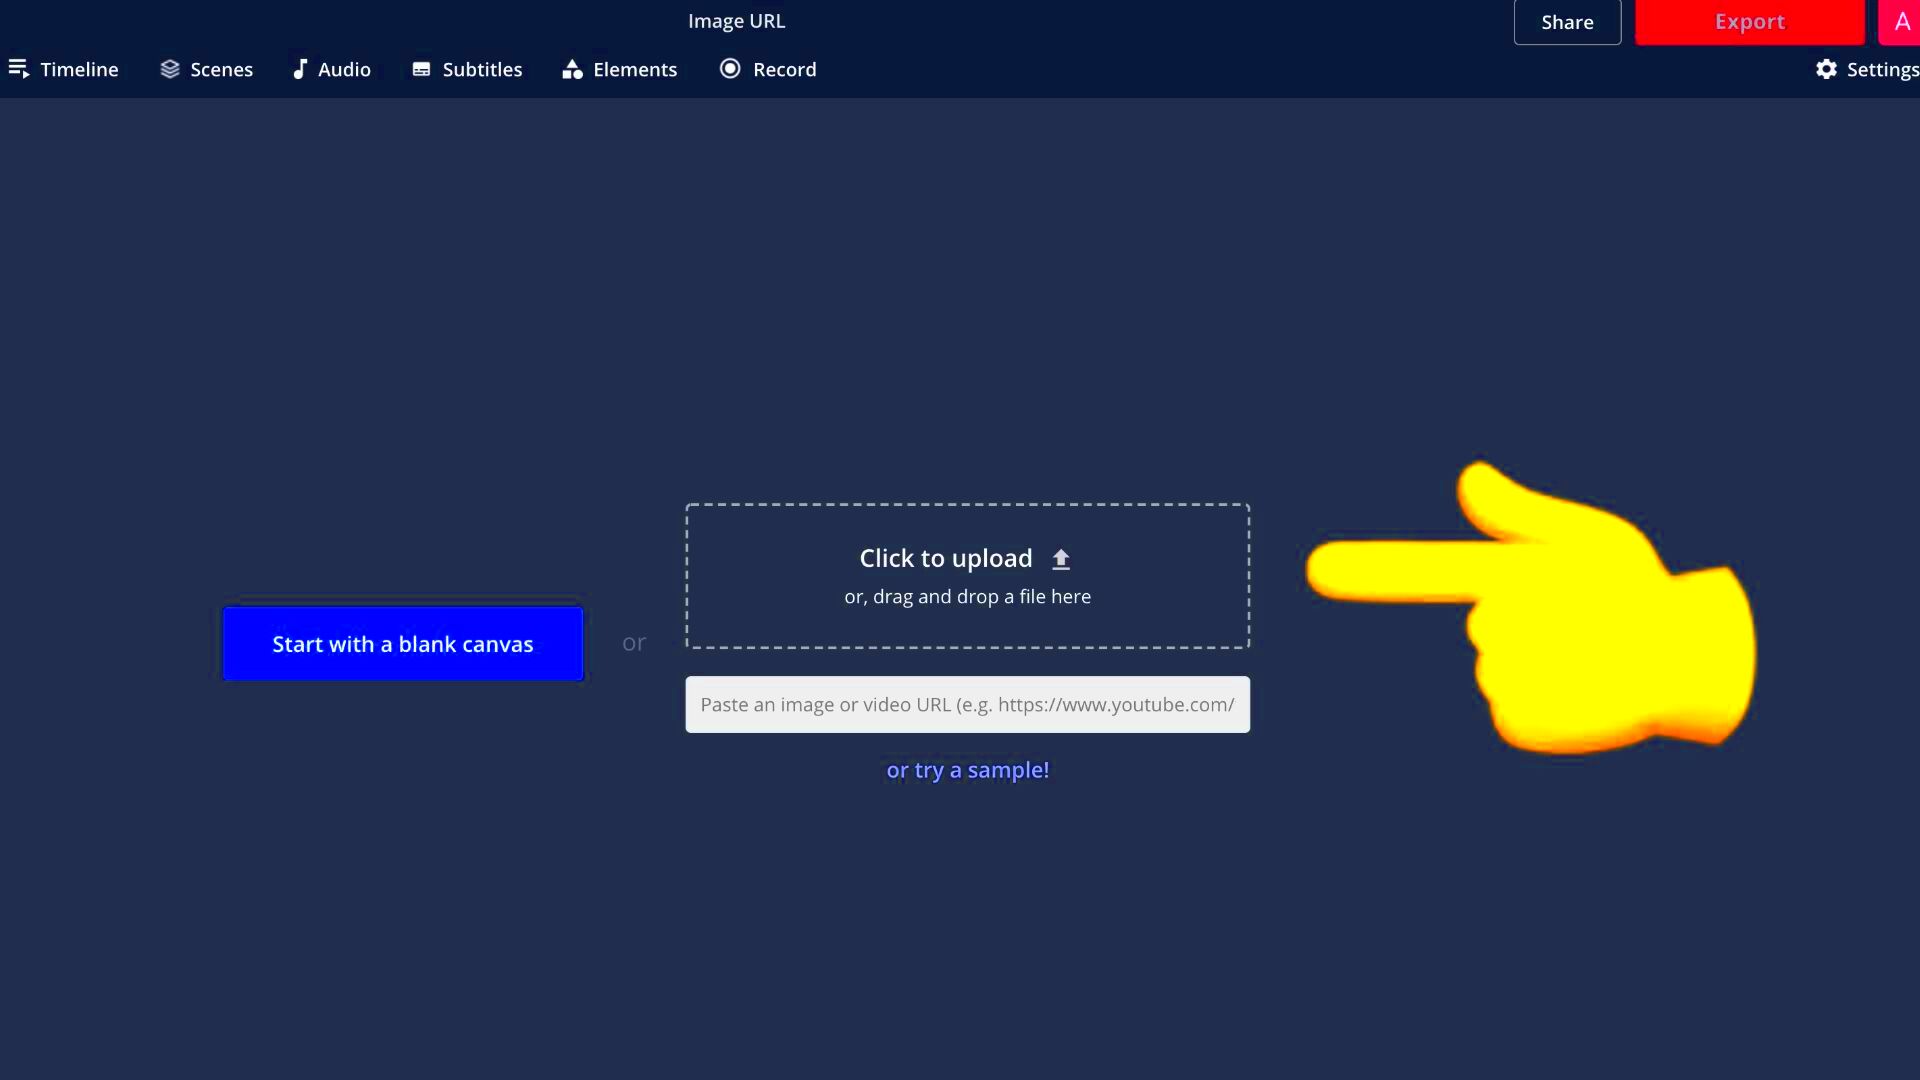
- Select Images: Locate the ‘Upload’ button or link. This will open a dialog box where you can browse and select the images from your device. Make sure you choose the correct files and that they’re properly formatted.
- Upload Process: After selecting your images, click on the ‘Upload’ button. The platform will begin uploading your files. Depending on the size of the images and your internet speed, this may take a few moments.
- Review and Edit: Once uploaded, review your images. Some platforms allow you to add titles, descriptions, or tags. This can be particularly helpful for organizing and searching later on.
- Save or Publish: Finally, save your changes or publish your images as needed. Check to ensure everything looks right and that the images are displayed as expected.
Based on what I've seen taking a moment to review each step can spare you a lot of hassle. Minor errors such as uploading a file or neglecting to include a description can be easily prevented with some attention.
Also Read This: Understanding Eren's Decision to Not Stop the Rumbling in Attack on Titan
Understanding Image URLs
When you post a picture on the internet it gets a special link. This link is important because it allows you and others to view the picture online. Knowing about image links can be really helpful, if you’re handling many pictures or want to share them on different platforms.
Here’s a bit more about how image URLs work:
- What is an Image URL? It’s a web address that points directly to your image file. For example, an image URL might look something like
https://example.com/images/photo.jpg. - How to Find Your Image URL: Once your image is uploaded, most platforms will provide a direct link to the image. You can usually find this link by right-clicking on the image and selecting ‘Copy image URL’ or similar.
- Usage of Image URLs: You can use these URLs to embed images in websites, share them on social media, or include them in emails. Just remember that anyone with the URL can view the image, so be cautious with sensitive content.
Based on my own experiences I’ve noticed that staying organized with image URLs can be really beneficial. It doesn’t matter if you’re running a blog or simply sharing pictures with friends being familiar with how URLs function makes everything go more smoothly.
Also Read This: Rumble App Availability and Mobile Access Guide
Using Image URLs Effectively
Once you have the links to your images figuring out how to use them wisely can greatly impact how your pictures are shared and shown. Throughout my experiences I've picked up some tips and tricks that can assist you in maximizing the potential of your image URLs.
Here are some practical tips:
- Embed Images in Your Website: You can use image URLs to display images directly on your website. Just paste the URL into the HTML of your webpage using the
<img>tag. - Share on Social Media: Most social media platforms allow you to paste image URLs to share images. This can be a quick way to showcase your images without uploading them directly to each platform.
- Track Image Performance: Some advanced tools allow you to track how often your images are viewed or clicked. This can be useful for analyzing engagement if you’re running a website or blog.
- Manage Image Access: If you’re concerned about who can view your images, consider using services that offer privacy settings. You can control who has access to your image URLs and keep sensitive content secure.
Based on what I've seen, handling image URLs efficiently can really make a difference. It helps you stay organized and makes it simpler to share and keep tabs on your content. Additionally it brings a level of ease to managing your pictures online.
Also Read This: How to Start Selling on 123RF Step-by-Step Guide for Contributors
Common Issues and Troubleshooting
Uploading images may appear to be a process but it can come with its fair share of challenges that can be quite exasperating. Having faced my share of obstacles I recognize the importance of having a troubleshooting guide readily available. Here's an overview of issues you might encounter and how to address them.
Here are some challenges you may encounter and ways to overcome them
- Image Too Large: If your image is too large, it might fail to upload or take a long time. Try resizing your image using an online tool or software like Photoshop. Most platforms have specific size limits, so be sure to check those.
- Unsupported File Format: Not all platforms support every image format. Common formats like JPEG, PNG, and GIF are usually safe bets. If you’re having trouble, convert your image to one of these formats using an online converter.
- Slow Upload Speeds: A slow internet connection can make uploads painfully slow. Try uploading during off-peak hours or ensure you have a stable connection. You can also compress your images to speed up the process.
- Error Messages: If you’re receiving error messages, read them carefully. They often provide clues about what went wrong. If it’s unclear, checking the platform’s help section or contacting support can provide additional guidance.
From my perspective maintaining a demeanor when handling challenges has proven to be quite beneficial. More often than not the resolution is less complicated than it appears and a touch of patience can make a significant difference.
Also Read This: Canva Image DPI Adjustment
FAQ
Tackling queries related to uploading images can really streamline the procedure. Here are a few common questions I’ve come across along with their responses.
- What file formats are best for web uploads? JPEG is great for photographs, PNG for images with transparency, and GIF for simple animations. Choosing the right format can affect how your images look and load.
- How can I reduce the size of my images before uploading? You can use online tools like TinyPNG or image editing software to compress and resize your images. This helps with faster uploads and better performance on your site.
- Can I edit my images after uploading them? Many platforms allow basic edits like cropping or adding filters. For more advanced edits, it’s best to make changes before uploading using photo editing software.
- Why isn’t my image displaying correctly on the website? This could be due to various reasons like incorrect file format, size issues, or platform glitches. Check the file format, size, and try refreshing the page.
Based on what I’ve seen having a set of frequently asked questions ready to go can really help you out in terms of saving time and avoiding stress. Being prepared for problems and knowing how to address them is always a smart move.
Conclusion
Uploading photos is an essential skill that can significantly improve your visibility. Once you get the hang of it you’ll discover that handling your pictures is a breeze. By familiarizing yourself with the steps and troubleshooting common problems you’ll streamline the process. Keep in mind that whether you’re showcasing memories or sharing work a little preparation and knowledge can go a long way.
Looking back on my path I’ve come to realize that being patient and putting in effort are essential. The more you get used to the process and the resources at your disposal the smoother it gets. Don’t hesitate to try things out and gain insights from any challenges you face on your journey. With every move you make you inch closer to perfecting the skill of uploading images.
Cheers to smooth image uploads and a neatly arranged online photo collection!