If you've ever stumbled upon a captivating YouTube video and thought, "I wish I could save that audio!" you’re in the right place. Recording audio from YouTube can be incredibly useful, whether you're a podcaster, music enthusiast, or just someone who wants to keep a collection of audio clips. In this guide, we'll walk you through the simple steps to record audio from
What You Need to Get Started
Before we jump into the recording process, let's gather everything you need to make this a smooth experience. Here’s a handy checklist:
- Computer: You’ll need either a Windows or Mac computer.
- Audacity Software: Download and install Audacity from its official website. It's free and open-source, making it accessible for everyone.
- Sound Card: Most modern computers come with built-in sound cards that work perfectly for recording audio. Just ensure your sound settings are configured properly.
- YouTube Video URL: Have the link to the video you want to record handy. This makes it easier to access the content you want.
- Headphones (optional): Using headphones can help you monitor the audio quality while recording, preventing any feedback loops.
With these essentials in place, you're ready to start recording! Having everything organized will streamline the process, making it efficient and enjoyable. So, let’s move on to the exciting part—recording audio!
Also Read This: When Will YouTube TV Get Lifetime Network
Installing Audacity
Getting started with Audacity is a breeze! First things first, you’ll need to download the software. Here’s how you can do it:
- Visit the Official Website: Go to the Audacity download page. This ensures you’re getting the latest version and not a shady knock-off.
- Select Your OS: Choose the version that matches your operating system—Windows, Mac, or Linux. For instance, if you're a Windows user, click on the Windows download link.
- Download Installer: Once you click the link, the installer will start downloading. Depending on your internet speed, this might take a few moments.
- Run the Installer: After downloading, open the installer file. You'll typically see a prompt asking for permission to make changes to your device. Click "Yes" or "Run."
- Follow Installation Instructions: Carefully read through the prompts and accept the license agreement. You can choose the default settings unless you have specific preferences.
- Complete Installation: Once everything is set up, click “Finish,” and Audacity will be ready to use!
Now that you have Audacity installed, you’re one step closer to recording audio from YouTube. Exciting, right?
Also Read This: How to Rewind on YouTube TV
Setting Up Audacity for Recording
Now that Audacity is installed, let’s configure it for your audio recording. Follow these easy steps to ensure everything is set up perfectly:
- Open Audacity: Launch the application. You’ll be greeted with a user-friendly interface.
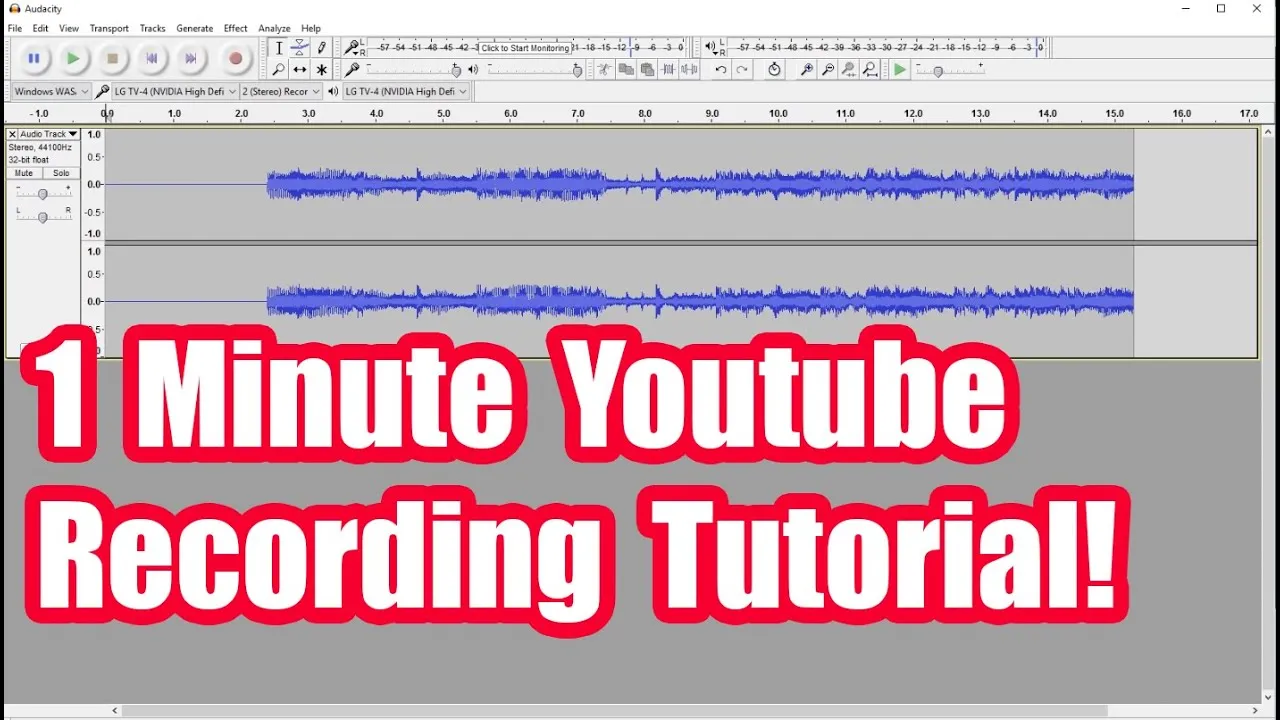
- Select the Input Device: You need to choose the right audio source. Click on the dropdown menu in the “Audio Host” section and select Windows WASAPI. This allows you to capture audio directly from your speakers.
- Choose the Recording Device: Next to the audio host, you’ll see another dropdown. Here, select your playback device, usually named something like “Speakers” or “Headphones.” This will vary based on your setup.
- Set Recording Channels: Ensure you select 2 (Stereo) from the channels dropdown for better audio quality.
- Check Preferences: Go to Edit > Preferences (or Audacity > Preferences on Mac). Under the “Quality” section, set the default sample rate to 44100 Hz for standard CD-quality audio.
With these settings in place, you're all set to start recording audio from YouTube using Audacity. Just hit that record button and let the magic happen!
Also Read This: Are YouTube Ads Getting Worse
Recording Audio from YouTube
Recording audio from YouTube using Audacity is a straightforward process, but it requires a few steps to ensure you capture high-quality sound. First, make sure you have the latest version of Audacity installed on your computer. You can download it from the official website if you haven’t done so yet.
Once you've got Audacity up and running, follow these steps:
- Set Up Your Computer’s Audio: Before you start recording, you need to configure your audio settings. Go to your computer's sound settings and select the option that allows you to record audio from your speakers, often called “Stereo Mix” or “What U Hear.” If you don’t see this option, you may need to enable it in your audio devices settings.
- Open Audacity: Launch Audacity and look for the drop-down menu where it says “Microphone.” Select “Stereo Mix” or your equivalent option. This tells Audacity to record audio from your computer’s output instead of your microphone.
- Prepare YouTube: Open your web browser and navigate to the YouTube video you want to record. Make sure it’s ready to play, but don't hit play just yet!
- Start Recording: In Audacity, click the red “Record” button. Then, quickly switch to your browser and hit play on the YouTube video. Audacity will begin recording the audio.
- Stop When Finished: Once you’ve captured the desired audio, return to Audacity and click the brown “Stop” button.
And there you have it! You’ve successfully recorded audio from YouTube. Remember, it’s important to respect copyright laws when using recorded materials.
Also Read This: How to View Getty Images in Full Size
Editing Your Recorded Audio
Now that you have your audio recorded, it’s time to polish it up! Audacity offers a range of editing tools that can help you enhance your audio quality. Here’s how to get started:
- Trim Unnecessary Portions: If you have silence at the beginning or end of your recording, use the selection tool (the I-beam icon) to highlight the unwanted section and press the “Delete” key to remove it.
- Adjust Volume Levels: To ensure your audio is clear and balanced, use the “Effect” menu. Select “Normalize” to adjust the volume levels evenly throughout your recording.
- Reduce Background Noise: If your recording has background noise, highlight a section of it where only the noise is present. Go to “Effect” and select “Noise Reduction,” then click “Get Noise Profile.” After that, select the entire audio track, return to “Noise Reduction,” and click “OK” to reduce the noise.
- Add Effects: Want to spice up your audio? Explore effects like “Reverb” or “Echo” under the “Effect” menu. Just be careful not to overdo it—less is often more!
- Export Your Final Audio: Once you’re satisfied with the edits, go to “File” > “Export” and choose your preferred file format (like MP3 or WAV) to save your edited audio.
Editing your recorded audio can make a huge difference in how professional it sounds, and Audacity provides all the tools you need to achieve that!
Also Read This: How to Make Ice Cream Without a Maker
7. Exporting Your Audio File
Once you've recorded your audio from YouTube using Audacity, the next exciting step is exporting your masterpiece! This process allows you to save your work in a format that's easy to share or listen to later. Let’s walk through it together!
Follow these simple steps to export your audio:
- Go to the File Menu: Click on the File menu in the top left corner of the Audacity window.
- Select Export: Choose Export from the dropdown options. You’ll see several formats available, like Export as MP3, Export as WAV, or Export as OGG.
- Choose Your Format: For general use, MP3 is a popular choice because it balances quality and file size. If you need higher quality, consider exporting as WAV.
- Name Your File: A dialog box will appear prompting you to name your audio file. Make it something memorable!
- Set Your Metadata: You can add metadata such as artist name, album, or genre, which is helpful for organization. This is optional but recommended.
- Save Your File: Click Save, and your audio will be exported to your chosen location on your computer.
And just like that, you have your audio file ready to go! You can now share it with friends or use it for your projects.
8. Conclusion
Recording audio from YouTube using Audacity is not just a handy skill; it's a gateway to creativity! Whether you're creating podcasts, remixing music, or just saving your favorite clips, this guide has equipped you with the tools you need.
To recap, here’s what we covered:
- Setting Up Audacity: Downloading and configuring Audacity for optimal recording.
- Recording: Techniques for capturing audio directly from YouTube.
- Editing: Basic edits to enhance your audio quality.
- Exporting: How to save your audio in various formats for easy access.
Remember, the key is practice. The more you experiment with Audacity, the more proficient you'll become. Don’t hesitate to dive into more advanced features as you grow more comfortable!
So go ahead, unleash your creativity, and make some incredible audio content. Happy recording!