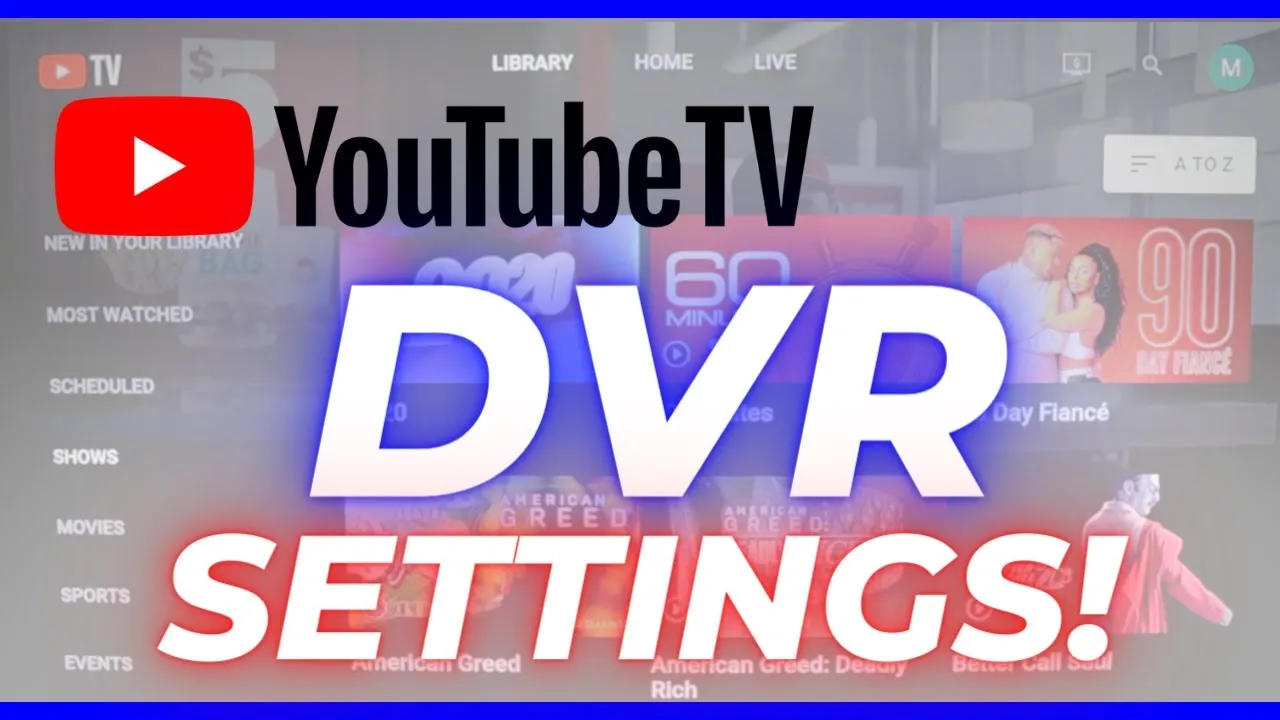
YouTube TV has rapidly become one of the go-to options for cord-cutters looking to enjoy live television without the hassle of traditional cable. With a user-friendly interface and a plethora of channels, it’s no wonder that many are making the switch. One of the standout features of YouTube TV is its cloud DVR capability, allowing users to record their favorite shows and movies with ease. In this section, we’ll explore the amazing DVR functionalities that make
With YouTube TV’s DVR, you can:
- Record Live TV: Capture live broadcasts of your favorite shows, news, and sports events.
- No Storage Limits: Enjoy unlimited storage for recordings, with saved shows available for up to nine months.
- Automatic Recordings: Set your preferences to automatically record new episodes of series you enjoy.
The DVR feature is accessible on multiple devices, so whether you’re on your phone, tablet, or TV, you can easily manage your recordings. YouTube TV makes it simple to pause, rewind, and watch your shows at your convenience, ensuring you never miss a moment of entertainment.
Setting Up Your YouTube TV Account
Getting started with YouTube TV is a straightforward process that opens the door to endless entertainment possibilities. From signing up for an account to navigating the interface, this section will guide you through the essential steps to ensure you’re ready to enjoy your favorite shows.
Here’s how to set up your YouTube TV account:
- Create a Google Account: If you don’t already have one, sign up for a Google account. This will be your gateway to YouTube TV.
- Visit YouTube TV: Go to the YouTube TV website or download the app on your device.
- Sign In: Log in using your Google account credentials.
- Choose a Subscription Plan: YouTube TV offers a base plan with a variety of channels. Review the options and select the one that suits you best.
- Set Up Your Payment: Enter your payment information to activate your subscription.
- Customize Your Preferences: Select your favorite channels and adjust your DVR settings to optimize your viewing experience.
Once this setup is complete, you’re ready to explore the vast world of live TV and recorded content at your fingertips!
Also Read This: Fortiguard Downloader’s NGFW Service Explained
5. Managing Your Recorded Content

Once you’ve started recording your favorite shows on YouTube TV, managing that content is key to ensuring you don’t miss anything important. YouTube TV makes it super easy to navigate through your recorded shows and manage your library effectively.
Accessing Your Library: To view your recorded content, simply open the YouTube TV app or website and click on the “Library” tab. Here, you’ll find all your recorded shows neatly organized. You can easily browse through your recordings by date or show title.
Editing Recorded Shows: Sometimes, you might not want to keep every recording forever. To delete a recorded show, just click on the three dots next to the title and select “Delete.” This helps free up space for new recordings. You can also manage your settings to adjust how many episodes of a series you want to keep, ensuring that your library doesn’t get cluttered.
Organizing Your Content: You can create different categories by using labels or playlists, making it easy to find what you want to watch without scrolling through everything. This is especially handy if you record multiple shows in a week!
Viewing Options: You can watch your recorded content on various devices. Whether you’re on a smart TV, tablet, or smartphone, your recordings are just a click away. Plus, YouTube TV automatically stores your recordings for up to nine months, so you have plenty of time to catch up!
Also Read This: How to Record Shows on YouTube TV
6. Troubleshooting Common DVR Issues
Even though YouTube TV’s DVR feature is user-friendly, issues can occasionally arise. Don’t worry; many common DVR problems are easy to troubleshoot!
Recording Failures: If you notice that a scheduled recording hasn’t happened, first check your internet connection. A weak signal can interrupt recording. Also, make sure you haven’t hit the limit of recordings; YouTube TV allows you to record an unlimited number of shows, but only up to 9 months of storage!
Missing Shows: If a particular show isn’t appearing in your library, double-check that you’ve correctly set it to record. Sometimes, an episode might be marked as “not available” due to rights issues or scheduled changes. You can also try refreshing the app or website to sync the latest updates.
Playback Issues: If you’re having trouble playing back your recordings, restart the app or device you’re using. Clearing the app’s cache can also help. If you’re still experiencing issues, check for any available updates.
Seeking Help: If all else fails, don’t hesitate to reach out to YouTube TV’s customer support. They’re there to assist with any lingering DVR problems you might face!
Conclusion and Tips for Effective Recording
Mastering the DVR feature on YouTube TV can significantly enhance your viewing experience by allowing you to capture your favorite shows and movies for later enjoyment. With a user-friendly interface and robust functionality, YouTube TV's DVR is designed to cater to the needs of every user. Below are some effective tips to maximize your recording experience:
- Understand Storage Limits: YouTube TV offers unlimited cloud DVR storage, but recordings are only kept for 9 months. Be sure to manage your library to avoid losing your favorites.
- Use the Search Function: Quickly find shows and movies by using the search bar. This feature allows you to set recordings without browsing through multiple menus.
- Schedule Recordings in Advance: Plan ahead by scheduling recordings for upcoming shows. This ensures you never miss an episode and keeps your library organized.
- Check for Conflicts: When multiple shows are scheduled at the same time, YouTube TV will alert you to conflicts. Be proactive in adjusting your recordings to ensure you capture all your favorites.
- Organize Your Library: Use the "My Library" feature to manage and categorize your recordings. This can help you quickly access shows you watch frequently.
By leveraging these tips, you can ensure that you make the most out of YouTube TV's DVR feature, allowing for a seamless and enjoyable viewing experience. Happy recording!