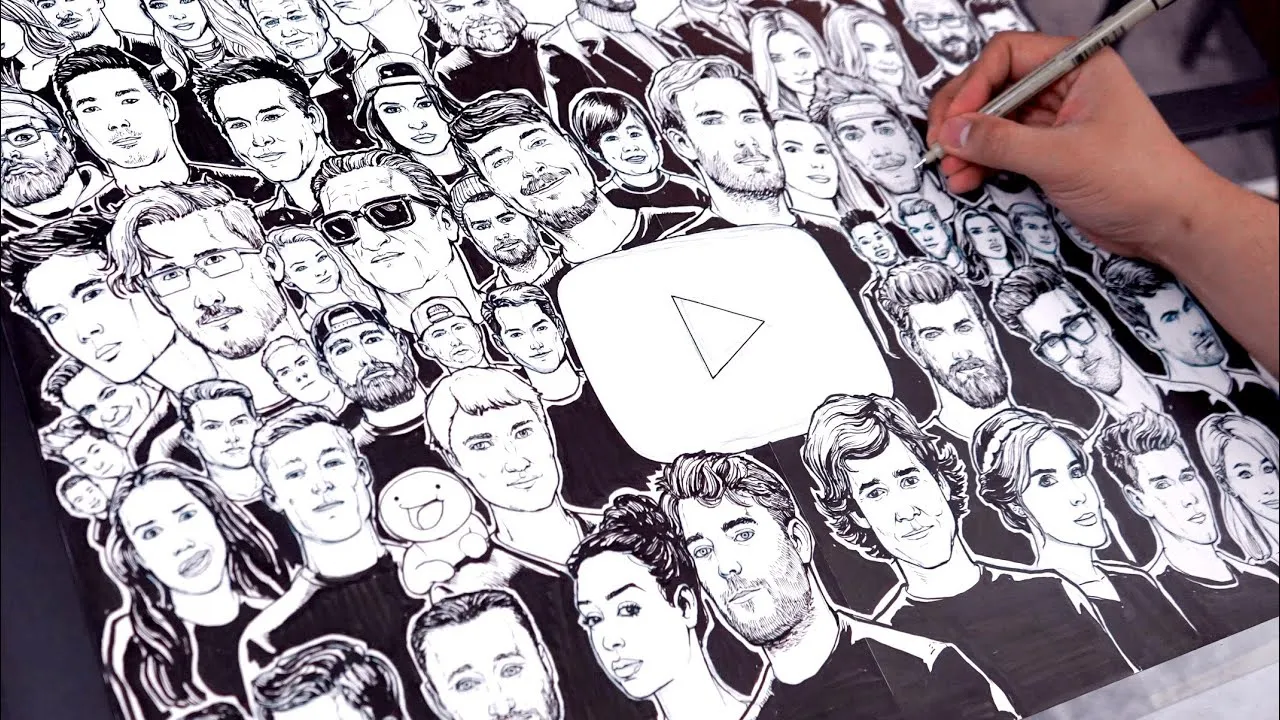
Drawing your favorite YouTubers can be an exciting and rewarding experience! Whether you’re a seasoned artist or just starting out, capturing the essence of your favorite creators on paper allows you to express your admiration and creativity. In this blog post, we’ll explore the essential steps to help you master the art of drawing YouTubers, from gathering your materials to techniques that will bring your sketches to life. Let's dive in and unleash your artistic potential!
Gathering Your Materials
Before you put pencil to paper, it’s essential to gather the right materials. Having the proper tools can make a significant difference in the quality of your artwork. Here’s a list of basic supplies you’ll need:
- Pencils: A range of pencils (H, HB, and B grades) will help you achieve different shades and lines.
- Erasers: A kneaded eraser is perfect for gentle lifting, while a vinyl eraser can handle more stubborn marks.
- Paper: Choose high-quality drawing paper or sketchbooks that can handle various mediums.
- Inking Supplies: Fine liners or ink pens for outlining your drawings can enhance details and bring vibrancy.
- Coloring Materials: Colored pencils, markers, or watercolors for adding life and personality to your sketches.
- Reference Images: Collect photos or screenshots of your favorite YouTubers for inspiration.
Here's a quick table summarizing the materials:
| Material | Purpose |
|---|---|
| Pencils | Different grades for shading and sketching. |
| Erasers | To correct mistakes and refine sketches. |
| Paper | Supports various drawing techniques. |
| Inking Supplies | For outlining and detailing your drawings. |
| Coloring Materials | Adds vibrancy and personality. |
| Reference Images | Inspiration for accurate representation. |
Now that you're equipped with the right materials, you'll be all set to start your artistic journey! Let’s continue to explore techniques in the upcoming sections.
Also Read This: Guide to Downloading All Videos from Telegram at Once
Choosing Your Favorite YouTuber
When it comes to drawing, picking the right subject can make all the difference! Choosing your favorite YouTuber not only adds a personal touch to your artwork but also keeps you motivated throughout the process. Here are some tips to help you make that decision:
- Passion: Choose a YouTuber whose content you genuinely enjoy. Whether it's gaming, beauty, or education, ensuring you have a connection to their personality will make your drawing experience more fulfilling.
- Visual Inspiration: Look for YouTubers who have a distinct visual style or a unique look. This could be anything from vibrant hair colors to interesting fashion choices. A visually interesting subject can spark creativity!
- Familiarity: If you're a regular viewer, you're likely familiar with their expressions and gestures. This familiarity will aid in capturing their essence in your drawing.
- Engagement: Consider how active they are on social media platforms. Engaging with your subject can provide you with more reference materials, like photos and videos, which can be incredibly helpful.
Once you've selected your YouTuber, gather some reference images. Look for a mix of their facial expressions, outfits, and even moments captured during their videos to create a vibrant portrayal!
Also Read This: How to View and Download Thumbnails on YouTube
Understanding Proportions and Features

Mastering proportions and features is essential in bringing your drawing to life. Every face has its unique structure, and understanding these nuances can elevate your artwork. Here’s how you can break it down:
| Feature | Proportion Tips |
|---|---|
| Eyes | The eyes are typically one eye-width apart. Pay attention to the shape and size; they can vary widely among individuals. |
| Nose | The bottom of the nose usually aligns with the halfway point between the eyes and the chin. Note the unique characteristics that your YouTuber has. |
| Mouth | The width of the mouth can often be measured from the pupils. Capture the unique smile or expression that defines them! |
| Face Shape | Each person has a distinct face shape (oval, round, square). Identify which shape your YouTuber has to set the foundation. |
Practice sketching these features separately before combining them into a full portrait. Keep your lines light so you can adjust as necessary. Remember, drawing is a journey, so don't hesitate to experiment!
Also Read This: Is Russell Brand Active on Rumble
5. Sketching the Basic Outline
When you’re excited to draw your favorite YouTuber, it all starts with the basic outline. Think of this step as laying the foundation for your masterpiece. Without a solid base, the rest of your drawing can feel off balance. So, how do you approach this? Let’s break it down!
First, gather your materials. You’ll need:
- A good quality sketchbook
- Graphite pencils (HB for light lines, 2B for darker ones)
- Eraser
Now, let’s get sketching! Follow these simple steps:
- Reference Image: Choose a clear photo of your YouTuber. This will help you capture their likeness.
- Basic Shapes: Start by breaking their face and body down into simple shapes. For instance, use circles for the head and ovals for the torso.
- Guidelines: Lightly draw lines for the eyes, nose, and mouth placement. This ensures everything is proportionate.
- Outline the Hair: Don’t forget the hair! Use flowing lines to represent its shape and movement.
Remember, the goal here is to get the proportions right before diving into the details. Keep it light; you can always darken the lines later. Happy sketching!
Also Read This: Maximizing Your Earnings with Storyblocks Through Videos and Images
6. Adding Details and Characteristics
Now that you have your basic outline, it's time to breathe life into your drawing by adding details and characteristics. This is where your work truly begins to shine and look like the person you're drawing!
Pay attention to the finer points. Here’s how to enhance your sketch:
- Facial Features: Start with the eyes. They are the window to the soul! Focus on getting the shape and expression just right.
- Nose and Mouth: Add subtle shadows to give depth. The mouth should reflect their personality—smile or pout, you choose!
- Hair Texture: Use quick, sharp strokes to create texture and flow. Think about how they style their hair—this adds authenticity.
As you add these details, keep referring back to your reference image. It’s also helpful to use a blending stump to smooth out any harsh lines and create a more polished look.
Lastly, don’t shy away from showcasing their unique characteristics—be it a signature outfit or a specific pose. This will make your drawing not just a likeness, but a true representation of who they are!
Also Read This: Common Misconceptions About Image Licensing on Imago Images
7. Inking Your Drawing
Inking is that magical step where your drawing transforms from a simple sketch into a polished piece of art. It’s like adding the final touch to a masterpiece! Here’s how to make your inking process smoother and more enjoyable:
- Choose the Right Tools: Invest in quality pens or markers. Options like Micron pens or brush pens offer great control and precision.
- Practice Your Line Work: Before inking your main drawing, practice different line weights and styles. Thicker lines can add depth, while thinner lines can create delicate details.
- Start with Light Sketching: Ensure your pencil sketch is light enough so that it won’t show through the ink. This makes erasing any mistakes much easier!
- Work from Top to Bottom: To avoid smudging, start inking from the top of your drawing and work your way down.
- Use Different Techniques: Experiment with hatching, cross-hatching, and stippling to create texture and shadows. These techniques can bring your drawing to life.
Remember, inking is not just about outlining; it’s about capturing personality and style. Take your time, and don't rush the process. Once you have your lines down, you can admire your work and get ready for the next step!
Also Read This: Link YouTube Music to Alexa for Seamless Music Streaming
8. Coloring Techniques for a Vibrant Finish
Coloring your drawing is like adding the final ingredients to a recipe—it can make all the difference! Here are some techniques to ensure vibrant, eye-catching results:
- Understand Color Theory: Familiarize yourself with the color wheel. Complementary colors can make your characters pop, while analogous colors create harmony.
- Layer Your Colors: Start with a base layer and gradually build up. This technique adds depth and vibrancy. For instance, applying a light blue base followed by darker shades can create stunning effects.
- Consider Different Mediums: Try colored pencils for fine details, or markers for bold colors. Watercolors can provide a soft, blended look, while digital coloring offers endless possibilities.
- Experiment with Blending: Use tools like blending stumps for pencils or alcohol for markers to create smooth transitions between colors.
- Highlight and Shadow: Add highlights with lighter shades and shadows with darker tones to give your drawing dimension. This contrast can dramatically enhance the overall appearance.
Don’t forget to have fun with colors! Experiment and find what works best for your style. The more you practice, the more confident you’ll become in your coloring techniques, leading to vibrant finishes that truly capture the essence of your favorite YouTubers!
Also Read This: How to Download Pictures from Getty Images Without Watermark
9. Final Touches and Enhancements
When you’re drawing your favorite YouTubers, the final touches can make a world of difference in bringing your artwork to life. It’s that moment when everything comes together, and you can really showcase your skills!
Here’s a simple checklist to help you refine your drawing:
- Clean Up Lines: Gently erase any unnecessary pencil lines that might distract from your final piece.
- Add Shadows: Use shading techniques to add depth. A good rule of thumb is to determine the light source and shade the opposite side.
- Enhance Colors: If you’re using color, consider adding highlights to areas that catch the light. This will make your drawing pop!
- Details Matter: Spend time on the finer details, like facial expressions or unique clothing traits that make your YouTuber recognizable.
Once you’re satisfied, consider framing your artwork or sharing it online. Don't forget to tag your favorite YouTuber if you post it on social media—they might just notice your hard work!
10. Conclusion
Mastering the art of drawing your favorite YouTubers is not just about replicating their images; it’s about capturing their essence and personality. With practice, patience, and a little creativity, anyone can create stunning portraits that resonate with fellow fans.
Remember, the journey of improving your drawing skills is just as rewarding as the final product. Embrace mistakes, learn from them, and don’t hesitate to experiment. Here are a few final tips:
- Keep Practicing: The more you draw, the better you’ll get. Set aside time each week to sketch.
- Seek Feedback: Don’t shy away from sharing your work with friends or online communities. Constructive criticism can be incredibly helpful.
- Enjoy the Process: Most importantly, have fun! Each drawing is a step forward in your artistic journey.
So grab your pencils and let your creativity flow. Who knows? Your next masterpiece could be just around the corner!