Are you excited to take your video editing skills to the next level? Importing YouTube videos into CapCut can open up a world of creative possibilities. Whether you're a budding content creator or just looking to enhance your personal projects, this guide will walk you through the process. CapCut’s user-friendly interface combined with its powerful editing features makes it a go-to choice for many. So, let's dive in and explore how you can seamlessly import and edit YouTube videos to create stunning content.
Understanding CapCut and Its Features
CapCut is an intuitive video editing app that has gained immense popularity for its robust features and user-friendly design. Developed by ByteDance, the creators of TikTok, CapCut is packed with tools that cater to both beginners and experienced editors alike. Here’s a closer look at what makes CapCut a fantastic choice for your video editing projects:
- Simple Interface: CapCut's layout is clean and organized, making it easy to navigate through various editing options. You'll find everything from trimming clips to adding effects right at your fingertips.
- Rich Library of Effects: The app offers a wide range of filters, transitions, and effects to enhance your videos. You can easily apply slow motion, reverse video, and even glitch effects to add flair to your content.
- Music and Sound Effects: With CapCut, you can access a built-in library of royalty-free music and sound effects. This feature allows you to elevate the audio experience of your videos without the hassle of copyright issues.
- Text and Stickers: Want to add a personal touch? CapCut allows you to overlay text, stickers, and animations to make your videos more engaging. You can customize fonts, colors, and animations to reflect your style.
- Multi-layer Editing: For more advanced users, CapCut supports multi-layer editing. This feature lets you work on various video and audio tracks simultaneously, offering greater creative control.
With these features at your disposal, CapCut makes video editing not only easy but also fun! So, whether you're creating vlogs, tutorials, or social media snippets, CapCut provides all the tools you need to bring your vision to life.
Also Read This: How to Post Video on LinkedIn Best Practices for Sharing Visual Content
Why Import Videos from YouTube?
Importing videos from YouTube into CapCut can be a game changer for your editing projects. Here are some compelling reasons why you might want to consider this:
- Access to Diverse Content: YouTube hosts an incredible variety of videos—from tutorials and vlogs to animations and music. By importing these videos, you gain access to a wealth of resources that can enhance your own projects.
- Inspiration and Ideas: Sometimes, all you need is a spark of inspiration. By browsing through YouTube, you can find styles, techniques, and themes that you can incorporate into your own videos.
- Ease of Integration: CapCut makes it easy to import and edit videos. With just a few clicks, you can bring your favorite YouTube clips into your editing workflow, allowing you to create seamless transitions and new narratives.
- Content Creation: If you’re creating reaction videos, mashups, or compilations, importing from YouTube is essential. You can curate content that resonates with your audience, making your videos more engaging.
- Learning and Development: For aspiring videographers and editors, importing YouTube videos offers an excellent way to learn editing techniques. You can dissect how certain effects were achieved, then replicate them in your own way.
Also Read This: How to View Followers on LinkedIn Effortlessly
Step-by-Step Guide to Importing YouTube Videos into CapCut
Now that you understand the benefits, let’s dive into how to import YouTube videos into CapCut seamlessly. Follow these steps:
- Find Your Video: Go to YouTube and search for the video you want to use. Copy the URL from the address bar.
- Download the Video: Use a reliable YouTube downloader tool, such as ytmp3.cc or y2mate.com, to download the video. Make sure to choose the resolution you prefer.
- Open CapCut: Launch the CapCut app on your device, whether it’s a mobile phone or tablet.
- Create a New Project: Tap on “New Project” to start a fresh editing timeline.
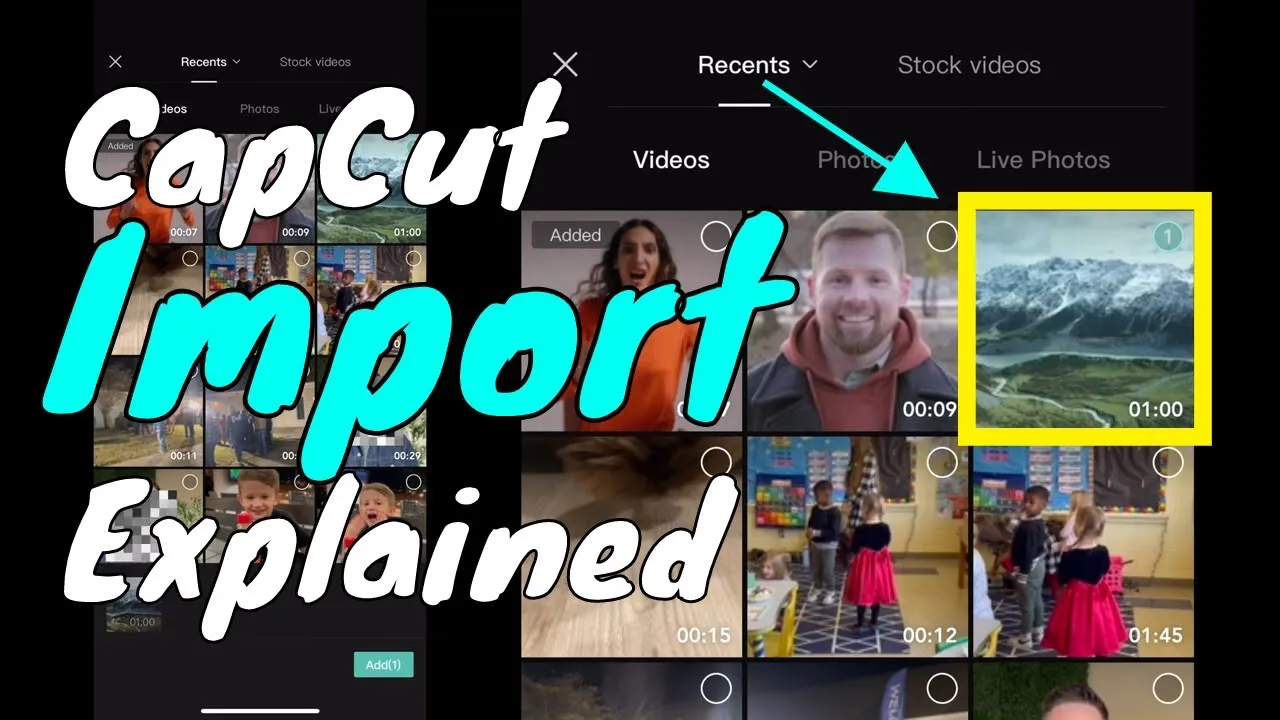
- Import the Video: Select the “Import” option, then locate the downloaded YouTube video in your device’s gallery or file manager.
- Edit to Your Heart’s Content: Once imported, you can trim, cut, and apply effects to the video to fit your project’s needs.
And there you have it! You’re ready to create stunning edits with content sourced from YouTube.
Also Read This: How to Change What Projects You See on Behance
Editing Your Imported Video in CapCut
Now that you’ve successfully imported your YouTube video into CapCut, it’s time to dive into the editing process! CapCut is packed with an array of tools and features that make editing enjoyable and efficient.
First, familiarize yourself with the timeline at the bottom of the screen. This is where you can see and manipulate your video clips. Here are some essential editing features to explore:
- Cutting and Trimming: Select the clip on the timeline, then use the scissors icon to cut out unwanted sections. You can also drag the edges of the video clip to trim it to your desired length.
- Adding Transitions: Smooth transitions can enhance the flow between clips. Tap on the transition icon between two clips and choose from a variety of options like 'Fade' or 'Slide.'
- Text and Titles: Want to add some text? Tap the “Text” button, type in your content, and customize it with different fonts and colors. You can also animate the text for added flair!
- Effects and Filters: CapCut offers numerous effects. From vintage looks to modern filters, find the right vibe that complements your video’s story.
- Audio Adjustments: Select the audio track to adjust volume, add sound effects, or incorporate background music. Don’t forget to sync audio with video for a polished look!
Once you’re satisfied with your edits, preview the video to make sure everything flows seamlessly before exporting. Happy editing!
Also Read This: Finding the Email Address of a YouTube Channel for Collaboration
Tips for Enhancing Video Quality
Ensuring your video has high quality is crucial for engagement. Here are some tips specifically for enhancing the quality of your imported YouTube videos in CapCut:
- Use High-Resolution Footage: Always start with the highest resolution video possible. This enhances clarity and detail, making your final product look more professional.
- Adjust Brightness and Contrast: Go to the color settings to tweak brightness and contrast. This simple adjustment can significantly elevate the visual appeal of your video.
- Stabilize Shaky Footage: If your video is shaky, use the stabilization tool in CapCut. This will smooth out those rough edges and create a more enjoyable viewing experience.
- Sharpen the Image: Adding a touch of sharpness can make your visuals pop. Be careful not to overdo it, as too much sharpening can introduce noise.
- Export Settings Matter: When you're ready to export, choose the highest quality settings available. Opt for 1080p or 4K if your footage supports it, as this will preserve the richness of your edits.
By following these tips, you’ll ensure your edited videos not only look great but also captivate your audience!
Importing YouTube Videos into CapCut for Seamless Editing
Editing videos has never been easier, especially with the rise of user-friendly applications like CapCut. For content creators and video enthusiasts, the ability to import YouTube videos directly into CapCut can streamline the editing process significantly. Below, we will explore the steps to import YouTube videos into CapCut, along with tips to ensure a seamless editing experience.
To import YouTube videos into CapCut, follow these simple steps:
- Download the YouTube Video: First, you need to download the video you wish to edit. There are several online tools and applications available, such as:
- Y2Mate
- ClipConverter
- 4K Video Downloader
In addition to these steps, ensure you follow copyright regulations when downloading and editing YouTube content. Always seek permission from the original creator if you plan to use their content publicly.
In conclusion, importing YouTube videos into CapCut is a straightforward process that enhances your editing capabilities and allows for creative freedom. By following the outlined steps and guidelines, you can create stunning videos efficiently.