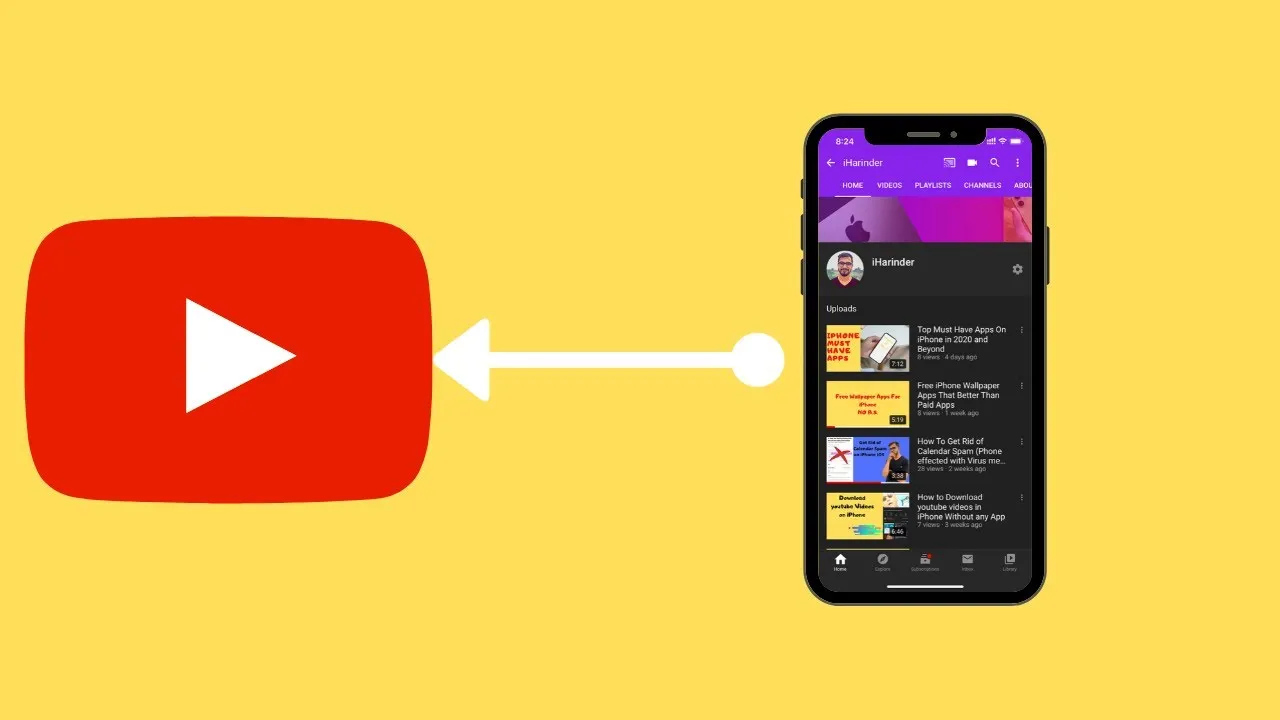
Uploading videos to YouTube from your iPhone is easier than you might think! Whether you're a budding filmmaker, a vlogger, or just want to share moments from your life, the YouTube app on your iPhone makes it simple and efficient. In this guide, we'll walk you through the process, ensuring that you have everything you need to get your videos online quickly and smoothly.
Preparing Your Video for Upload
Before you hit that upload button, it’s essential to prepare your video properly. This ensures that your content looks its best and follows YouTube's guidelines. Here are some steps to get you started:
- Editing Your Video: Use apps like iMovie or Adobe Premiere Rush on your iPhone to trim, cut, and enhance your video. Adding transitions, music, or text can make your video more engaging.
- Choosing the Right Format: Ensure your video is in a format supported by YouTube. The most common formats include MP4, MOV, and AVI. MP4 is highly recommended due to its balance of quality and file size.
- Optimizing Video Quality: Make sure to shoot your video in the highest resolution possible (1080p or 4K). This enhances the viewing experience for your audience.
- Creating Eye-Catching Thumbnails: Thumbnails are your video's first impression. Use tools like Canva to design a custom thumbnail that reflects your content and grabs attention.
- Writing a Good Title and Description: Think of a catchy title and a detailed description that includes relevant keywords. This helps your video get discovered by the right audience.
Taking these steps will not only prepare your video for upload but also increase its chances of reaching a wider audience. Happy filming!
Also Read This: Behance UX portfolio creation
Using the YouTube App to Upload Videos
Uploading videos to YouTube using your iPhone is a breeze with the YouTube app! If you’ve recorded a fantastic moment or created a vlog, you can share it with the world in just a few taps. Here’s how it works:
- Download the YouTube App: If you don’t have it yet, grab the YouTube app from the App Store. It’s free and super handy!
- Sign In: Open the app and sign in with your Google account. This step is crucial as it links your uploads to your channel.
- Tap the Camera Icon: Look for the camera icon at the top of the screen. This is your gateway to upload videos!
- Select Your Video: Choose a video from your library or record a new one directly through the app. You can even trim it to the length you prefer.
- Upload: Hit 'Next,' and you're almost there! You can add filters, music, and more before uploading.
Once you hit 'Upload,' your video will start processing. Depending on your internet speed, this might take a few minutes. So, grab a snack while you wait!
Also Read This: Develop Programmes with Canva Programme Template
Editing Video Details
After uploading, it’s essential to make sure your video catches the attention of viewers! Editing video details helps maximize its reach and appeal. Here’s how to do it:
- Title: Create an engaging title that reflects your video content. It should be catchy yet informative, like “Amazing Sunset Timelapse”!
- Description: Write a brief description of your video. It’s your chance to provide context. Include keywords to help with searchability.
- Tags: Add relevant tags that relate to your video. This will help people find your content easier. Think of terms like “travel,” “food,” or “DIY.”
- Thumbnail: Choose a compelling thumbnail image. You can select a frame from the video or upload a custom image that stands out.
- Privacy Settings: Decide if you want your video to be public, unlisted, or private. Public means everyone can see it, while private limits access.
Once you’ve made these adjustments, don’t forget to hit ‘Save’! Your video is now ready to shine on YouTube!
Also Read This: Understanding Hickok45's YouTube Earnings
5. Publishing Your Video
Once you’ve edited your video and are ready to share it with the world, publishing it on YouTube from your iPhone is a breeze! Here’s how to do it:
- Open the YouTube App: Launch the YouTube app on your iPhone. Make sure you're signed in to your account.
- Tap the Upload Icon: Look for the plus sign (+) at the bottom center of the screen. This is your gateway to uploading content.
- Select Your Video: Choose the video you want to upload from your camera roll. You can tap on the video thumbnail to select it.
- Add Details: Before publishing, you’ll need to enter some essential details:
- Title: Create a catchy title that reflects the content of your video.
- Description: Provide a brief description. This helps viewers know what to expect.
- Tags: Add relevant tags to boost discoverability. Think about keywords people might search for.
- Adjust Privacy Settings: Choose whether your video will be public, unlisted, or private. This is crucial for controlling who can see your content.
- Publish: Finally, hit the “Upload” button! Your video will start processing, and once ready, it’ll be live for everyone to see.
And there you have it! You’ve officially published your first YouTube video directly from your iPhone.
Also Read This: Can Alexa Connect to YouTube Music? Everything You Need to Know
6. Tips for Successful Uploads
To ensure your videos reach a wide audience and engage viewers effectively, here are some handy tips:
- Quality Over Quantity: Focus on producing quality content rather than churning out videos. A well-crafted video is more likely to be shared.
- Eye-Catching Thumbnails: Create custom thumbnails that stand out. Use bright colors and engaging images to grab attention.
- Engaging Titles: Craft titles that spark curiosity. Include keywords but keep it enticing!
- Consistency is Key: Upload consistently. Whether it’s once a week or twice a month, stick to a schedule.
- Encourage Interaction: Ask viewers to like, comment, and subscribe. Engaging with your audience builds a community around your channel.
- Promote on Social Media: Share your videos on your social media platforms. This can drive traffic to your channel.
- Analyze Your Performance: Use YouTube Analytics to see what works. Adjust your strategy based on viewer engagement and feedback.
By following these tips, you’ll set yourself up for success in the vast world of YouTube!
How to Upload YouTube Videos on Your iPhone
Uploading videos to YouTube from your iPhone is a straightforward process that allows you to share your content with a global audience. Whether you are a content creator, vlogger, or just want to share memorable moments, the YouTube app makes it easy. Here’s a step-by-step guide to help you upload videos seamlessly.
Step-by-Step Guide to Uploading Videos
- Prepare Your Video: Before uploading, make sure your video is edited and saved in your Camera Roll. You can use apps like iMovie or other editing software to enhance your video.
- Open the YouTube App: Launch the YouTube app on your iPhone. If you don't have it installed, download it from the App Store.
- Sign In: Ensure that you are signed in to your YouTube account. Tap on your profile icon at the top right corner and log in if necessary.
- Tap the "+" Icon: At the bottom of the screen, tap the "+" icon to start the upload process.
- Select Your Video: Choose the video you want to upload from your Camera Roll.
- Add Title and Description: Enter a catchy title and a detailed description to help viewers understand your video's content.
- Set Privacy Settings: Choose whether you want your video to be Public, Unlisted, or Private.
- Upload: Tap on the "Upload" button to start the process. You will receive a notification once your video has been uploaded successfully.
Tips for a Successful Upload
- Video Quality: Ensure your video is high quality (1080p or higher) for the best viewer experience.
- Thumbnail: Create an eye-catching thumbnail to attract viewers.
- Engage with Your Audience: Respond to comments and engage with viewers to build a community.
Uploading videos to YouTube from your iPhone is a simple yet effective way to share your creativity with the world. By following the steps outlined above, you'll be able to upload videos effortlessly and engage with your audience effectively.