If you're looking to create stunning videos and graphics, Canva is an excellent platform that simplifies the design process. One of the most convenient features it offers is the ability to upload videos directly from YouTube. This guide will walk you through this easy process, allowing you to elevate your projects with engaging visual content. Whether you’re a seasoned designer or just starting, integrating YouTube videos into your Canva projects can enhance creativity and save time.
Understanding the Benefits of Using Canva
Canva has become a go-to tool for individuals and businesses alike, and for good reason! Here are some of the standout benefits:
- User-Friendly Interface: Canva's drag-and-drop interface is incredibly intuitive, making it accessible for users of all skill levels. You don’t need to be a design expert to create professional-looking visuals.
- Wide Array of Templates: From social media posts to presentations, Canva offers a vast library of customizable templates. This can save you time and inspire creativity.
- Collaboration Features: Canva allows for team collaboration, enabling multiple users to work on a project simultaneously. This is perfect for businesses that require input from various team members.
- Access to Stock Media: With a built-in library of photos, graphics, and videos, Canva makes it easy to enhance your projects without needing to source additional visuals elsewhere.
- Brand Kit Functionality: Businesses can maintain consistency by using Canva’s Brand Kit, which allows you to upload logos, set color palettes, and choose fonts.
Ultimately, Canva streamlines the design process, making it easier to bring your visions to life while saving you time and effort. Whether you’re creating a video for a marketing campaign or a post for social media, Canva equips you with the tools to make it shine.
Also Read This: Using iStock Photos on Facebook – Legal Guidelines for Social Media Use
Preparing Your YouTube Video for Uploading
Before diving into the uploading process, it's essential to prepare your YouTube video to ensure a smooth transition to Canva. Here are a few steps to get you started:
- Check Video Quality: Ensure that your video is of high quality. This means checking both the resolution and the audio. Aim for at least 1080p for a crisp output.
- Gather Video Access: If the video is yours, make sure you have it saved in a format that Canva supports. For others' videos, you might need to get permission or use videos that are marked as Creative Commons.
- Note Video Details: Write down important details like video title, description, and any specific timestamps you want to highlight when uploading to Canva. This helps in organizing your project.
- Video Length: Consider the length of your video. Shorter videos can be easier to edit and integrate into Canva designs.
By taking these preparatory steps, you’ll set yourself up for success when uploading your video to Canva, ensuring that your project starts off on the right foot!
Also Read This: eStockPhoto: High-Quality Travel and Nature Videos
Step-by-Step Guide to Uploading Your Video to Canva
Now that your YouTube video is prepped and ready, let's walk through the steps to upload it to Canva. It's simpler than you might think!
- Sign In to Canva: Start by logging into your Canva account. If you don’t have one, it’s quick and free to create.
- Create a New Project: Click on the “Create a design” button. Choose a format that suits your needs, like “Video” or “Presentation.”
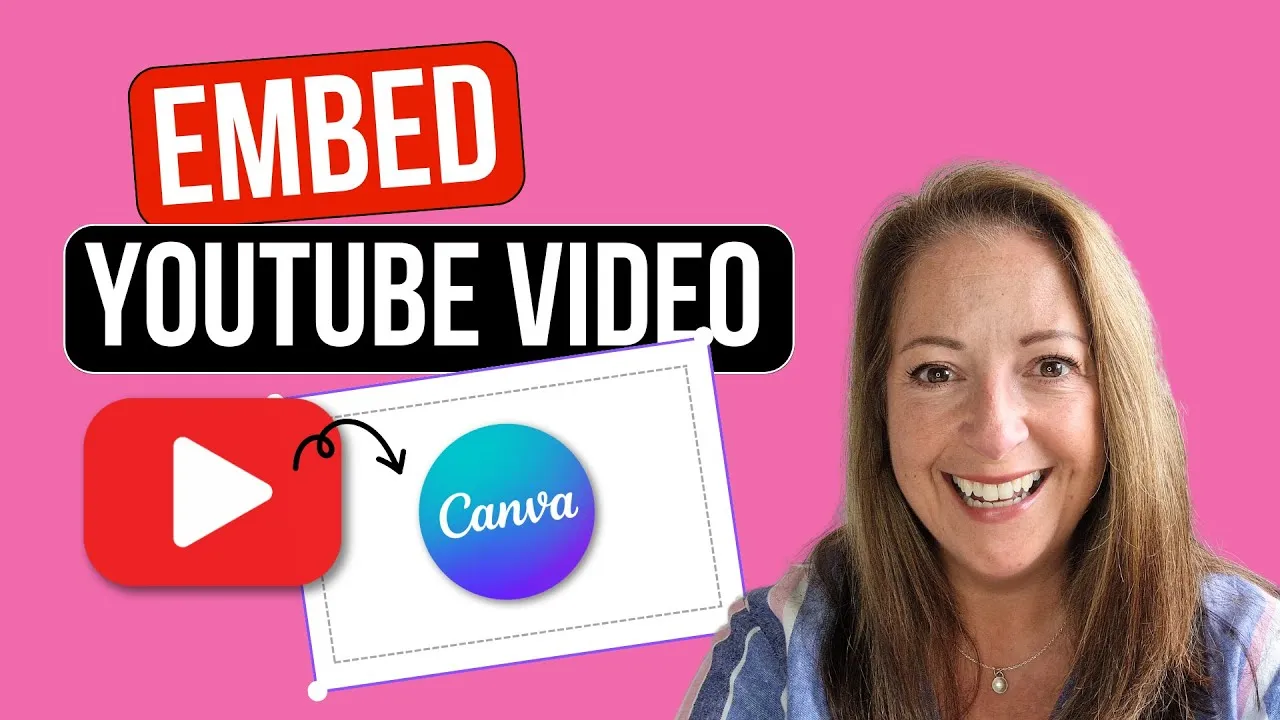
- Import Video: Go to the “Uploads” tab on the left menu. Click the “Upload Media” button, and select “From YouTube.”
- Link Your YouTube Video: Paste the URL of your YouTube video in the provided field and hit enter. Canva will pull in the video for you!
- Edit Your Video: Once uploaded, you can drag your video onto the canvas. Use Canva’s editing tools to trim, add text, filters, or even animations as needed.
- Save and Download: When you’re satisfied with your edits, click on the “Download” button in the top right corner. Choose your desired format and save your work!
And there you have it! Following these steps ensures a hassle-free uploading experience and gets you one step closer to creating stunning visuals with your videos on Canva.
Also Read This: How to Download Something from Behance
5. Editing Your Video in Canva
Once you've uploaded your YouTube video to Canva, it's time to dive into editing! Canva provides a user-friendly interface that makes video editing accessible, even if you’re a beginner. Here’s how you can enhance your video:
- Trim and Cut: You can easily trim clips or cut out unwanted sections. Just select your video on the timeline and drag the ends to adjust the length.
- Add Text: Want to deliver a message? Click on the text tool to insert titles, subtitles, or callouts. Make it stand out by customizing the font, color, and size!
- Include Transitions: Smooth out the flow of your video with transitions. Canva allows you to add effects between clips to keep your audience engaged.
- Incorporate Music and Sound Effects: Background music can elevate your video. Explore Canva’s library for royalty-free tracks or upload your own. Don’t forget to adjust the audio levels for a balanced sound!
- Add Images and Animations: Spice up your video with images or animated elements from Canva's vast library. They can serve as visuals to support your narrative.
Remember to frequently preview your video to see how your edits are coming together. With these tools, you can make your video not just watchable, but memorable!
Also Read This: Canva Shape Fit for Image
6. Finalizing and Downloading Your Edited Video
After polishing your video, it's time to finalize and download it. This step is crucial as it determines how your audience will receive your content. Here’s how to wrap it up:
- Review Your Changes: Take a moment to go through your video one last time. Check for any typos in text, ensure audio syncs perfectly, and that transitions flow smoothly.
- Adjust Video Settings: Before downloading, you can tweak settings like resolution and quality. Higher resolutions are better for platforms like YouTube but may take longer to upload.
- Download Options: Click on the 'Download' button in the top right corner. You can choose formats like MP4 or GIF, depending on your needs. MP4 is ideal for most video platforms.
- Share Directly: Canva also allows you to share your video directly to platforms like YouTube or social media. A great way to save time!
Once downloaded, your video is ready to be published, shared, or showcased. Congrats on completing your editing journey in Canva!
How to Upload Video to Canva from YouTube Easily
Uploading videos from YouTube to Canva can enhance your design projects by integrating dynamic content. Whether you want to use video clips for social media posts, presentations, or marketing materials, the process is straightforward. Follow these steps to easily upload videos from YouTube to Canva.
Step-by-Step Guide
- Find Your YouTube Video: Go to YouTube and locate the video you want to upload. Copy the URL from the address bar.
- Use a Video Downloader: Since Canva doesn’t support direct uploads from YouTube, you’ll need to download the video first. Use a reliable video downloader tool or website (like Y2Mate or SaveFrom) to convert the video to a compatible format.
- Download the Video: After pasting the video URL into the downloader, select your preferred quality and format, then click on the download button. Ensure the video is saved in MP4 or MOV format for optimal compatibility.
- Log in to Canva: Open Canva and log into your account. If you don’t have one, you can sign up for free.
- Create or Open a Project: Choose a template or start a new design. Click on the “Uploads” tab on the left sidebar.
- Upload Your Video: Click the “Upload Media” button, then select the downloaded video file from your device. Once uploaded, you can drag and drop it into your design.
Tips for a Smooth Process
- Ensure you have permission to use the video content.
- Check the file size; larger files may take longer to upload.
- Consider using a screen recorder for shorter clips if downloading isn’t feasible.
By following these steps, you can easily incorporate YouTube videos into your Canva designs, enhancing your visual storytelling and engagement.
Conclusion: Uploading videos from YouTube to Canva is a simple process that involves downloading the video first, but it opens up a world of creative possibilities for your projects.