Uploading photos to Getty Images can be a fantastic way to showcase your work and potentially earn money. Getty Images is a renowned stock photography platform that connects photographers with buyers seeking high-quality images. Whether you’re a professional photographer or an enthusiastic hobbyist, understanding the steps to upload your photos is essential. In this guide, we'll walk you through the process of creating an account and getting your images onto this prestigious platform. So, let’s dive in!
Creating a Getty Images Account
Before you can start uploading your stunning photographs to Getty Images, you need to create an account. This process is straightforward and only takes a few minutes. Here’s how you can do it:
- Visit the Getty Images website: Start by going to the official Getty Images website. You’ll find a user-friendly interface that helps you navigate easily.
- Click on “Sign Up”: Look for the “Sign Up” button, usually located at the top corner of the homepage. Click on it to begin the registration process.
- Fill in your details: You will be prompted to enter your personal information. This includes:
| Information Required | Details |
|---|---|
| Name | Your full name |
| Email Address | A valid email where you can receive notifications |
| Password | Create a secure password that meets the requirements |
| Location | Your country or region |
Once you’ve filled out the necessary information, double-check everything for accuracy. Then, agree to the terms and conditions by ticking the checkbox (make sure you read them!).
Finally, click on the “Create Account” button, and you might need to verify your email address. Just follow the instructions sent to your inbox, and voila! You’re now ready to start uploading your fantastic photos to Getty Images. Happy uploading!
Also Read This: Easy Steps Adding an Album to an Order in ShootProof
Preparing Your Photos for Upload
Getting your photos ready for upload to Getty Images is a vital step that can make a big difference in how your work is received. Think of it like preparing for a big presentation; you want everything to be just right! Here’s a handy checklist to help you through the process:
- File Format: Ensure your images are in either JPEG or TIFF format. These are the most widely accepted formats and will maintain the quality of your work.
- Image Size: Getty Images prefers images to be at least 4 MB in size and 300 DPI. This ensures high-quality prints and online displays.
- Color Profile: Use the Adobe RGB color profile for the best results. It helps in maintaining the vibrancy of your colors.
- Editing: While a little post-processing is fine, avoid over-editing. Keep your photos looking natural and true to the original scene.
- Metadata: Prepare descriptive titles and keywords for your images. This will help potential buyers find your work easily.
Before you hit that upload button, take a moment to review your photos. Make sure they are sharp, well-composed, and free of distractions. A little extra care in preparation can really pay off!
Also Read This: Understanding Getty Images Royalty Payments for Contributors
Understanding Getty Images Submission Guidelines
Before diving into the upload process, it's crucial to familiarize yourself with Getty Images' submission guidelines. These rules are in place to maintain the quality and integrity of the platform. Here’s a breakdown of what you need to know:
| Guideline Category | Details |
|---|---|
| Content Quality | Images must be high-resolution and free from noise, blurriness, or artifacts. |
| Model Releases | If your photos include people, you’ll need a signed model release form. |
| Property Releases | For recognizable private properties, obtaining a property release is necessary. |
| Copyright | Make sure you own the copyright or have the rights to sell the images. |
| Exclusivity | Consider if you want to offer your images exclusively to Getty Images for better commission rates. |
Understanding these guidelines not only increases your chances of acceptance but also helps ensure that you're presenting your work professionally. The more you know, the better prepared you’ll be!
Also Read This: How to Delete the YouTube App on Your TV and Free Up Space on Your Device
5. Step-by-Step Photo Upload Process
Ready to showcase your photography skills on Getty Images? Uploading your photos is a straightforward process, and I'm here to guide you through it step-by-step. Just follow along!
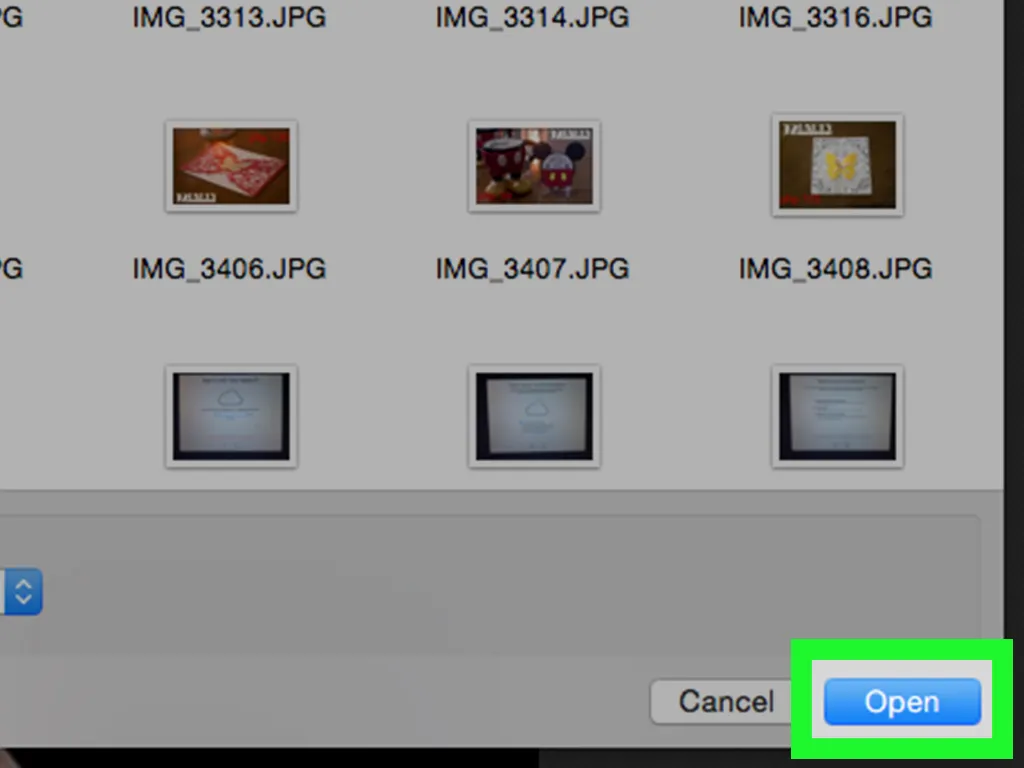
- Create an Account: First things first, if you haven’t already, sign up for a contributor account on Getty Images. You can do this by visiting their website and clicking on the “Become a Contributor” option. Fill out the necessary details and verify your email.
- Prepare Your Photos: Before uploading, ensure your images are high quality. Getty Images has specific requirements, including:
- Minimum resolution of 4 megapixels
- JPEG format
- No watermarks or borders
And that’s it! You’re now on your way to having your photos featured on one of the world’s largest stock photography platforms.
6. Reviewing and Managing Your Uploaded Photos
Great job on uploading your photos! Now that your images are in the system, you’ll want to keep track of them. Managing your portfolio on Getty Images is essential for maximizing your potential sales and ensuring everything is up to date. Here’s how you can review and manage your uploaded photos effortlessly.
- Access Your Portfolio: Log into your Getty Images contributor account and navigate to your portfolio section. Here, you’ll see all your uploaded images, along with their current status (approved, pending, or rejected).
- Check Performance: Getty Images provides insights on how your photos are performing. You can see download statistics and trends. This information is crucial for understanding what types of images resonate with buyers.
- Edit Metadata: If you notice that some images aren’t getting the traction you expected, consider editing their metadata. You can modify titles, descriptions, or keywords to improve searchability.
- Delete or Archive Images: Not every photo will be a hit. If there are images that aren't performing well, you might want to delete or archive them to keep your portfolio fresh and relevant.
- Stay Updated: Regularly check for any updates or changes in Getty Images’ policies or requirements. This ensures that your contributions always meet their standards.
- Engage with the Community: Join forums or social media groups for Getty Images contributors. Sharing experiences and tips can greatly enhance your success.
By actively managing your uploaded photos, you not only improve your chances of making sales but also refine your skills as a photographer. Happy managing!