So, you've just captured some amazing moments on your iPhone and want to share them with the world on YouTube? You're in the right place! Uploading videos to YouTube from your iPhone can be super easy and fun, but there are a few steps you should follow to make sure everything goes smoothly. Whether it’s a travel vlog, a cooking tutorial, or just a fun day out, let’s dive into how you can get your content from your iPhone to
Preparing Your Video for Upload
Before you hit that upload button, it’s essential to prep your video for the best possible presentation. Here’s a step-by-step guide to help you get your video ready:
- Choose the Right Format: YouTube supports various video formats, but the most common and recommended format is MP4. If your video isn’t in this format, consider converting it using a reliable app.
- Edit Your Video: Take some time to edit your video. Use apps like iMovie or Adobe Premiere Rush to trim unnecessary parts, add music, or insert text. Editing can enhance the overall quality and make your video more engaging.
- Check Video Quality: Make sure your video is in high definition. YouTube supports resolutions up to 4K, but at the very least, aim for 1080p for a crisp viewing experience.
- Add Metadata: Before uploading, consider preparing your title, description, and tags. A catchy title and a detailed description can help your video get noticed. Tags will improve your video’s visibility in search results.
- Choose a Thumbnail: Thumbnails are the first thing viewers see, so create an eye-catching image that represents your video well. You can use tools like Canva to design your thumbnail easily.
Once you’ve prepped your video with these tips, you’ll be ready to upload and share your creation with the world. Happy uploading!
Also Read This: Mastering the Art of Blending Eyeliner for a Soft and Smudged Look
3. Using the YouTube App to Upload
Uploading videos to YouTube directly from your iPhone has never been easier, thanks to the YouTube app. If you've captured some amazing moments on your iPhone, here's how you can share them with the world in just a few simple steps!
Step-by-Step Guide:
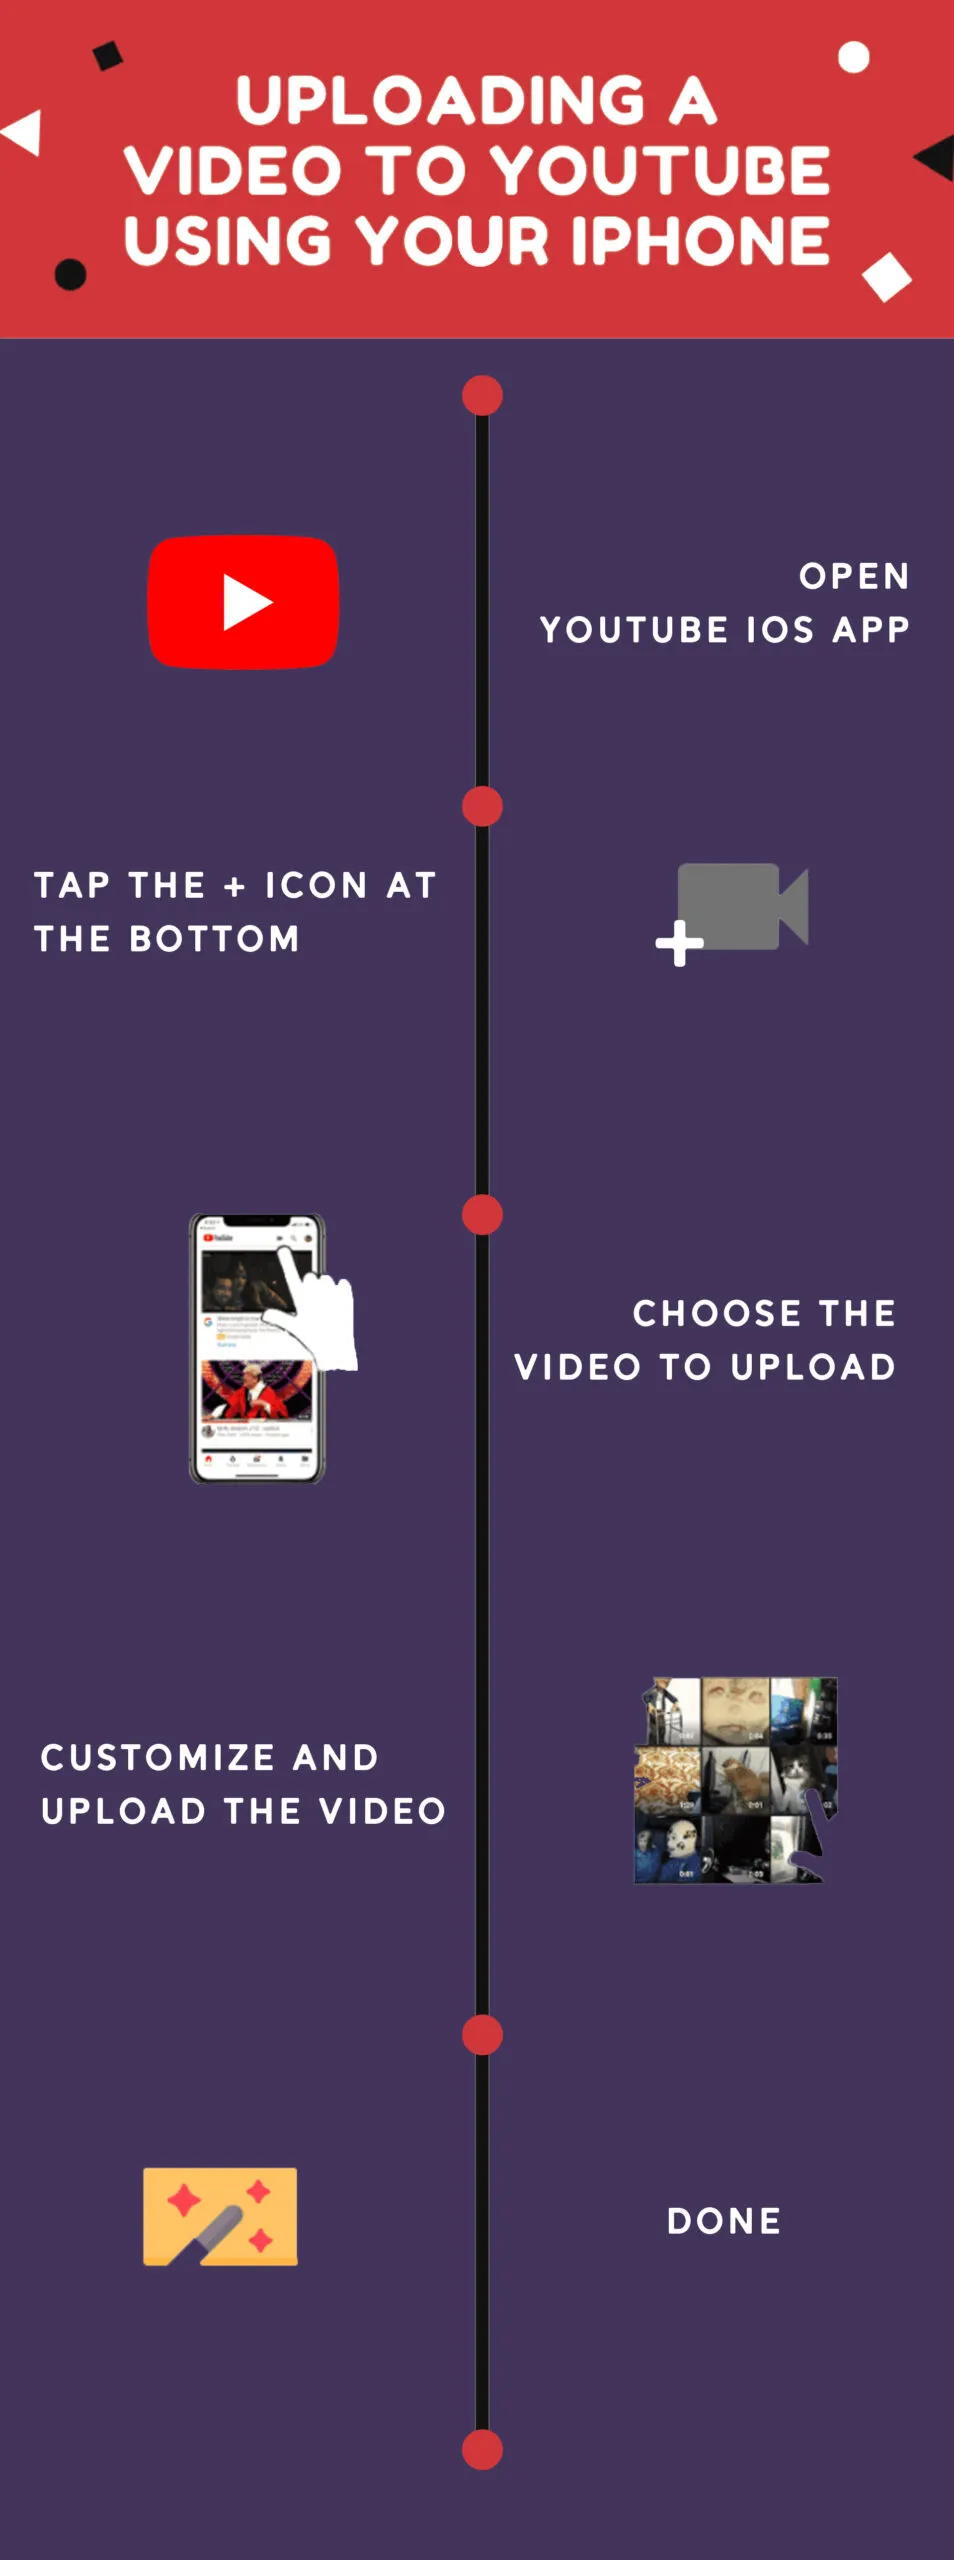
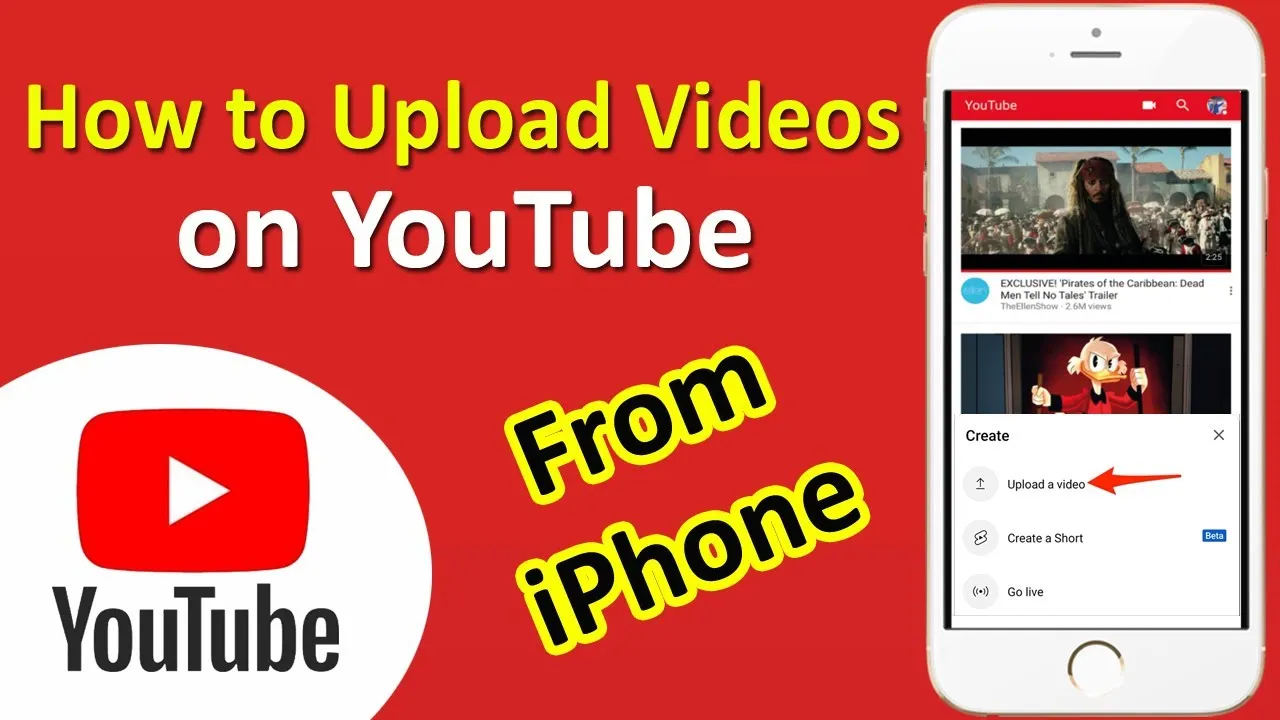
- Open the YouTube App: Start by launching the YouTube app on your iPhone. Make sure you're logged into your account. If you haven't logged in yet, tap on the profile icon at the top right corner and enter your credentials.
- Tap on the Create Button: Look for the camera icon or the "+" sign at the bottom of the screen. This is your gateway to uploading content.
- Select Your Video: You can either choose a video you've already recorded or tap on "Record" to capture a new video directly. If you're selecting from your library, simply browse through your videos and tap on the one you want to upload.
- Add Details: Once you've chosen your video, you'll be prompted to add a title, description, and tags. This is your chance to make your video searchable, so think creatively!
- Adjust Privacy Settings: Decide whether you want your video to be public, unlisted, or private. This is crucial for controlling who can see your content.
- Hit Upload: After everything looks good, simply tap on the "Upload" button. Your video will start uploading, and you can monitor its progress.
And just like that, your video is live on YouTube! You can share the link with friends or promote it on social media to reach a wider audience.
Also Read This: Creating a video grid on Behance
4. Uploading via a Computer
If you prefer using a computer to upload your iPhone videos to YouTube, you're in luck! This method can sometimes be more straightforward, especially when dealing with larger files or multiple uploads. Here’s how to do it:
Step-by-Step Guide:
- Transfer Your Video to Your Computer: First, you'll need to get your video off your iPhone. You can do this via USB cable or by using cloud services like iCloud or Google Drive. If you're using a USB cable, simply connect your iPhone to your computer, open iTunes (or Finder on macOS Catalina and later), and select your device. From there, navigate to the "Photos" or "Movies" section to import your video.
- Open YouTube in Your Browser: Once your video is on your computer, open your favorite web browser and go to the YouTube website. Log in to your account if you haven't already.
- Click on the Upload Button: On the YouTube homepage, look for the camera icon with a "+" sign, usually located at the top right. Click on it and select "Upload video."
- Choose Your Video File: You'll be prompted to drag and drop your video file or select it from your computer. Locate the video you transferred and select it.
- Add Video Details: As the video uploads, you’ll be able to add a title, description, and tags. Make sure to optimize these for search!
- Set Privacy Settings: As with the app, you can choose to make your video public, unlisted, or private. Choose wisely based on your audience.
- Finalize and Publish: Once everything is set, click on "Publish" to make your video live on YouTube. You can also schedule it for a later time if you prefer.
And that’s all there is to it! Uploading via a computer can give you more control over the video quality and settings, making it a preferred choice for many content creators.
Also Read This: Design Giving Tuesday Campaigns with Canva Giving Tuesday Templates
5. Editing Video Details on YouTube
Once your video is uploaded to YouTube, it's time to make it shine with the right details. Editing video details is crucial because it helps your audience find your content and understand what it’s about. Let's break down the essential elements you can edit:
- Title: Your video's title is the first impression viewers will get. Make it catchy and informative. Try to include keywords that people might search for.
- Description: This is where you provide more context about your video. Include a brief summary, relevant links, and timestamps if applicable. A well-crafted description can boost your video's SEO.
- Tags: Tags help YouTube categorize your video. Use relevant keywords and phrases that relate to your content to improve discoverability.
- Thumbnail: A custom thumbnail can make your video stand out in a sea of content. Choose an eye-catching image that accurately represents your video.
- Playlist: Adding your video to a playlist can encourage viewers to watch more of your content. Think about how your video fits into a broader theme.
- End Screens & Cards: These allow you to promote other videos, playlists, or even your channel during or at the end of your video. It's a great way to keep viewers engaged!
Editing these details can significantly impact your video's performance. The more thought and effort you put into this stage, the better your chances of reaching a larger audience!
6. Conclusion
Uploading a video from your iPhone to YouTube might seem daunting at first, but it can be a straightforward process if you break it down into manageable steps. Starting from capturing your video to editing it on YouTube, each stage plays a vital role in presenting your content effectively.
Remember, the key to a successful upload lies not just in the video itself but also in how you present it. Crafting a captivating title, a detailed description, and eye-catching thumbnails can make a world of difference in attracting viewers.
So, whether you're sharing a fun moment, a tutorial, or your latest adventure, following these tips will help you create a polished, professional-looking video that stands out on YouTube. Don’t forget to engage with your audience through comments and social media – building a community around your channel can lead to even more success!
Now that you know how to upload and enhance your videos, it's time to get creative! Enjoy the process, and happy uploading!