Uploading a YouTube video from your iPhone is a straightforward process that allows you to share your creativity with the world. Whether it's a vlog, a tutorial, or a fun clip, the convenience of doing it directly from your device means you can capture moments and share them instantly! In this guide, we'll walk you through the essential steps to get your video live on YouTube, starting with preparing your content for upload.
Preparing Your Video for Upload
Before you hit that upload button, it's crucial to ensure your video is polished and ready for your audience. Here are some key steps to help you prepare your video:
- Select the Right Format: YouTube supports various video formats, but MP4 is the most commonly used. Ensure your video is in a compatible format to avoid playback issues.
- Edit Your Video: Use editing apps like iMovie or InShot to trim unnecessary footage, add music, or incorporate transitions. This will enhance the quality of your final product.
- Quality Check: Always preview your video before uploading. Check for audio clarity, video resolution, and overall flow. Aim for a resolution of at least 1080p for optimal viewing.
- Create a Captivating Thumbnail: Thumbnails are your video's first impression! Use tools like Canva to design an eye-catching thumbnail that represents your content well.
- Add Metadata: Prepare a title, description, and tags that accurately reflect your video's content. This helps in searchability and attracts viewers.
By following these steps, you'll ensure your video is not only ready for upload but also appealing to your audience. Happy filming and good luck with your YouTube journey!
Also Read This: Troubleshooting Education Entries on LinkedIn for Adding Schools Not Listed
Steps to Upload a Video on YouTube Using iPhone
Uploading a video to YouTube from your iPhone is a straightforward process! Follow these simple steps to share your creativity with the world:
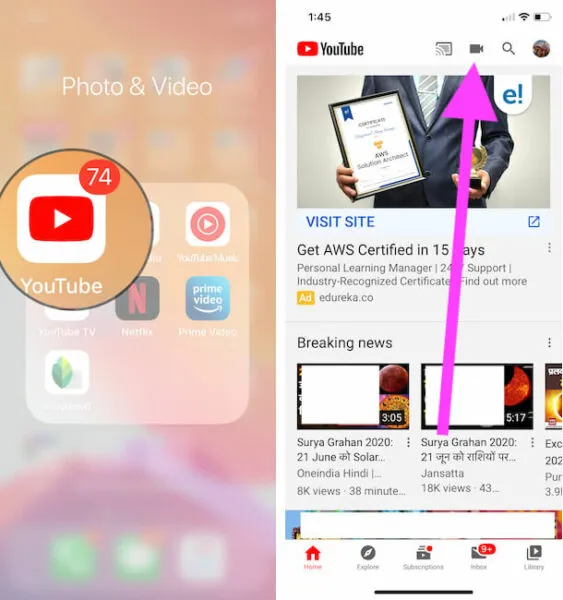
- Open the YouTube App: Make sure you have the YouTube app installed. Open it and sign in to your account.
- Tap the Plus Icon: Look for the plus (+) icon at the bottom center of the screen. This is your gateway to uploading content!
- Select 'Upload a Video': After tapping the plus icon, choose the 'Upload a Video' option. This will take you to your camera roll.
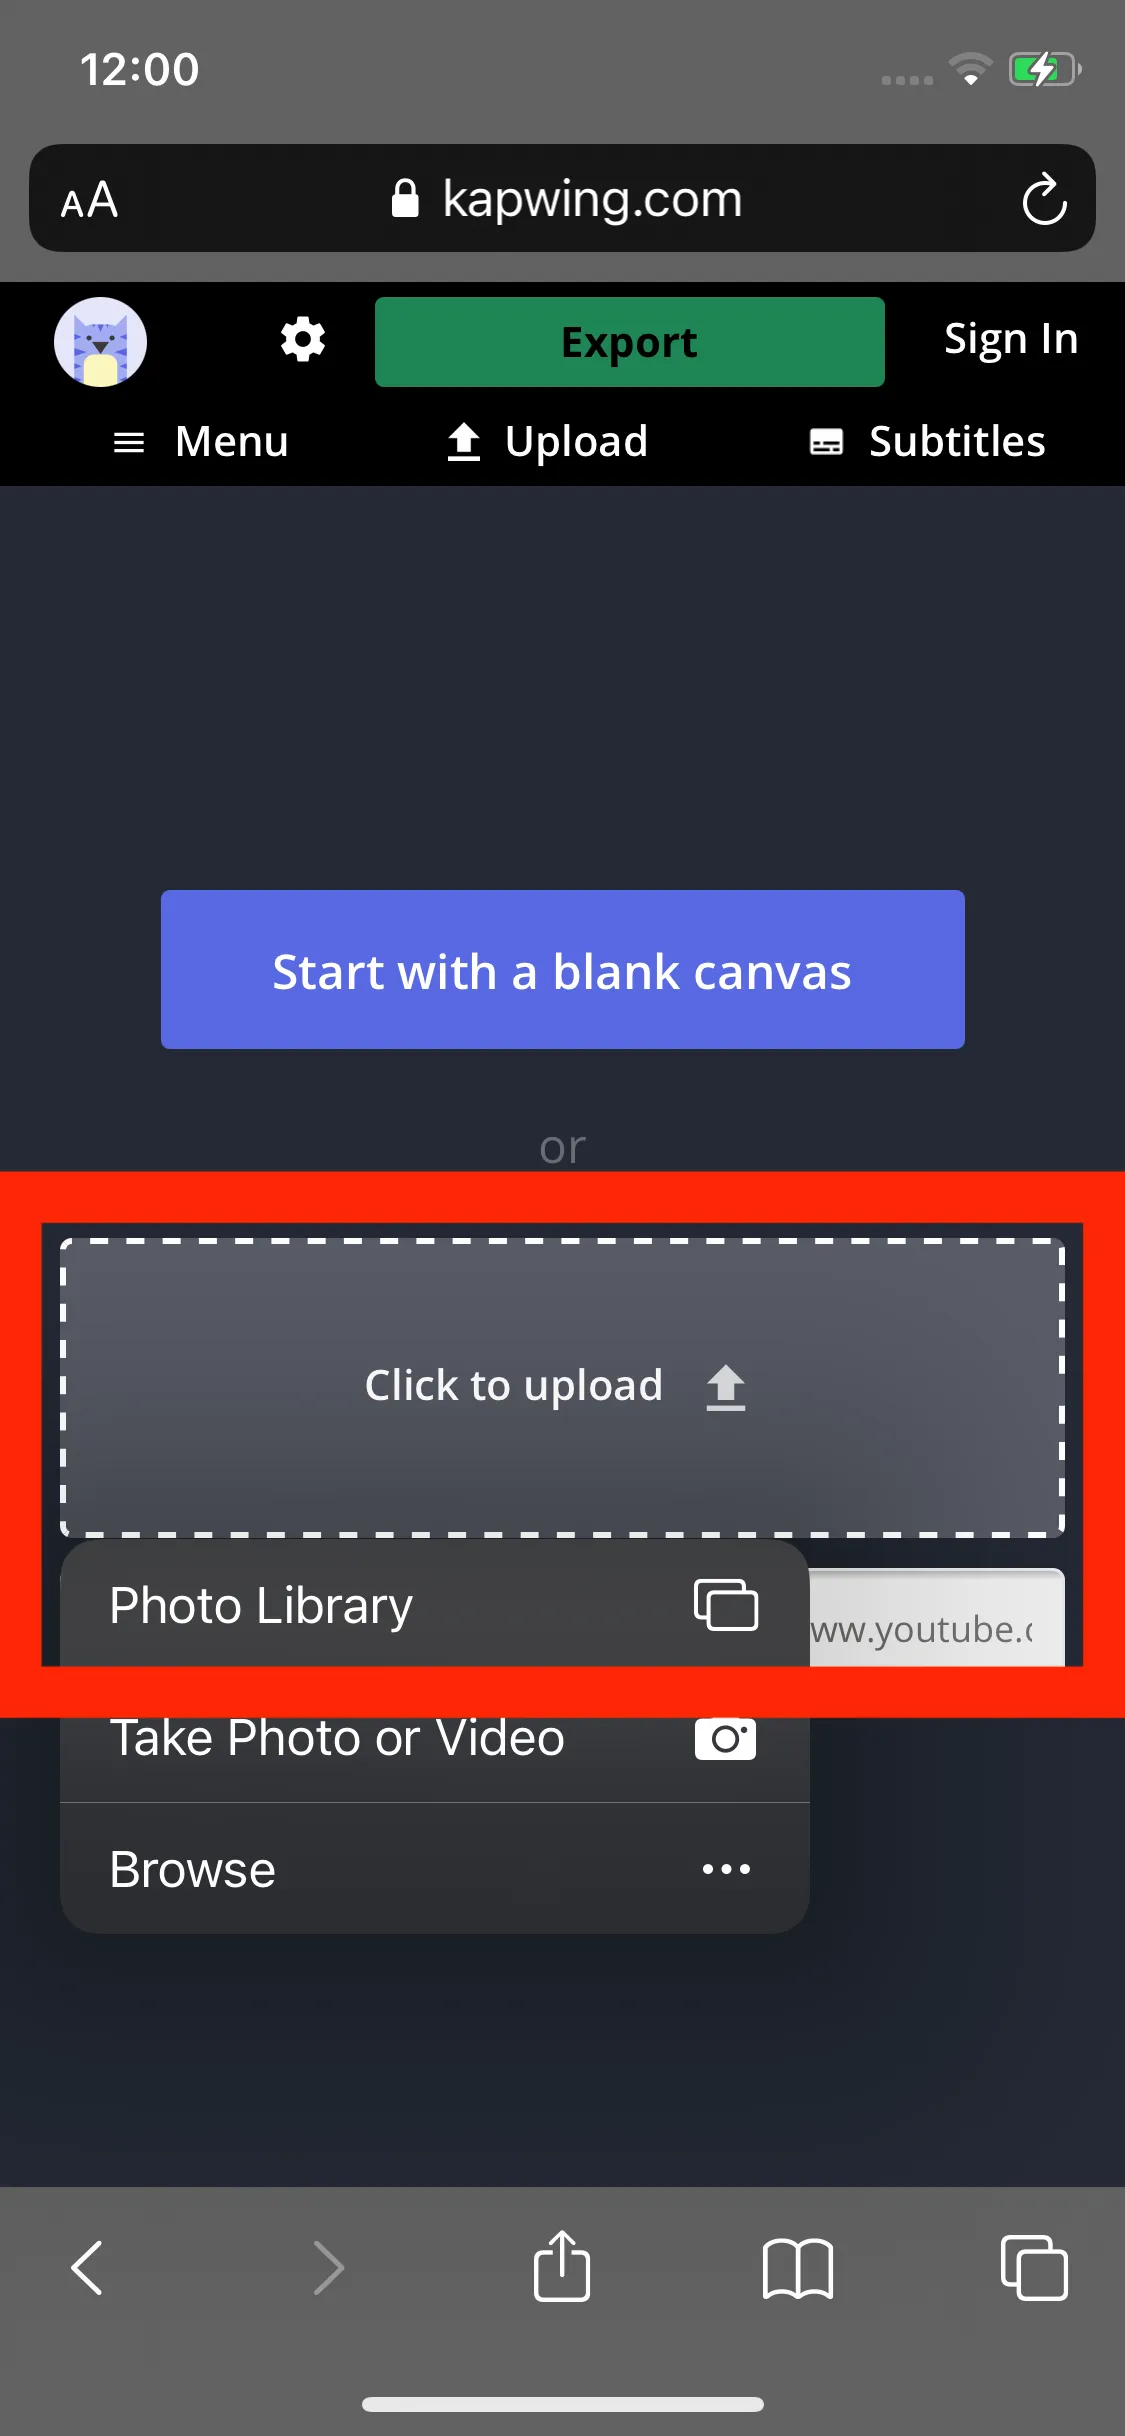
- Choose Your Video: Browse through your videos and select the one you want to upload. You can also record a new video by tapping the camera icon.
- Add Details: Once you select your video, you'll have the chance to add a title and description. Make it catchy! This is what viewers will see first.
- Customize Settings: Choose the privacy settings for your video—public, unlisted, or private. You can also add it to a playlist if you have one!
- Tap 'Upload': After setting everything, hit the 'Upload' button. Your video will start processing and will be live on your channel shortly!
And just like that, you’ve shared your video with the YouTube community!
Also Read This: Design Announcements Using Canva Announcement Template
Editing Your Video Before Uploading
Before hitting that upload button, it’s a good idea to polish your video a bit! Here’s how you can edit your video directly on your iPhone:
- Use iMovie: The iMovie app is a great tool for quick edits. You can trim clips, add music, and even include text overlays.
- Adjust Video Settings: Play around with brightness, contrast, and saturation to ensure your video looks stunning.
- Include Filters: Adding filters can give your video a unique vibe. Experiment with different styles to find your aesthetic.
- Trim and Rearrange: Make sure your video flows smoothly by trimming off any unnecessary parts and rearranging clips if needed.
- Add Captions or Subtitles: This is especially helpful for accessibility. It ensures everyone can enjoy your video, regardless of hearing ability.
Taking the time to edit your video can significantly enhance its quality and make it more engaging for your viewers. Remember, a well-edited video is more likely to capture attention!
Also Read This: How to Unsubscribe from LinkedIn and Stop Notifications
5. Adding Descriptions and Tags
Once you've uploaded your video on YouTube using your iPhone, it’s time to enhance its visibility with a compelling description and relevant tags. Not only do these elements make your video more discoverable, but they also provide viewers with context about what to expect.
Start by crafting a description that is engaging and informative. Aim for 150-300 words that encapsulate your video's content, purpose, and any important points you want to highlight. Here’s a simple structure you can follow:
- Hook: Begin with an intriguing sentence that draws viewers in.
- Summary: Briefly explain what the video is about.
- Call to Action: Encourage viewers to like, subscribe, or leave a comment.
Next, let’s talk about tags. These are keywords that describe your video content and help YouTube categorize it properly. Think of tags as the keywords to your SEO strategy. Here are some tips for tagging:
- Use a mix of broad and specific tags.
- Include variations of common phrases people might search for.
- Limit tags to about 10-15 relevant keywords.
Incorporating well-thought-out descriptions and tags will boost your video's chance of reaching a wider audience. So, take your time to make these sections shine!
Also Read This: How to Sell Your Photos on Shutterstock and Increase Your Sales
6. Setting Video Privacy and Publishing
Before you hit that publish button, you’ll need to determine the privacy settings for your video. YouTube offers three main privacy options: Public, Unlisted, and Private. Each serves a unique purpose:
| Privacy Setting | Description |
|---|---|
| Public | Your video is visible to everyone and can be found through search. |
| Unlisted | Only people with the link can view your video. It won’t appear in search results. |
| Private | Only you and the users you select can view the video. |
Choose the option that fits your intention for sharing the video. If you want to reach a broad audience, go with Public. If you’re sharing it with a select group, consider Unlisted or Private.
After setting your privacy, double-check all the details - the title, description, tags, and thumbnail. Once you’re satisfied, hit Publish! Congratulations, your video is now live for the world to see. Enjoy watching your audience grow and engage with your content!
Also Read This: Finding Friends and Fans on Rumble
Troubleshooting Common Upload Issues
Uploading videos to YouTube from your iPhone is usually smooth sailing, but sometimes you might encounter a few hiccups. Don’t worry; let’s iron out those kinks together!
Here are some common issues you might face:
- Slow Internet Connection: If your Wi-Fi or cellular data is slow, the upload might take forever or even fail. Try switching to a more reliable network.
- Insufficient Storage: Make sure you have enough space on your iPhone. If your device is running low on storage, it might not allow you to upload. Check your storage settings and delete unnecessary files if needed.
- App Crashes: Sometimes, the YouTube app can be a bit temperamental. If the app crashes during upload, try restarting your iPhone or reinstalling the app.
- File Format Issues: Ensure your video is in a supported format. YouTube typically accepts .MP4, .MOV, and .AVI files. Convert your video if it’s in a different format.
- Update the App: An outdated YouTube app can cause problems. Check the App Store for updates and install them to ensure smooth functionality.
If you encounter any of these issues, try the suggested solutions, and your upload should be back on track in no time!
Conclusion
Uploading a YouTube video from your iPhone is a fantastic way to share your creativity with the world. Whether you’re vlogging your daily adventures, showcasing your talent, or sharing educational content, the process is fairly simple.
To recap:
- Open the YouTube app and log into your account.
- Tap the upload button and select your video.
- Edit your video details, including title and description.
- Choose your privacy settings and hit 'Upload.'
With a few simple steps and some troubleshooting tips up your sleeve, you're ready to upload like a pro. Remember, practice makes perfect, so don’t hesitate to experiment with different video styles and formats. Happy uploading, and who knows? Your next video might just go viral!