Before you can start recording your favorite shows and movies on YouTube TV, you need to set up your account. Don’t worry; it’s a straightforward process! Here’s how to get started:
- Create a Google Account: If you don't already have a Google account, you’ll need one. Simply go to the Google sign-up page, enter your details, and follow the prompts.
- Sign Up for YouTube TV: Once you have your Google account, head over to the YouTube TV website. Click on the “Try it free” button to start your subscription. You’ll need to provide payment information, but you can enjoy a free trial if you're a new user.
- Select Your Channels: YouTube TV offers a variety of channels. During the setup, you’ll be prompted to choose your preferred channels. Take a moment to browse through the options and select the ones you love.
- Set Your Location: Make sure to enter your zip code. This helps YouTube TV know which local channels to include in your lineup. It’s a great way to catch up on local news and sports!
- Download the App: YouTube TV is available on various devices. Download the app on your smartphone, tablet, or smart TV to access your favorite content wherever you go.
And there you go! With just a few simple steps, you’re all set up and ready to start watching your favorite shows and movies.
How to Record Shows and Movies on YouTube TV
Now that your YouTube TV account is up and running, let’s dive into how to record shows and movies. Recording on YouTube TV is a breeze, thanks to its built-in cloud DVR feature. Here’s how to do it:
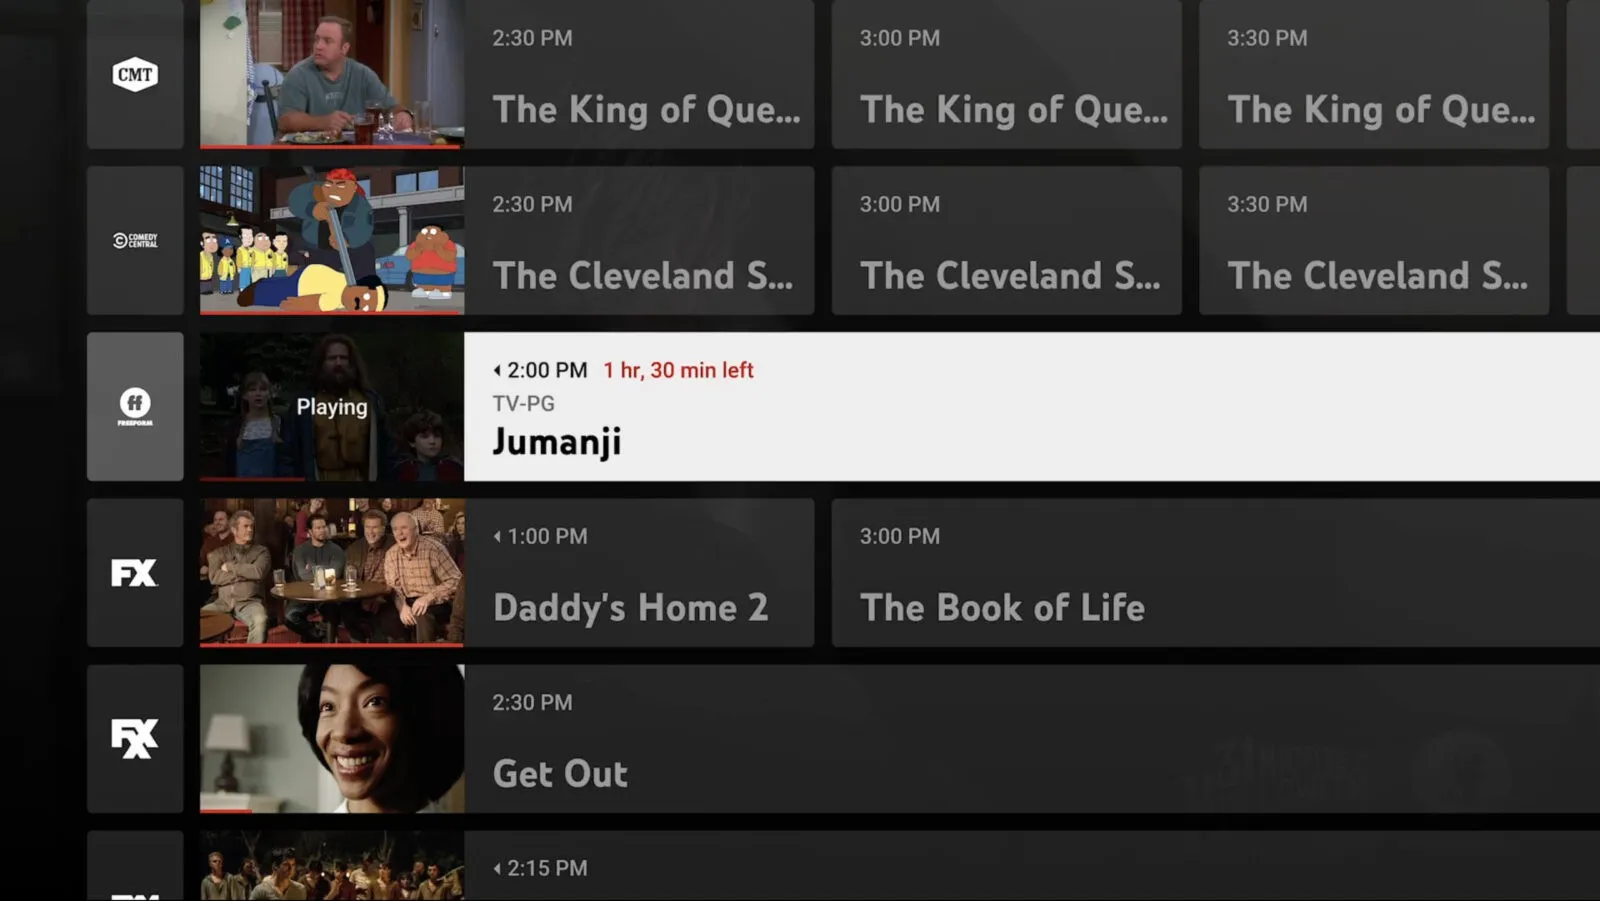
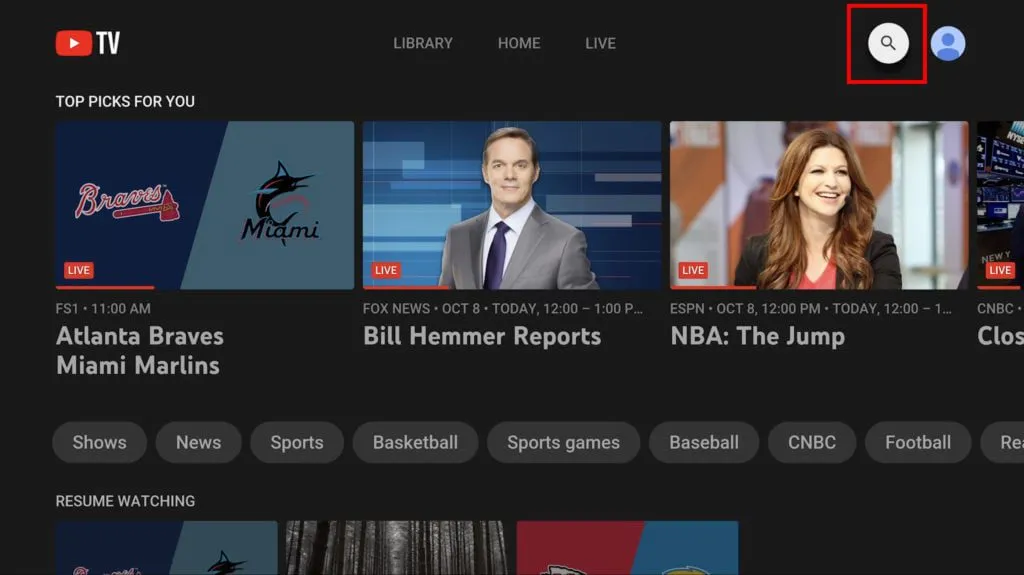
- Browse the Content: Navigate through the YouTube TV interface to find the show or movie you want to record. You can search by title, genre, or browse through the available channels.
- Use the “Record” Option: Once you’ve found the show, click on it to open its details. Look for the red “Record” button. Click on it, and voila! You’ve set up a recording.
- Manage Your Recordings: You can check all your recorded content by going to the “Library” section. Here, you can see all your recorded shows and movies, and you can even delete them if you no longer want to keep them.
- Set Up Series Recordings: If you’re a fan of a particular show, you can opt to record every episode automatically. Just click on the “Record” button, and select “Record all episodes.” This way, you’ll never miss a moment!
- Watch Your Recordings: To watch your recorded content, head back to the “Library.” Click on the show or movie you wish to watch, and enjoy!
Remember, YouTube TV offers unlimited cloud DVR storage, so feel free to record as much as you want without worrying about running out of space!
Also Read This: List of Top Cyber Security Linkedin Profiles
5. Managing Your Recordings
Once you've started recording shows and movies on YouTube TV, the next step is to manage your recordings effectively. This ensures you can find and enjoy your favorite content without any hassle. Here are some handy tips to help you keep your recordings organized:
- Check Your Library: All your recordings can be found in the "Library" section of YouTube TV. Here, you can easily see what you’ve recorded and how much space each recording occupies.
- Delete Unwanted Recordings: To free up space, go through your library and delete shows you no longer wish to keep. Simply click on the recording and select the delete option. It’s that easy!
- Sort Your Recordings: YouTube TV allows you to sort your recordings by date, title, or even by genre. This feature can save you a lot of time when you're searching for a specific show.
- Manage Storage Space: YouTube TV offers unlimited storage for recordings, but there’s a catch — recordings are only kept for nine months. So, make sure to keep an eye on your library and delete any shows that you’ve already watched.
- Set Recording Preferences: You can customize your recording settings by choosing to record only new episodes or all episodes of a show. This can help you avoid unnecessary clutter in your library.
By following these tips, you'll find that managing your recordings on YouTube TV becomes a breeze, allowing you to focus more on enjoying your favorite shows and movies!
Also Read This: How to Remove LinkedIn Premium Subscription
6. Accessing and Watching Recorded Content

Now that you've recorded your favorite shows, accessing and watching them is straightforward and user-friendly. Let’s break down the steps to ensure you never miss a moment of your beloved content:
- Navigate to Your Library: Start by opening YouTube TV and clicking on the "Library" tab. This is where all your recorded shows and movies are stored, so it’s your go-to spot!
- Find Your Recordings: Scroll through your library to locate the recordings. They are typically organized by date or title, making it easy to find what you're looking for.
- Watch Your Content: Click on the show or movie you want to watch. You’ll have options to play, pause, or rewind, just like traditional TV!
- Resume Watching: If you’ve started a show and had to pause, YouTube TV will remember your place. Simply return to the recording, and you can pick up right where you left off.
- Download for Offline Viewing: While YouTube TV doesn’t natively support downloads, you can use certain third-party tools if you want to watch your recordings offline. Just be cautious and ensure you’re complying with copyright laws.
With these simple steps, accessing and enjoying your recorded content on YouTube TV will be a seamless and enjoyable experience. Happy watching!
Also Read This: Behance client acquisition tips
Troubleshooting Common Issues
Recording your favorite shows and movies on YouTube TV can be a seamless experience, but sometimes things don't go as planned. Here’s how to troubleshoot some common issues you might encounter:
- Failed Recordings: If your recordings aren’t saving, check your storage space. YouTube TV provides unlimited cloud storage, but you may have reached the limit on the number of recordings allowed for a particular show or series.
- Missing Shows: Sometimes, you might find that a show you expected to record didn't show up. This can happen if the show is moved to a different time slot or if there are regional restrictions. Always double-check the show’s airing schedule.
- Playback Issues: If you’re having trouble playing back recorded content, try clearing your app cache or reinstalling the app. Also, make sure your internet connection is stable and fast enough.
- Recording Conflicts: You may experience conflicts if you're trying to record multiple shows at the same time, especially during prime time. To avoid this, review your scheduled recordings and adjust as necessary.
- Device Compatibility: Some devices may not support certain features. Ensure that your device is compatible with YouTube TV and that the app is updated to the latest version.
If issues persist, consider visiting the YouTube TV help center or forums where fellow users may have shared solutions. Remember, troubleshooting is often just a matter of patience and investigation!
Conclusion
Recording shows and movies on YouTube TV is a fantastic way to ensure you don’t miss your favorite content, and with the right tools and techniques, it can be a breeze. As we've discussed, from setting up your DVR to troubleshooting common issues, there’s a lot you can do to make the most out of your viewing experience.
Here’s a quick recap of what we covered:
- Understanding YouTube TV’s DVR capabilities enables you to save content for later viewing.
- Scheduling recordings ensures you capture all the episodes you love without hassle.
- Troubleshooting common issues helps you get back on track if things go awry.
So, whether you want to binge-watch a series over the weekend or catch that must-see movie, YouTube TV has you covered. Now, grab your popcorn, set those recordings, and enjoy a world of entertainment at your fingertips!