Have you ever stumbled upon a YouTube video with a soundtrack or audio clip that you just had to save? Whether it’s a catchy tune, an inspiring speech, or a memorable podcast episode, capturing that sound can be easier than you think! In this guide, we’ll explore a simple method to record audio from YouTube videos without diving into complex software or technical jargon. Let’s get started on your audio recording adventure!
Understanding Copyright and Fair Use
Before you hit that record button, it’s crucial to understand the legal landscape surrounding audio recordings, particularly when it comes to YouTube content. Copyright laws protect the rights of creators, meaning that many audio clips you find online are not free to use without permission. Here’s a breakdown to help clarify things:
- Copyright: This is the legal right that gives creators control over how their original work is used, distributed, and reproduced. If you record and use copyrighted audio without permission, you could potentially face legal consequences.
- Fair Use: In some cases, you might be able to use a portion of copyrighted material without permission. Fair use generally covers situations like criticism, commentary, news reporting, teaching, scholarship, or research. However, this is a gray area and varies from case to case.
Here are a few key points to consider regarding fair use:
| Factor | Description |
|---|---|
| Purpose and Character | Using audio for educational, non-commercial purposes may qualify as fair use. |
| Nature of the Work | Using factual or non-fictional work is more likely to be considered fair use. |
| Amount Used | Using a small, non-significant portion of the audio increases your chances of fair use. |
| Effect on Market | If your use doesn’t harm the market for the original work, it may be more likely to qualify as fair use. |
In summary, while it’s tempting to record that catchy tune or insightful podcast, always keep copyright laws in mind. If in doubt, seeking permission from the original creator is the best way to stay on the right side of the law while enjoying your audio treasures!
Also Read This: How to Access Adult Content on Telegram
5. Editing the Recorded Audio
So, you've successfully recorded the audio from a YouTube video—great job! Now, it’s time to polish that audio to make it sound even better. Editing is where the real magic happens, transforming a raw recording into something professional and enjoyable to listen to. Here’s how you can go about it:
1. *Choose Your Editing Software: There are plenty of audio editing programs available, both free and paid. Some popular options include:
- Audacity - A free, open-source software that’s user-friendly and feature-rich.
- GarageBand - Ideal for Mac users, this offers a wide range of editing tools.
- Adobe Audition - A professional-grade software that comes with a subscription, offering advanced features.
2. Import Your Audio: Open your chosen software and import the recorded audio file. Most programs allow you to drag and drop the file directly into the workspace.
3. Trim and Cut: Listen through your recording and remove any unwanted sections. This could be dead air, mistakes, or background noise. Use the cut tool to snip away these parts.
4. Enhance the Sound: Utilize features like noise reduction, equalization, and normalization. Noise reduction can help eliminate any background sounds, while equalization can enhance vocal clarity.
5. Add Effects: If you want to get creative, consider adding effects like reverb or compression to give your audio a unique flair.
6. Export Your Final Product*: Once you're satisfied with your edits, export the audio file in your desired format, like MP3 or WAV. Make sure to choose a quality setting that suits your needs!
Also Read This: Understanding the Green Dot on LinkedIn and Its Real-Time Status
6. Tips for Better Audio Quality
When it comes to recording audio from a YouTube video, quality is key! Here are some handy tips to ensure your recordings sound fantastic:
1. Use Quality Equipment: Invest in a good microphone. Even a modestly priced USB microphone can significantly enhance audio quality compared to built-in computer mics.
2. Find a Quiet Space: Background noise can be distracting. Choose a quiet room and avoid recording near windows or appliances that might create unwanted sounds.
3. Optimize Your Settings: Adjust the input levels on your recording software. You want to avoid clipping (too loud) while ensuring the sound is loud enough to hear clearly.
4. Monitor Your Recording: Use headphones to listen while you record. This allows you to catch issues in real-time, like unwanted noises or poor sound quality.
5. Take Your Time: Don’t rush the recording process. A few extra minutes spent ensuring everything is just right can save you hours in editing later.
6. Experiment with Placement: If you’re using a microphone, try different placements to find the sweet spot for capturing the best sound. Closer is often better, but too close can lead to distortion.
By following these tips, you'll be on your way to producing high-quality audio that enhances your YouTube experience!
How to Record the Sound from a YouTube Video Using a Simple Method
Recording sound from a YouTube video can be useful for various reasons, whether you're looking to capture a favorite song, a tutorial, or any spoken content. Fortunately, there are several straightforward methods to achieve this without needing advanced software. Below, we outline a simple approach to recording audio from YouTube videos.
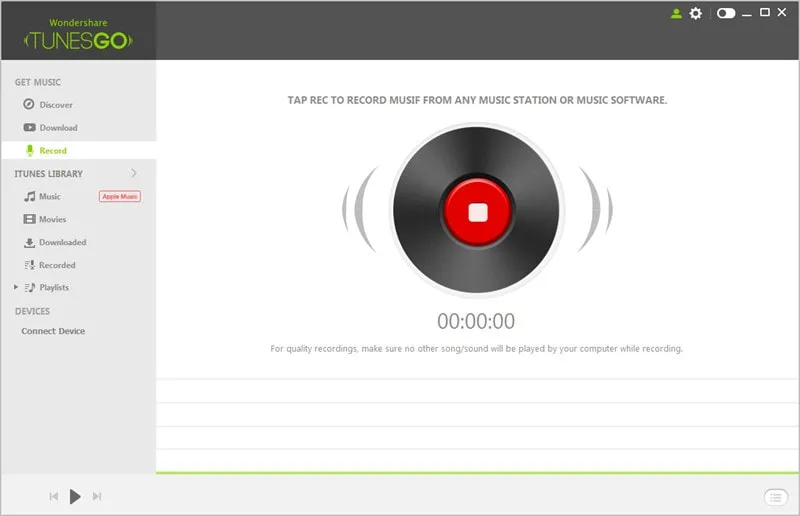
Method 1: Using Audacity
Audacity is a free, open-source audio editing software that can be used to record sound from your computer. Here’s how to do it:
- Download and Install Audacity: Visit the official Audacity website and download the software for your operating system.
- Set Up Audacity: Open Audacity and select the recording device. Choose “Stereo Mix” or “What U Hear” from the drop-down menu in the audio input settings.
- Open YouTube Video: Navigate to the YouTube video you wish to record.
- Hit Record: Click the record button in Audacity and then play the YouTube video. Audacity will capture the audio playing on your computer.
- Stop Recording: Once you’ve captured the desired audio, stop the recording in Audacity.
- Export the Audio: Go to File > Export and choose your preferred audio format (e.g., MP3, WAV) to save the recorded sound.
Alternative Method: Online Audio Recorders
If you prefer not to download software, you can use online audio recorders. Here’s a quick guide:
- Search for an Online Recorder: Use Google to find an online audio recorder.
- Follow Instructions: Most online tools have user-friendly interfaces; follow their instructions to record audio while the YouTube video plays.
In conclusion, recording sound from YouTube videos is a simple process that can be done using tools like Audacity or online audio recorders. With just a few straightforward steps, you can easily capture audio for personal use.