Recording gameplay on YouTube TV can be a fun and exciting way to share your gaming experiences with friends and followers. As a beginner, you might find the process a bit overwhelming, but fear not! This guide will break down the steps, making it easier for you to capture your gameplay effortlessly. Whether you're looking to create gaming tutorials, stream your live sessions, or share memorable moments, recording on YouTube TV can help you reach a wider audience. Let’s dive into how you can start recording your gameplay today!
Setting Up Your YouTube TV Account
Before you can start recording gameplay on YouTube TV, you need to have your account set up. Here’s a step-by-step guide to get you started:
- Visit the YouTube TV Website: Go to tv.youtube.com on your web browser.
- Sign In or Create an Account: If you already have a Google account, simply sign in. If not, click on “Try it free” and follow the prompts to create a new account.
- Select Your Plan: YouTube TV offers various subscription plans. Choose one that fits your needs. You’ll enjoy a free trial period to see if it’s right for you.
- Personalize Your Experience: After signing up, customize your preferences. You can select channels, set up DVR options, and adjust your settings according to your liking.
- Install the YouTube TV App: Download the YouTube TV app on your gaming console, smart TV, or mobile device for easier access.
With your YouTube TV account set up, you’re now ready to explore the exciting world of gameplay recording! Don’t forget to check your internet connection for optimal streaming quality.
Also Read This: How to Capture a Behance Portfolio Angle Shot
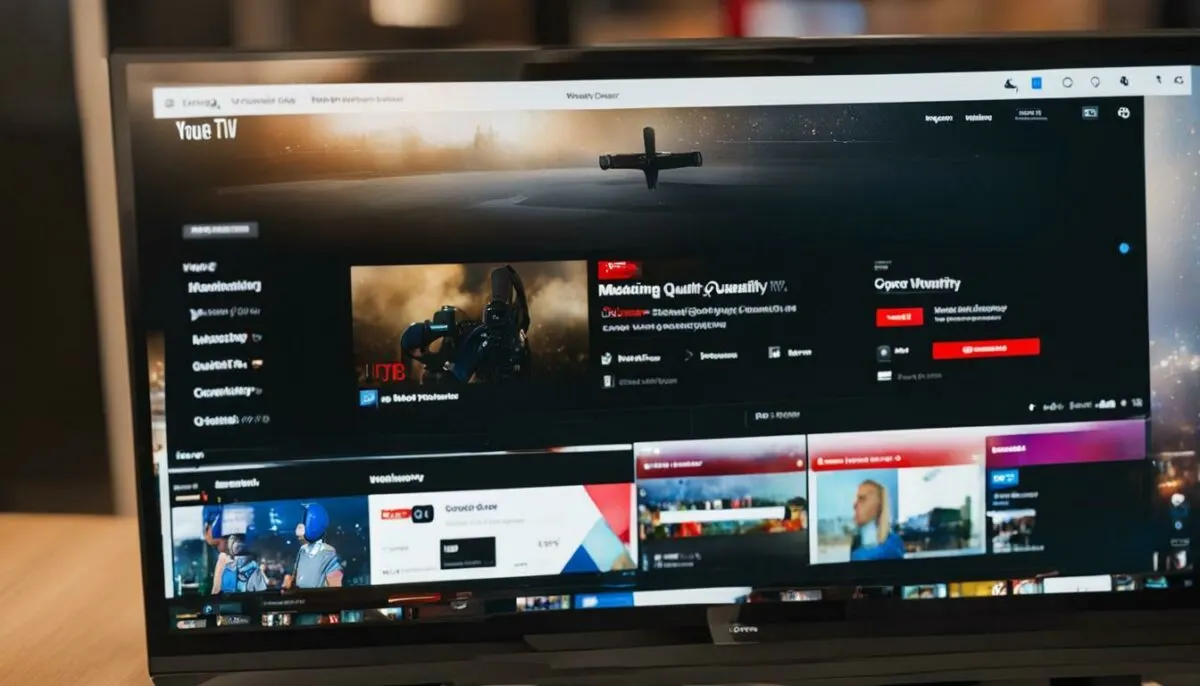
Understanding YouTube TV's Recording Features
YouTube TV offers a user-friendly approach to recording, making it perfect for beginners eager to capture their favorite gameplay moments. Understanding these features not only enhances your streaming experience but also ensures you never miss out on exciting content.
One of the standout features is the *DVR (Digital Video Recording) capability that comes included with your subscription. Here are some key aspects:
- Unlimited Cloud Storage: You can record as much content as you want, stored in the cloud for up to nine months. This means you can always revisit those epic gaming sessions without worrying about running out of space.
- Easy Access: Your recorded gameplay can be accessed directly from the YouTube TV interface. Simply navigate to the Library section, where you'll find all your saved content neatly organized.
- Automatic Recordings: You can set recordings for specific games or series, ensuring that you're always up to date with the latest episodes or tournaments without having to remember to hit record each time.
- Watch Anytime, Anywhere: Since your recordings are stored in the cloud, you can watch them on various devices, whether that’s your TV, laptop, or smartphone.
These features make YouTube TV a robust platform for recording gameplay, providing flexibility and ease of use for beginners.
Also Read This: Behance username change process
Step-by-Step Guide to Recording Gameplay
Ready to dive into recording your gameplay on YouTube TV? Follow this simple step-by-step guide, and you'll be capturing all the action in no time!
- Sign In: First, ensure you're logged into your YouTube TV account on the device you’ll be using for recording.
- Find Your Game: Navigate to the game or event you want to record. Use the search bar or browse through the available channels.
- Set Up Recording: Click on the “Record” button which is usually represented by a red dot or icon. A pop-up will appear, allowing you to choose options like “Record this episode” or “Record series.”
- Check Your Library: After you've set the recording, head to the Library* section to ensure your game is listed under your recordings.
- Review and Edit: Once your gameplay is recorded, you can watch it directly or edit it as needed. Use the trimming tool to cut out any unnecessary portions.
And that's it! With these straightforward steps, you'll be well on your way to capturing all your gaming highlights for sharing or personal enjoyment. Happy recording!
Also Read This: Exploring Earnings and Opportunities on Adobe Stock
5. Tips for Optimizing Your Gameplay Recordings
When it comes to recording gameplay, quality and clarity matter! Here are some practical tips to ensure that your recordings are top-notch:
- Choose the Right Resolution: Aim for at least 1080p resolution to ensure your gameplay looks sharp. Most viewers appreciate higher quality visuals, so consider 4K if your system can handle it.
- Optimize Frame Rate: Maintain a consistent frame rate, ideally 60 fps, to provide a smooth viewing experience. Lower frame rates can make your gameplay appear choppy.
- Use High-Quality Audio: Good audio can elevate your recordings. Invest in a decent microphone for your commentary, and ensure your game audio is balanced and clear.
- Eliminate Background Noise: Record in a quiet space to minimize distractions. You can also use soundproofing techniques or software to enhance audio quality.
- Test Your Setup: Run a few trial recordings before going live. Check for video quality, audio levels, and any potential technical issues that could disrupt your gameplay.
By following these tips, you'll not only enhance your recordings but also create a more engaging experience for your viewers!
Also Read This: How to Create a Banner in Photoshop CS5
6. How to Edit and Share Your Recorded Gameplay
Edit your gameplay recordings to make them more engaging and polished. Here’s a simple guide to help you through the editing and sharing process:
- Choose an Editing Software: There are many user-friendly options available, such as:
- OBS Studio: Free and versatile, great for basic edits.
- Adobe Premiere Pro: Offers advanced features for detailed editing.
- iMovie: Perfect for Mac users seeking intuitive editing.
- Edit Your Footage: Trim unnecessary parts, add transitions, and incorporate music or sound effects to enhance your video. Consider adding text overlays for commentary or highlights.
- Export Your Video: After editing, export your video in a suitable format. MP4 is a popular choice due to its balance of quality and compression.
- Share on YouTube: Upload your video to YouTube, fill in the title, description, and tags to improve visibility. Engage with your audience by responding to comments and promoting your video on social media.
With these steps, you’ll be well on your way to sharing captivating gameplay recordings with the world!
How to Record Gameplay on YouTube TV as a Beginner
Recording gameplay on YouTube TV can be an exciting way to share your gaming experiences with a broader audience. As a beginner, it may seem daunting, but with the right tools and steps, you can easily capture footage and create engaging content. Below, we outline the essential steps you need to follow to start recording your gameplay effectively.
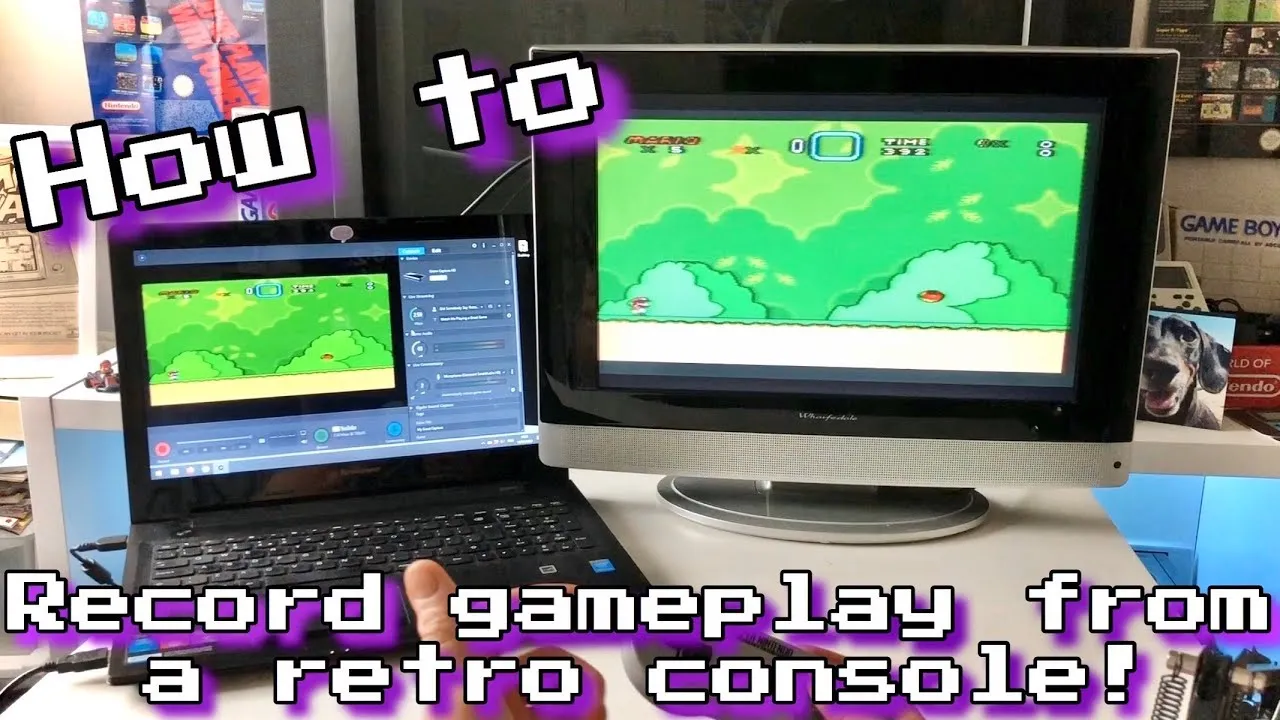
1. Set Up Your Equipment
To begin recording, ensure you have the following equipment:
- Gaming Console or PC: Depending on your gaming preference, you will need either a console or a gaming PC.
- Capture Card: A capture card is essential for recording gameplay from consoles. Popular options include Elgato HD60 S and AVerMedia Live Gamer.
- Microphone: For clear audio commentary, invest in a good-quality microphone.
- Video Editing Software: Programs like Adobe Premiere Pro or OBS Studio can help you edit your recorded footage.
2. Install and Configure Your Capture Software
After setting up your equipment, follow these steps:
- Download and install your chosen capture software.
- Connect your capture card to your gaming console or PC and launch the software.
- Configure the video settings to your preference (resolution, frame rate, etc.).
3. Start Recording
Once everything is set up, you can begin recording:
- Open your game and start playing.
- Switch to your capture software and hit the 'Record' button.
- Play your game, and remember to engage with your audience through commentary!
Finally, once you finish your session, stop the recording and save your footage. You can now edit it before uploading to YouTube.
Conclusion and Next Steps
Recording gameplay on YouTube TV as a beginner is an accessible process with the right setup and tools. With practice, you will improve your recording and editing skills, enabling you to share high-quality content with your audience. Begin experimenting with different styles and techniques to find your unique voice in the gaming community!