Joining multiple YouTube videos together can elevate your content, creating a seamless viewing experience for your audience. Whether you're compiling highlights, creating tutorials, or sharing a vlog series, merging videos is a fantastic way to keep viewers engaged. In this guide, we’ll explore effective methods and tools to help you seamlessly combine your videos, making your editing process smooth and enjoyable.
Choosing the Right Software for Video Merging

When it comes to merging YouTube videos, selecting the right software can significantly impact the quality and ease of your final product. Here are some popular options, along with their features, pros, and cons:
| Software | Features | Pros | Cons |
|---|---|---|---|
| Adobe Premiere Pro | Advanced editing, multi-track editing, effects | Professional-grade tools, great for detailed editing | Subscription-based, steep learning curve |
| iMovie | Simple interface, templates, effects | User-friendly, free for Mac users | Limited features compared to professional software |
| Filmora | Drag-and-drop, effects, text overlays | Affordable, easy to use for beginners | Watermark on free version, less advanced features |
| Shotcut | Open-source, multi-format support | Free, no ads, lightweight | Interface can be confusing for new users |
When choosing software, consider your skill level, budget, and specific needs. For instance, if you’re a beginner, iMovie or Filmora can be excellent starting points. However, if you're looking for something more professional, Adobe Premiere Pro might be worth the investment. Remember, the right tool can make your video merging process not just efficient but also enjoyable!
Also Read This: How to Convert Dailymotion Videos Online with Ease
3. Downloading YouTube Videos
To join multiple YouTube videos seamlessly, the first step is to download the videos you want to combine. There are several methods to do this, but here are some popular options:
- Online Downloaders: Websites like Y2Mate or SaveFrom.net allow you to paste the YouTube video URL and download it in various formats.
- Browser Extensions: Tools like Video DownloadHelper can be added to your browser, making it easy to download videos directly while you’re watching.
- Dedicated Software: Programs like 4K Video Downloader or JDownloader provide more features and flexibility, letting you download entire playlists or channels in just a few clicks.
Make sure to respect copyright laws when downloading content. Only download videos that you have permission to use, or that are in the public domain.
Once you've chosen your method, simply copy the URL of the video, paste it into the downloader, and select your desired format (like MP4 for most compatibility). Hit the download button, and voilà! You’re ready for the next step.
Also Read This: How to Change Your LinkedIn Profile Picture
4. Importing Videos into the Editing Software
With your videos downloaded, it’s time to bring them into your editing software. This process can vary slightly depending on which program you’re using, but the general steps remain the same. Here’s how to do it:
- Open Your Editing Software: Start your preferred video editing software. Popular options include Adobe Premiere Pro, Final Cut Pro, and HitFilm Express.
- Create a New Project: Once the software is open, create a new project. This typically involves naming your project and selecting the video settings you want to use.
- Import Videos: Look for an “Import” option in the file menu, or simply drag and drop the downloaded video files into the media library of your project. Most software allows you to import multiple files at once, which is super convenient!
After importing, your videos will appear in the media library, ready for you to drag onto the timeline. Take a moment to arrange the clips in the order you want them to appear, and you're on your way to creating a seamless viewing experience.
Also Read This: How to Download YouTube Audio Using Various Methods
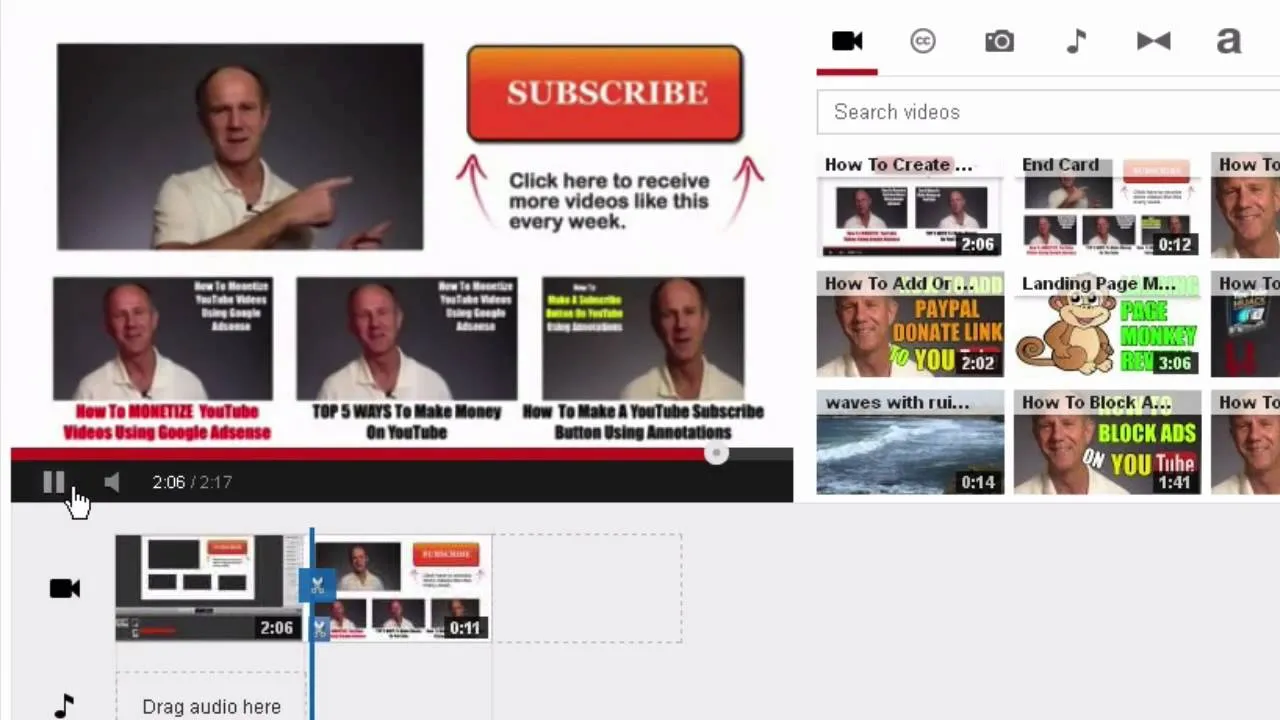
5. Editing and Merging the Videos
Once you've gathered all your video clips, it's time to dive into the editing phase. This is where the magic happens, and you can truly transform your collection of clips into a seamless viewing experience. Here’s how to get started:
- Choose Your Editing Software: There are tons of options out there, from beginner-friendly tools like iMovie and Windows Movie Maker to more advanced software like Adobe Premiere Pro and Final Cut Pro. Pick one that fits your skill level and needs.
- Import Your Clips: Open your chosen software and import all the videos you want to merge. Most editing programs have a straightforward drag-and-drop feature for this.
- Arrange Your Clips: Drag the clips onto the timeline in the order you want them to appear. This is your chance to tell a story or create a flow that feels natural.
- Trim and Cut: Use the trimming tools to remove any unnecessary parts of your clips. This helps maintain viewer engagement by keeping your video concise and focused.
- Add Transitions: To make the shifts between videos smoother, consider adding transitions like fades or dissolves. These can be found in the effects panel of most editing software.
- Include Background Music or Voiceovers: If you want to elevate your video, add a soundtrack or narration to enhance the viewing experience.
After editing your clips together, take a moment to preview the video. Check for any awkward cuts or transitions and make adjustments as necessary to ensure a polished final product.
Also Read This: How Much Is Shutterstock Monthly
6. Exporting the Final Video
Now that you've edited your video and it looks fantastic, it's time to export it! This step is crucial, as it determines the quality of the final video that you’ll upload to YouTube. Here’s how to do it:
- Select Export Settings: Most editing software allows you to choose the video format. MP4 is highly recommended because it’s widely compatible and maintains quality.
- Resolution Matters: Opt for a resolution of at least 1080p for high-definition quality. If your clips are of a higher resolution, like 4K, consider exporting in that format for the best results.
- Adjust Bitrate: The bitrate affects the video quality and file size. A higher bitrate means better quality but larger files. Aim for a balance; around 10-20 Mbps is ideal for HD videos.
- Add Metadata: Some software allows you to add metadata (like titles and descriptions) during the export. This can be helpful for organizing your files.
- Export Location: Choose a location on your computer that’s easy to access. You definitely don’t want to lose your final masterpiece!
After you’ve set everything, hit that export button and let the software do its magic! Once the process completes, your final video is ready to shine on YouTube. Don’t forget to double-check it for any last-minute tweaks before uploading!
Also Read This: How Many Fragments Are Needed to Awaken Rumble
Uploading the Merged Video to YouTube
Once you’ve successfully merged your videos, it’s time to share your creation with the world! Uploading your newly compiled video to YouTube is a straightforward process, but there are a few key steps to ensure it shines among the millions of videos on the platform.
To begin, log in to your YouTube account and click on the camera icon with a "+" sign, usually found in the upper right corner. Select “Upload video” from the dropdown menu. You’ll then be directed to the upload screen. Here’s what you need to do:
- Select Your File: Click on the “Select files” button to browse your computer and choose the merged video file. Once selected, it will start uploading automatically.
- Fill in Video Details: While your video is uploading, fill out the necessary details such as the title, description, and tags. Make sure your title is catchy and relevant to draw viewers in!
- Thumbnail Selection: Choose a captivating thumbnail or upload a custom one. A good thumbnail can significantly increase your click-through rate!
- Privacy Settings: Decide whether you want the video to be public, unlisted, or private. Public videos are visible to everyone, while unlisted videos can only be accessed by those who have the link.
- End Screens and Cards: Consider adding end screens and cards to promote other videos or encourage subscriptions.
After reviewing your settings, click on the “Publish” button. Congratulations! Your merged video is now live on YouTube, ready for viewers to enjoy.
Conclusion
Joining multiple YouTube videos together can be a fun and rewarding experience. Not only does it allow you to showcase your creativity, but it also helps in creating seamless viewing experiences for your audience. Whether you’re a vlogger, educator, or simply sharing memories, merging videos can enhance your content significantly.
Remember, the process involves selecting the right editing tools, carefully merging your footage, and understanding the nuances of uploading to YouTube. Always aim for high-quality video and engaging thumbnails to attract viewers. As you become more familiar with the process, feel free to experiment with different editing styles and techniques to find what best resonates with your audience.
So, are you ready to take your video content to the next level? With practice and creativity, merging videos can become one of your favorite aspects of content creation. Happy editing!