Are you ready to dive into the exhilarating world of Rumble VR on your Quest 2? This immersive virtual reality experience lets you feel every moment, making gaming more thrilling than ever. In this guide, we’ll walk you through the steps to get Rumble VR up and running on your device. Whether you’re a seasoned VR enthusiast or a newbie, we’ve got you covered. Let’s get started on this exciting journey together!
Prerequisites
Before jumping into the world of Rumble VR, there are a few essential prerequisites to ensure you have a smooth setup. Here’s what you need:
- Oculus Quest 2 Headset: Make sure your device is fully charged and updated to the latest firmware. This ensures compatibility with the latest apps and features.
- Rumble VR App: You'll need to download the Rumble VR app. Check the Oculus Store or the official Rumble VR website for the latest version tailored for the Quest 2.
- Stable Internet Connection: A reliable Wi-Fi connection is crucial for downloading the app and any additional content. A minimum speed of 5 Mbps is recommended for an optimal experience.
- Linked Oculus Account: Ensure your Oculus account is set up and linked to your Quest 2. This allows you to access the store and download apps seamlessly.
- Space for Movement: Make sure you have enough play space. A clear area of at least 6.5 x 6.5 feet is recommended to move around safely in VR.
Having these prerequisites in place will set you up for a fantastic experience with Rumble VR. Let’s move on to the installation process!
Also Read This: Understanding the Nature of Wrestling Content on Dailymotion
Step 1: Setting Up Your Quest 2

Getting started with your Oculus Quest 2 is super exciting! First things first, let’s make sure your headset is ready to go. Here’s a quick guide to help you set it up:
- Unbox Your Quest 2: Carefully remove your Oculus Quest 2 from the box. You'll find the headset, controllers, charging cable, and a few other accessories.
- Charge Your Headset: Before diving in, plug in your Quest 2 using the included USB-C charging cable. A full charge will give you plenty of playtime!
- Put on the Headset: Once charged, adjust the straps for a comfortable fit, then put the headset on. Make sure the lenses are clear and aligned with your eyes.
- Power It On: Press the power button located on the right side of the headset until you see the Oculus logo. Voila, your Quest 2 is alive!
- Set Up Your Play Area: Follow the on-screen instructions to define your play area. You can choose either a stationary or room-scale setup. This is important for a safe gaming experience!
Once you've got everything set up, you’re ready to explore the virtual world!
Also Read This: How to Make Your LinkedIn Profile Public and Manage Visibility
Step 2: Installing the Oculus App
The next step to get Rumble VR on your Quest 2 is to install the Oculus app on your smartphone. This app is essential for managing your VR experience, and here’s how to do it:
- Download the Oculus App: Whether you’re using an Android or iOS device, head to the Google Play Store or Apple App Store and search for the "Oculus" app. Tap install and wait for it to download.
- Create or Log Into Your Oculus Account: Open the app and either create a new account or log into an existing one. This account will keep track of your VR games and experiences.
- Connect to Your Quest 2: Make sure your smartphone's Bluetooth is turned on. The app will prompt you to connect to your headset. Follow the on-screen instructions to pair them.
- Explore the Features: Once connected, take a moment to explore the app’s features. You can browse the store, manage your library, and even customize your settings right from your phone!
With the Oculus app installed, you're one step closer to enjoying Rumble VR on your Quest 2. Let’s keep the momentum going!
Also Read This: Earning Potential with Shutterstock
Step 3: Downloading Rumble VR
Getting your hands on Rumble VR is a breeze! Once you've ensured your Quest 2 is set up and ready to go, it’s time to download the application. Here’s how you can do it:
- Open the Meta Quest Store: Put on your Quest 2 headset and navigate to the Meta Quest Store from your home screen. This is where all the virtual treasures are!
- Search for Rumble VR: Use the search function at the top of the store. Type in “Rumble VR” and hit enter. You should see the app pop up in the search results.
- Select the App: Click on the Rumble VR icon to view more details about the game. Here you’ll find screenshots, user reviews, and more information to get you excited.
- Press Download: Hit the download button. Depending on your internet speed, this should take just a few moments.
- Launch the Game: Once downloaded, you can find Rumble VR in your library. Just click on it, and you’re ready to dive into the action!
Downloading Rumble VR opens up a world of engaging experiences and intense gameplay that you won’t want to miss. Enjoy your adventure!
Also Read This: Lasagna Recipe in Urdu with Dailymotion Tutorials
Step 4: Configuring Rumble VR Settings
Now that you have Rumble VR up and running, it’s crucial to tweak the settings for the best experience. Here’s how to configure Rumble VR to suit your preferences:
- Open the Settings Menu: Inside Rumble VR, navigate to the settings menu, usually found in the main menu or via an options button.
- Adjust Graphics Settings: Depending on your preferences and the performance of your Quest 2, you can adjust the graphics settings. Choose options like resolution, texture quality, and anti-aliasing to optimize your experience.
- Control Customization: Dive into control settings to customize your gameplay. You can map buttons to your liking or adjust sensitivity levels for better precision.
- Audio Settings: Don’t forget to set your audio preferences. You can adjust the volume levels for in-game sounds, music, and voice chat. Make sure it’s comfortable for your ears!
- Accessibility Options: If you need any specific accessibility features, look for these options. Rumble VR often has settings to improve your gameplay experience based on individual needs.
Once you've configured your settings to your liking, you’re all set to enjoy Rumble VR like a pro. Happy gaming!
Also Read This: How to Collaborate on a Behance Portfolio
Step 5: Launching Rumble VR on Quest 2
Now that you’ve successfully downloaded and installed Rumble VR on your Quest 2, it’s time to dive into the action! Launching the app is straightforward, and you’ll be experiencing virtual reality in no time.
Here’s how to get started:
- Turn on Your Quest 2: Press the power button on your headset to turn it on. Make sure you have your headset properly adjusted for comfort.
- Navigate to Your Library: Once you’re in the main menu, select the “Library” icon located on the bottom menu bar. This is where all your apps are stored.
- Find Rumble VR: Scroll through your list of apps until you find Rumble VR. You can use the search function if you have many apps installed.
- Select and Launch: Click on the Rumble VR icon. The app will begin to load, and you’ll be greeted with the loading screen while it initializes.
- Set Up Your Play Area: Once the app opens, follow any on-screen prompts to set up your play area. Make sure you have enough space to move around comfortably!
And there you go! You’re all set to start enjoying the immersive experience of Rumble VR. Don’t forget to adjust your settings for the best performance.
Also Read This: Photo Earnings Per Image on Shutterstock
Troubleshooting Common Issues
Even with the best technology, issues can arise. Here are some common problems you might encounter while using Rumble VR on Quest 2, along with some handy troubleshooting tips:
- App Won't Launch: If Rumble VR fails to open, try restarting your Quest 2. A quick reboot can solve many minor glitches.
- Performance Lag: If you experience choppy performance, check your internet connection and ensure that your device has the latest updates installed. Closing other apps may also help.
- No Sound: If you can’t hear anything, make sure your volume is turned up and check if the audio settings within Rumble VR are correct.
- Screen Issues: If the screen appears blurry or unfocused, adjust the lenses using the dial on the headset for a clearer view.
If these tips don’t resolve your issues, consult the Rumble VR support page or community forums for more personalized assistance. Remember, troubleshooting can take a bit of patience, but you’ll be back to gaming soon!
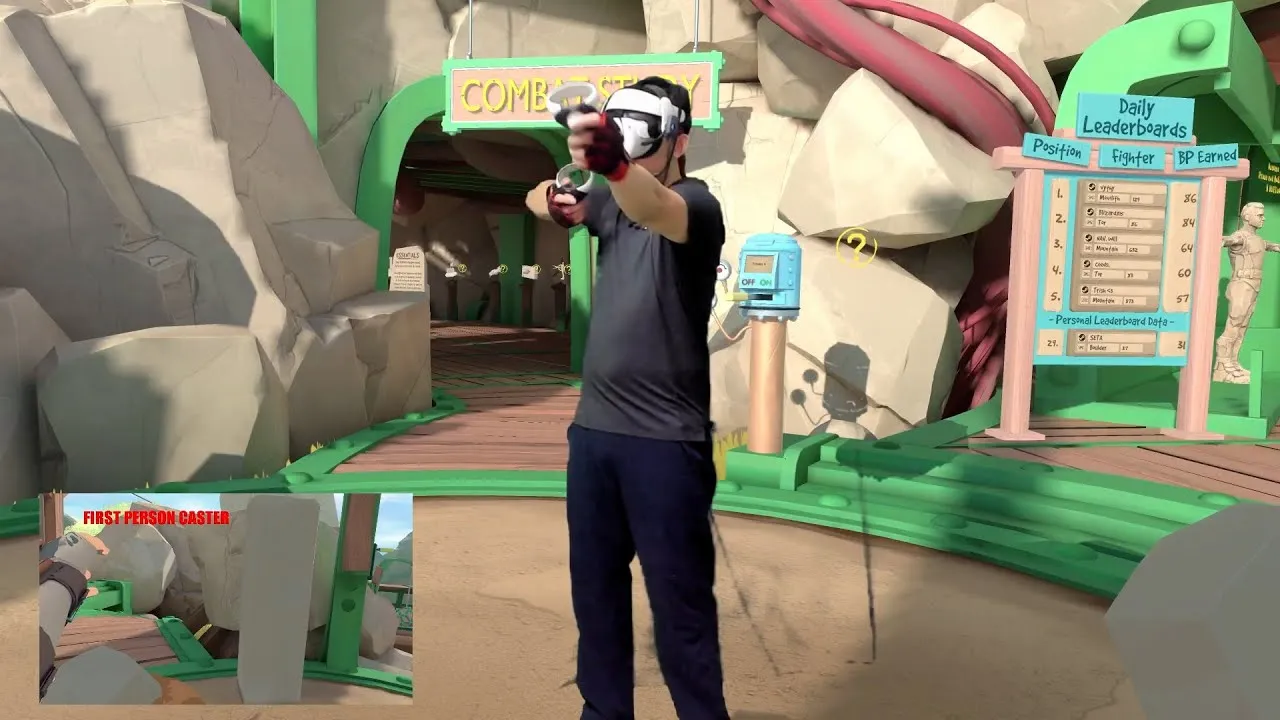
How to Get Rumble VR on Quest 2
Rumble VR is an exciting virtual reality game that enhances your immersive experience on the Quest 2. If you're eager to dive into the action, follow these steps to get Rumble VR on your device.
Here’s a step-by-step guide:
- Ensure Your Device is Updated: Before downloading Rumble VR, make sure your Quest 2 is running the latest software. Go to Settings > About > Software Update to check for updates.
- Connect to Wi-Fi: A stable internet connection is essential for downloading games. Make sure your Quest 2 is connected to Wi-Fi.
- Access the Oculus Store: Put on your Quest 2 headset and navigate to the Oculus Store from the main menu.
- Search for Rumble VR: Use the search bar to type in "Rumble VR." Once you find the game, click on it to view the details.
- Purchase and Download: If the game is not free, complete the purchase process. After that, select the Download button to start the installation.
- Launch the Game: Once downloaded, Rumble VR will appear in your library. Click on it to launch the game and enjoy!
In case you encounter any issues, consider restarting your headset or checking for any potential connection problems.
Note: Rumble VR may require specific system requirements or compatibility checks. Always refer to the official site or the Oculus Store for the latest updates and compatibility information.
In conclusion, getting Rumble VR on your Quest 2 is a straightforward process that involves updating your device, accessing the Oculus Store, and downloading the game. With these steps, you’re ready to experience the thrilling world of Rumble VR!