Creating a private YouTube channel can be a fantastic way to share content with a select audience while keeping it away from the public eye. Whether you're looking to post family videos, sharing creative content with friends, or even testing out new ideas, privacy settings are your best friends. This guide will walk you through the essentials of setting up a private YouTube channel, ensuring that your videos are accessible only to those you choose. Let’s dive into how you can keep your content exclusive!
Understanding YouTube Channel Privacy Settings
When it comes to privacy on YouTube, understanding the different settings available can help you tailor your channel to fit your needs. Here are the key components:
- Public: Videos can be seen by anyone, and they appear in search results. This is the default option.
- Unlisted: Only people who have the link can view your videos. They won’t appear in search results, but anyone with the link can share it.
- Private: Only specific users you invite can see your videos. This is perfect for sharing content with a close group.
To set your videos to private, follow these steps:
- Log into your YouTube account and click on your profile picture.
- Select Your Channel.
- Click on Video Manager and choose the video you want to make private.
- In the Privacy Settings, select Private.
- Save your changes!
Additionally, you can manage who has access to your private videos:
| User Type | Description |
|---|---|
| Invited Users | People you invite via email to view your private videos. |
| Channel Subscribers | Subscribers can only see your public and unlisted content unless invited. |
Understanding these settings allows you to customize your YouTube experience, making it as private or public as you wish! So, whether you're sharing a family vacation or testing a new series, you have full control over who sees your content.
Also Read This: Enhance Your Website with High-Quality Graphics from VectorStock
Steps to Create Your Private YouTube Channel
Creating a private YouTube channel might sound complicated, but it’s quite straightforward! Let’s break it down into a few simple steps.
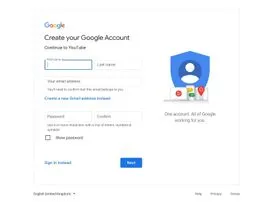
- Sign in to YouTube: Start by signing in to your Google account. If you don’t have one, it’s free and easy to create.
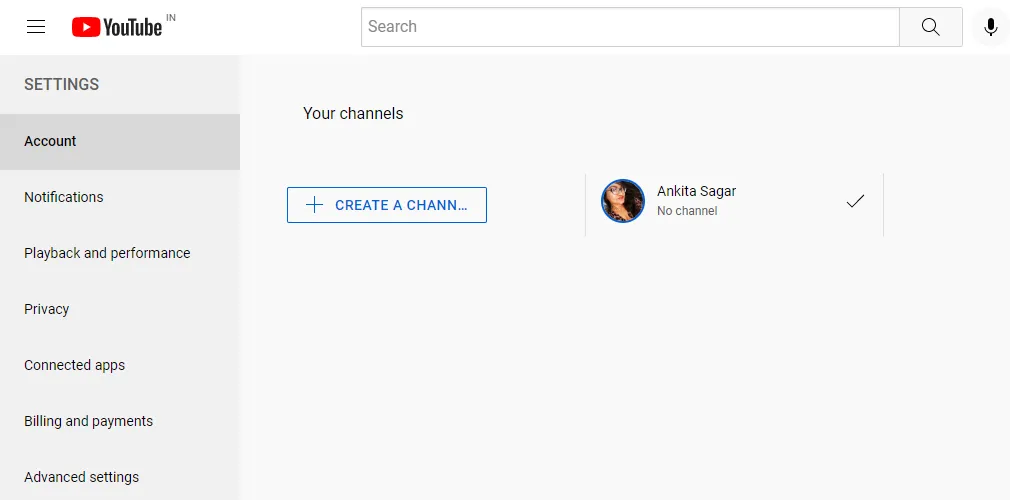
- Create a Channel: Click on your profile picture in the top right corner. Select “Your Channel” and then click on “Create Channel.” Choose a name that reflects your content.
- Customize Your Channel: Go to “Customize Channel” to add a description, profile picture, and banner. This helps make your channel look more appealing.
- Set Privacy Settings: To make your channel private, navigate to “Settings.” Under “Privacy,” check the box for “Keep all my subscriptions private.” This keeps your activities discreet.
- Upload Videos: Click on the camera icon with a "+" sign at the top right to upload videos. Before uploading, ensure you adjust their privacy settings to “Private” or “Unlisted” as needed.
- Manage Invites: If you want to share content with specific people, go to the video settings and invite viewers via their email addresses. They will need a Google account to access your videos.
And just like that, you’ve created your very own private YouTube channel! Enjoy sharing your content with only those you choose.
Also Read This: How to Make a Project Private on Behance
Managing Your Private Channel Content
Once you’ve got your private YouTube channel up and running, managing your content becomes essential. Here are some tips to keep everything organized and secure.
- Review Video Privacy Settings: After uploading a video, revisit its privacy settings. Remember, you can choose between “Private,” “Unlisted,” or “Public.” For a truly private experience, stick with “Private.”
- Create Playlists: Organizing your videos into playlists can help you keep similar content grouped together. Simply go to your channel, click “Playlists,” and select “New Playlist.” This makes it easier for invited viewers to find what they’re looking for.
- Engage with Viewers: Even if your channel is private, you can still interact with your viewers. Respond to their comments and invite feedback on your videos. This builds a sense of community.
- Monitor Analytics: Keep an eye on how your videos are performing. YouTube provides analytics under “YouTube Studio,” so you can track views, watch time, and engagement, even for private content.
- Regular Updates: Keep your channel fresh by uploading new content regularly. This keeps your invited viewers engaged and looking forward to your next video.
Managing your private channel doesn’t have to be daunting. With these tips, you can keep your content safe and enjoyable for your select audience!
Also Read This: Quick and Easy Steps to Add YouTube TV to Your Apple TV
5. Inviting Viewers to Your Private Channel
So, your private YouTube channel is all set up, and now it’s time to share your exclusive content with your chosen audience! Inviting viewers to your private channel is a straightforward process, but it’s essential to do it right to ensure they have a seamless experience. Here’s how you can effectively invite viewers:
- Gather Your Viewing List: Before sending out invitations, make a list of email addresses of the people you want to invite. This could include friends, family, or select subscribers who would appreciate your content.
- Send Invitations: You can invite people directly through YouTube. Go to your channel settings, find the 'Invite' option, and enter the email addresses of your invited viewers. They’ll receive an email with a link to your channel!
- Personal Touch: Consider sending a personalized message via email or social media. Let them know what type of content to expect and why you’ve chosen to share it with them.
- Follow-Up: After sending the invitations, follow up with a friendly reminder. Sometimes, emails get lost in the shuffle, and a gentle nudge can encourage them to check out your channel.
Remember, since your channel is private, viewers will need to accept the invitation and have a YouTube account to access your content. This exclusivity can make them feel special and valued!
6. Conclusion
Creating a private YouTube channel can be an exciting journey, whether you want to share family moments, educational content, or creative projects with a select group. By following the steps outlined—setting your privacy settings, customizing your channel, and inviting viewers—you’ll establish a unique space where your audience can engage with your content in a more intimate manner.
Here’s a quick recap of the key points:
| Step | Description |
|---|---|
| 1. Privacy Settings | Adjust channel settings to ensure privacy. |
| 2. Channel Customization | Create a visually appealing and informative channel layout. |
| 3. Inviting Viewers | Send personalized invitations via email and follow-up. |
In conclusion, a private channel can foster a close-knit community where you can share your passions without the pressures of a public audience. So, go ahead and start creating content that resonates with your invited viewers. Happy filming!