If you're looking to capture high-quality audio from YouTube on your Mac, you're in the right place! Whether you're a podcaster, a content creator, or just someone who loves to curate soundtracks, knowing how to efficiently record audio can enhance your projects significantly. In this guide, we'll explore the best tools and techniques for capturing YouTube audio without compromising on quality. Let's dive into the essentials of audio capture and how you can get started!
Understanding YouTube Audio Capture

Capturing audio from YouTube might seem straightforward, but there are several factors to consider to ensure you get the best sound quality. Here’s what you need to know:
- Legal Considerations: Always remember that capturing audio from YouTube may infringe on copyright laws. Make sure to use audio that you have permission to use or is licensed under Creative Commons.
- Audio Formats: YouTube streams audio in formats like AAC, which is compressed. When capturing, opt for lossless formats like WAV or AIFF, which retain higher quality.
- Noise Reduction: Background noise can be a major issue. Aim for tools that include noise reduction features to enhance the clarity of your recordings.
There are a variety of tools available for capturing YouTube audio, each with its own strengths:
| Tool | Best For | Key Features |
|---|---|---|
| Audacity | Free, open-source recording | Multi-track recording, noise reduction, effects |
| QuickTime Player | Simple audio capture | Easy to use, built-in on Mac |
| GarageBand | Creative audio projects | Multi-track recording, loops, and effects |
By understanding these aspects, you set the foundation for capturing high-quality audio from YouTube with ease!
Also Read This: How to Increase Your Sharechat Followers: Tips and Tricks
Essential Tools for Recording YouTube Audio on Mac

When it comes to capturing YouTube audio on your Mac, having the right tools is crucial to ensure high-quality recordings. Here’s a list of essential tools and software that can help you achieve this:
- Audio Capture Software: Programs like Audacity and Loopback are fantastic for recording audio directly from your computer. Audacity is free and open-source, while Loopback offers advanced features for routing audio.
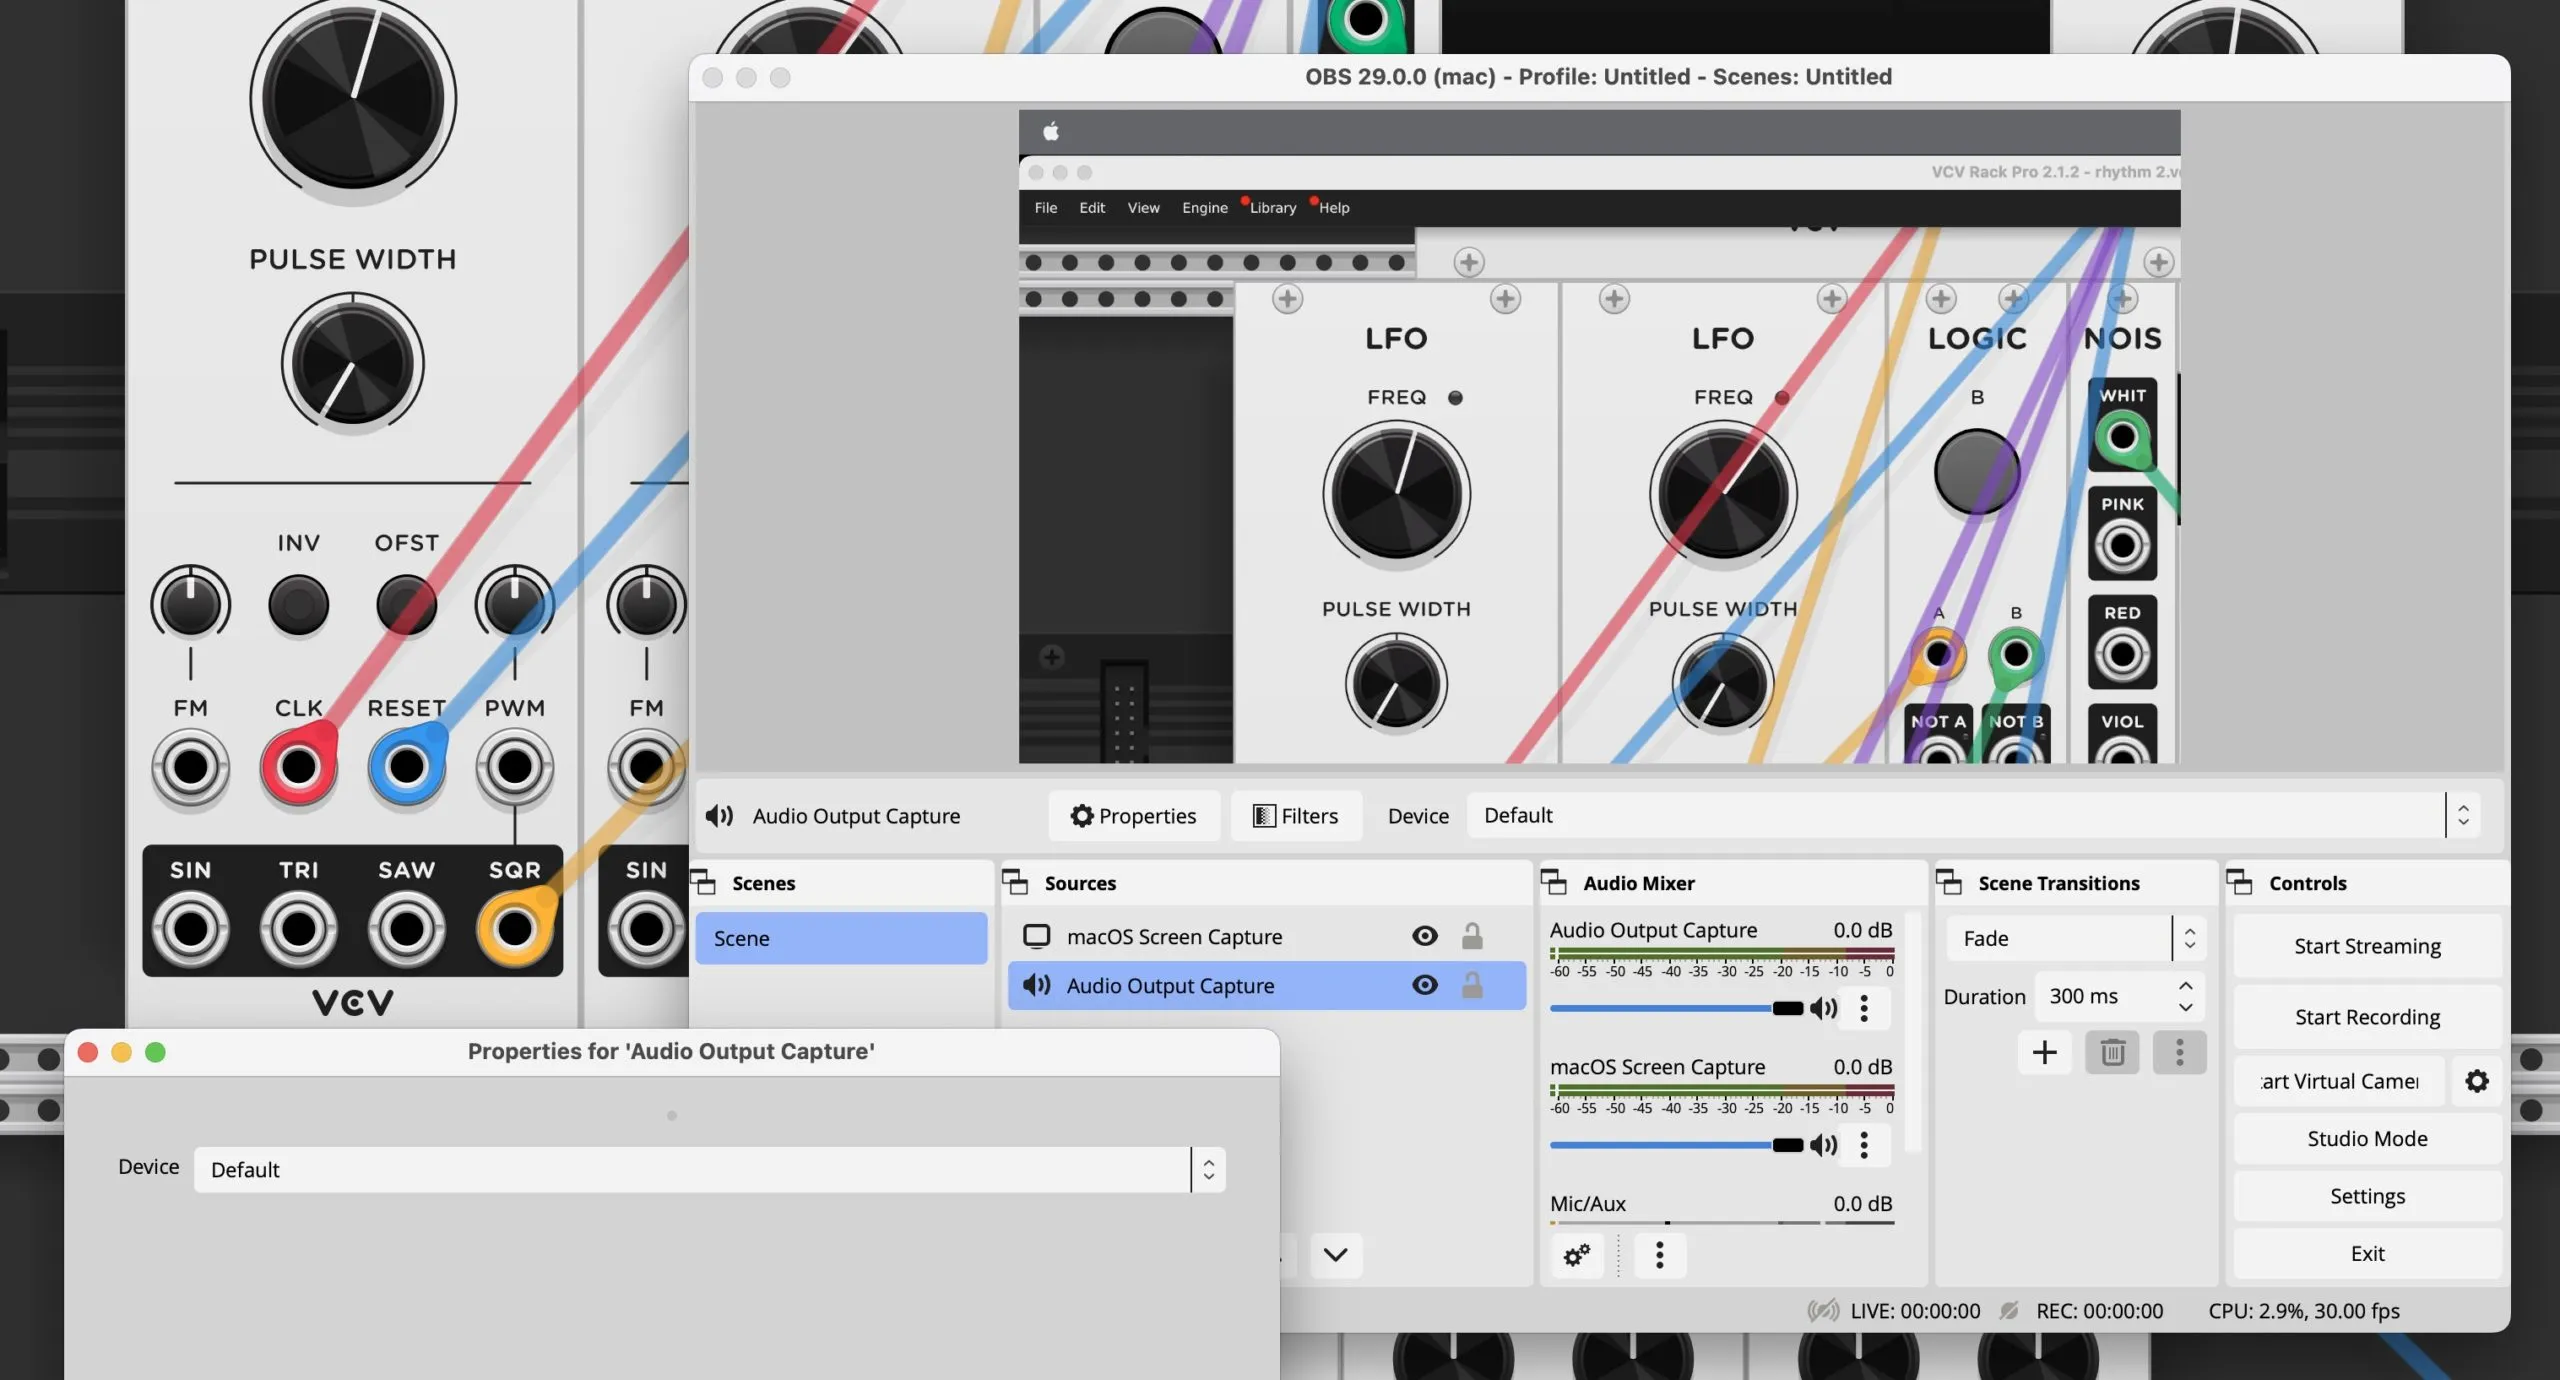
- Screen Recording Software: If you want to capture both audio and video, consider tools like Camtasia or OBS Studio. These applications allow you to record high-quality audio while also capturing the visual aspect of your YouTube videos.
- External Microphones: While your Mac has a built-in microphone, investing in an external microphone like the Shure MV5 can significantly improve audio quality. USB microphones are user-friendly and deliver crisp sound.
- Audio Editing Software: After recording, you might want to tweak your audio. Software like Adobe Audition provides professional editing capabilities, including noise reduction and equalization.
By using these tools, you can ensure that your recordings sound great, making your listening experience much more enjoyable!
Also Read This: How to Choose the Right Camera for Your Photography Needs
Step-by-Step Guide to Recording YouTube Audio

Ready to dive into recording YouTube audio on your Mac? Follow these simple steps to get started:
- Choose Your Software: Select the audio capture software you want to use. For simplicity, let’s go with Audacity.
- Install and Set Up: Download and install Audacity. Make sure to set your input device to “Stereo Mix” or “System Audio” to capture the audio output from YouTube.
- Open YouTube: Navigate to the YouTube video you want to record. Make sure it’s ready to play.
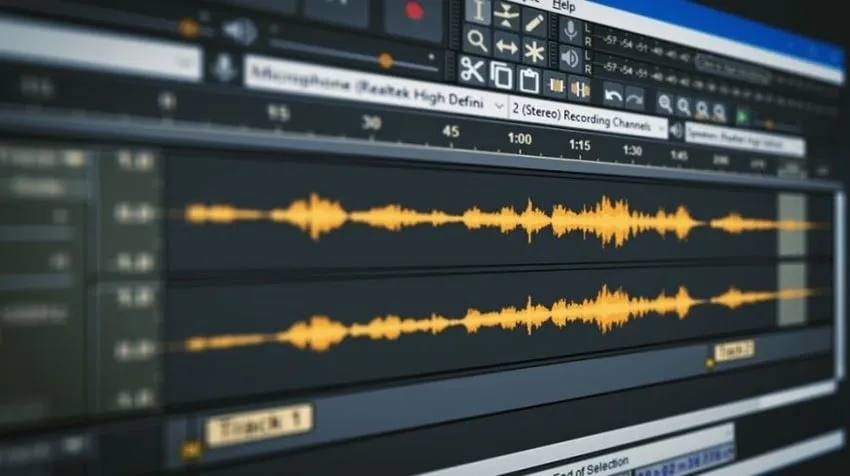
- Prepare to Record: In Audacity, click the record button. You’ll want to start recording just before you hit play on the YouTube video to ensure you capture everything.
- Monitor Levels: Keep an eye on the audio levels in Audacity. If the levels are too high (peaking in the red), consider lowering the volume on your computer or adjusting the input levels in Audacity.
- Stop Recording: Once the video is finished, click the stop button in Audacity. You’ll have your audio file ready for editing!
- Edit and Export: Trim any unwanted sections and export the audio file in your preferred format (WAV, MP3, etc.).
And there you have it! With these steps, you can easily record high-quality audio from YouTube on your Mac, perfect for creating your own content or simply enjoying your favorite videos in audio form.
Also Read This: How Much Is Shutterstock Premier
Tips for Achieving High-Quality Audio
When it comes to capturing YouTube audio, the quality of your recording can make a world of difference. Here are some effective tips to help you achieve high-quality audio:
- Use a Quality Microphone: Invest in a good microphone. Options like the Blue Yeti or Audio-Technica AT2020 can significantly enhance your recording quality.
- Optimize Your Environment: Choose a quiet space with minimal background noise. Consider using soundproofing materials, like acoustic panels or foam, to reduce echo.
- Check Your Audio Levels: Before recording, always check your audio levels. Ensure they’re not peaking (hitting the red), which can cause distortion. Aim for levels between -12dB and -6dB for a clean capture.
- Use an Audio Interface: If you’re using a professional microphone, consider connecting it through an audio interface. This can improve the sound quality and give you more control over the recording.
- Post-Processing: Utilize software like Audacity or GarageBand to edit your recordings. You can remove noise, adjust levels, and even add effects to polish your final product.
By following these tips, you can ensure that your YouTube audio recordings are clear, professional, and enjoyable for your listeners.
Also Read This: Utilizing Imago Images for Effective Fitness and Wellness Content Marketing
Legal Considerations When Recording YouTube Audio
Before you dive into capturing audio from YouTube, it's crucial to understand the legal landscape surrounding audio recordings. Here are some key considerations:
- Copyright Laws: YouTube videos are protected under copyright law. Recording audio without permission can infringe on the creator's rights. Always seek permission or check if the audio is available under a Creative Commons license.
- Fair Use Doctrine: In some cases, your use of the material may qualify as fair use, especially for commentary, criticism, or educational purposes. However, this is a gray area and often depends on how much of the audio you use and its purpose.
- Attribution is Key: If you have permission or are using Creative Commons material, always provide proper attribution to the original creator. This not only respects their work but also keeps you on the right side of the law.
- Consider Licensing Options: If you plan to use the audio in a commercial project, consider licensing it legally through platforms like AudioJungle or Epidemic Sound, which provide access to high-quality audio for a fee.
By keeping these legal considerations in mind, you can confidently capture and use YouTube audio while respecting the rights of content creators.
How to Capture YouTube Audio on Mac with High-Quality Recording Tools and Techniques
Capturing audio from YouTube can be essential for various purposes, such as creating podcasts, extracting music, or saving lectures for offline listening. Fortunately, Mac users have access to a variety of tools and techniques to ensure high-quality audio recording. Below are some effective methods to help you achieve this.
1. Use Dedicated Software
Dedicated audio recording software can simplify the process of capturing YouTube audio. Here are a few popular options:
- Audacity: A free and open-source audio editor that can record system audio with the right setup.
- GarageBand: A user-friendly tool that allows for easy recording and editing of audio.
- ScreenFlow: A premium screen recording tool that also captures audio directly from your Mac.
2. Using QuickTime Player
QuickTime Player is a built-in application on Mac that can be used to record audio. Follow these steps:
- Open QuickTime Player.
- Select File > New Audio Recording.
- Click the dropdown arrow next to the record button to select your audio source.
- Play the YouTube video and click the record button to start capturing audio.
3. Online Audio Recorders
If you prefer not to download software, consider using online audio recorders. Some popular options include:
- Online Voice Recorder: Simple and easy to use.
- Apowersoft Free Online Audio Recorder: Offers more features and options.
By utilizing these tools and techniques, you can effectively capture high-quality audio from YouTube on your Mac. Always remember to respect copyright laws and the rights of content creators when recording audio.
Conclusion: With the right tools and techniques, capturing high-quality audio from YouTube on a Mac can be a straightforward process, enabling you to enjoy your favorite content offline while adhering to legal guidelines.