If you're looking to spice up your videos with some catchy tunes, adding YouTube Music to InShot Video Editor is a fantastic way to do it! InShot is a user-friendly app that allows you to create stunning videos with ease. Whether you're editing clips for social media or crafting a memorable montage, integrating music can elevate your project to the next level. In this post, we’ll walk you through the steps to seamlessly incorporate YouTube Music into your InShot creations, ensuring your videos sound as good as they look!
Understanding InShot Video Editor
InShot Video Editor is a versatile app designed for both novices and experienced editors. With its intuitive interface and a plethora of features, it’s no wonder that InShot has become a go-to tool for video editing on mobile devices. Let’s break down what makes this app so special:
- User-Friendly Interface: The layout is simple and easy to navigate, making it accessible for users of all ages. You can quickly learn how to add clips, apply filters, and adjust settings without feeling overwhelmed.
- Rich Editing Features: InShot offers a wide range of options, including trimming, splitting, and merging videos. You can also adjust playback speed, add text, and insert stickers to enhance your videos creatively.
- Audio Support: One of the standout features of InShot is its audio editing capabilities. You can add music, sound effects, and voiceovers, allowing you to craft the perfect soundscape for your videos.
- Variety of Formats: InShot supports different video formats, making it easy to create content for various platforms like Instagram, TikTok, and YouTube. You can choose the aspect ratio that fits your needs.
- Export Quality: Once you’re satisfied with your edits, InShot lets you export videos in high quality, ensuring your hard work pays off with stunning results.
Understanding these features not only helps you get the most out of InShot but also sets the stage for adding YouTube Music to your projects. With this knowledge, you'll be ready to create captivating videos that truly resonate with your audience!
Also Read This: Navigating Your Dashboard: Adobe Stock Contributor Dashboard Guide
Finding the Right YouTube Music
When it comes to adding music to your InShot videos, finding the right track from YouTube can make all the difference. You want something that resonates with your content, enhances the mood, and of course, complements your editing style. So, how do you sift through the vast sea of YouTube music to find that perfect piece?
First off, think about the theme of your video. Are you creating a fun vlog, a serious tutorial, or perhaps a travel montage? The mood you want to convey should guide your music selection. Here are some tips to help you find the right YouTube music:
- Use YouTube's Audio Library: This is a treasure trove of free music and sound effects. You can filter by genre, mood, or duration, making it easier to find something that fits your project.
- Explore YouTube Channels: Many creators upload original compositions or curated playlists. Channels dedicated to music often categorize their tracks, so you can find something that matches your vibe.
- Search by Keywords: If you have a specific feel in mind, use keywords in the search bar. For example, type "upbeat travel music" or "calm background music" to narrow down your options.
- Listen to Previews: Always listen to a preview of the track before committing. This ensures the music aligns with your video’s narrative.
Remember, the right music can elevate your video, making it more engaging and enjoyable for your audience!
Also Read This: How to Insert a YouTube Video into Email for Easy Sharing with Friends
Downloading YouTube Music Legally

Now that you’ve found the perfect track, the next step is downloading it legally. It’s crucial to respect copyright laws, as using music without permission can lead to your video being taken down or, worse, facing legal action. So, how do you download YouTube music while staying on the right side of the law? Here are some ways to do it:
- Use YouTube's Audio Library: As mentioned earlier, this is a safe and legal source for music. You can download tracks directly from the library and use them in your InShot projects without any worry.
- Creative Commons Music: Some YouTube videos are published under Creative Commons licenses, allowing you to use them under certain conditions. Make sure to check the license type and provide proper attribution if required.
- Royalty-Free Music Websites: Websites like Epidemic Sound, Artlist, or PremiumBeat offer high-quality music tracks for a subscription fee. This way, you get access to a vast library of music that you can legally use in your videos.
- Direct Permission: If you find an independent artist or a small creator whose music you love, consider reaching out to them directly. Many artists are happy to grant permission for their music to be used, especially if you give them credit.
By choosing the right method to download music, you not only protect yourself legally but also support artists and creators in the process!
Also Read This: A Guide to Fortiguard Downloader DNS Servers List
5. Importing YouTube Music into InShot
So you've found the perfect track on YouTube Music that you want to use for your video in InShot. Great choice! Let's get into how you can import that music seamlessly.
First, you'll need to download the YouTube Music track. While there are various ways to do this, make sure you're using a method that complies with copyright laws. Here’s a quick guide:
- Use a YouTube to MP3 Converter: There are several online tools that can convert YouTube videos to MP3 files. Just copy the link of the YouTube Music track and paste it into one of these converters, then download the audio file.
- Check for Licensing: Always double-check if the music can be used for your video project, especially if you plan to share it publicly.
- Save the File: Make sure you know where the file is saved on your device. This will make it easier to locate when you're importing it into InShot.
Now that you have your audio file ready, let’s get it into InShot:
- Open the InShot app on your device.
- Select the video project you want to work on or create a new one.
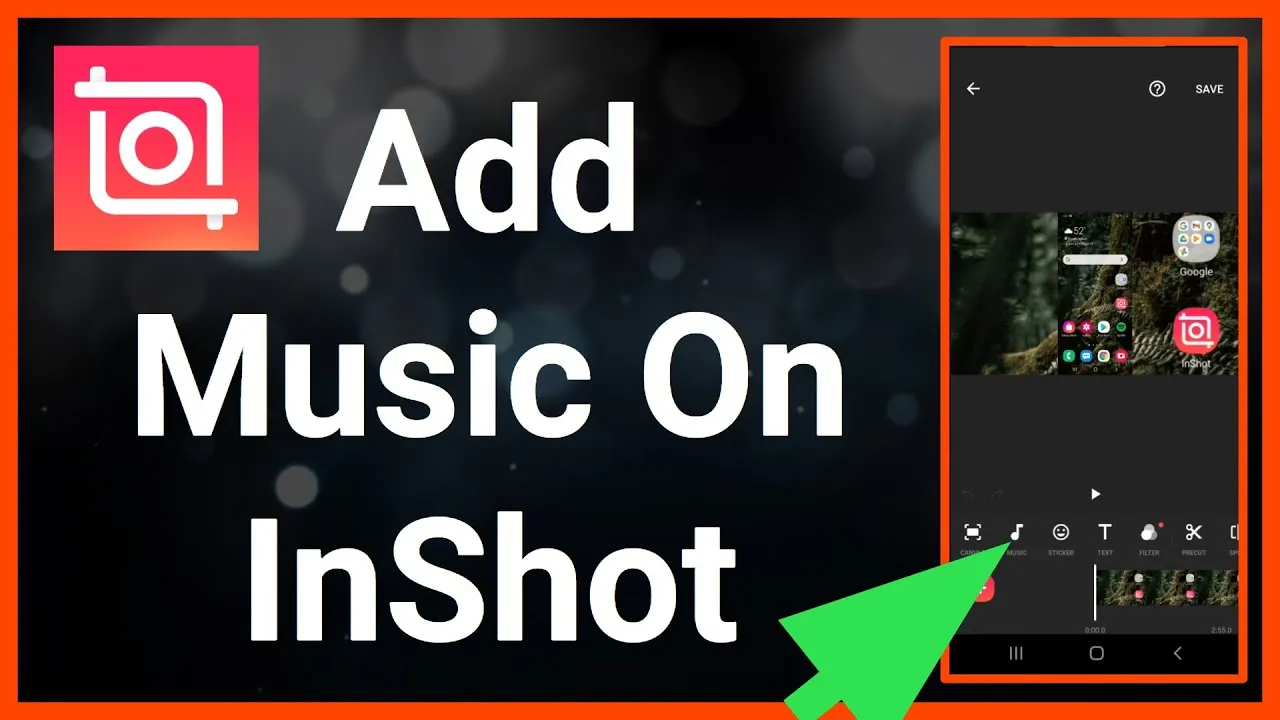
- Tap on the Music icon at the bottom of the screen.
- Choose My Music to find the track you just downloaded.
- Select your YouTube Music track and import it into your video.
And voila! Your YouTube Music is now part of your InShot project. Ready to move on to editing?
Also Read This: How to Reset Your Password on LinkedIn
6. Editing Your Video with YouTube Music
Now that you’ve added your YouTube track, it’s time to really bring your video to life with some editing magic! InShot offers a user-friendly interface that makes this process enjoyable. Let’s dive into some key editing features you can leverage:
- Trimming the Audio: If your track is longer than your video, don’t worry! You can easily trim the music to fit. Just tap on the audio track and use the trimming tool to cut it down.
- Adjusting Volume Levels: Sometimes, the music can overpower your video’s audio. You can adjust the volume levels for both the music and your video’s sound. Tap on the audio track, and you’ll see a volume slider.
- Adding Effects: InShot allows you to add various effects to your audio. You can fade in or out for a smoother transition. Just tap on the audio track and look for the fade options.
Here's a quick table summarizing these editing features:
| Edit Feature | Description |
|---|---|
| Trimming | Cut the audio to match the length of your video. |
| Volume Control | Adjust the audio levels for a balanced sound. |
| Effects | Add fade-ins or fade-outs for smoother transitions. |
Finally, preview your video to ensure everything sounds just right. Once you’re satisfied, go ahead and export your video! You've successfully added and edited YouTube Music in InShot, and your video is ready to shine!
Also Read This: Imago Stock Videos: Showcase Your Business
7. Exporting Your Final Video
Once you've crafted your masterpiece using InShot and added your favorite YouTube Music tracks, it’s time to share it with the world! Exporting your final video is a straightforward process, but let’s break it down step by step.
First, make sure you’re satisfied with every aspect of your video. Check the transitions, effects, and, of course, the audio levels to ensure that everything flows perfectly. A quick preview will help you spot any last-minute changes you might want to make.
Now, to export your video, follow these simple steps:
- Tap on the Export Button: Look for the export icon, usually located in the top right corner of the screen. It often resembles a box with an upward arrow.
- Select Your Resolution: InShot gives you options to choose the resolution of your video. Higher resolutions like 1080p will provide better quality, but they also take more storage space.
- Adjust Your Settings: You can also choose the frame rate and bitrate based on your preferences. Higher settings improve quality but can make the file larger.
- Hit Export: Once you've set everything up, go ahead and hit the export button. InShot will process your video, which may take a few moments depending on its length and complexity.
After exporting, your video will usually be saved directly to your device's gallery or camera roll. You can now share it on social media platforms, send it to friends, or keep it for your personal collection. Enjoy showcasing your creativity!
8. Conclusion
In conclusion, adding YouTube Music to your videos in InShot is not only a fun way to enhance your content but also an effective method to engage your audience. With just a few simple steps, you can transform a standard video into something memorable and enjoyable.
Remember, the key to creating amazing videos lies in your creativity and willingness to experiment. Here’s a quick recap to keep in mind:
- Choose the Right Track: Select music that complements the mood and theme of your video.
- Sync Audio with Visuals: Make sure your music transitions align well with your video edits for a seamless experience.
- Export with Care: Always double-check your export settings to ensure the best quality for your final product.
So, go ahead and dive into your next project with confidence! With practice, you’ll find your unique style and voice. Don’t forget to share your creations and have fun along the way! Until next time, happy editing!