Adding pictures to your YouTube videos can significantly enhance your content's appeal and engagement. Whether you're a vlogger, educator, or marketer, visuals can help illustrate your points, evoke emotions, and keep your audience interested. In this guide, we'll explore the benefits of incorporating images and how you can do it effectively. Let’s dive into why adding pictures is a game-changing move for your YouTube channel!
Why Add Pictures to Your Videos?
Incorporating pictures into your YouTube videos isn’t just about aesthetics; it’s about effective communication and viewer engagement. Here are a few compelling reasons to consider:
- Visual Storytelling: Pictures can help narrate your story. For instance, if you’re creating a travel vlog, showcasing stunning photos of your destinations can transport viewers there, making them feel part of your journey.
- Enhanced Understanding: Sometimes, a picture can explain concepts better than words. For educational videos, using diagrams or infographics can clarify complex ideas, ensuring your audience grasps the content fully.
- Increased Engagement: Videos with relevant images tend to keep viewers watching longer. Studies show that visual content can increase viewer retention by up to 80%. This means more subscribers and a loyal audience!
- Branding: Consistently using images that align with your brand can create a unified look across your content. This builds recognition and trust with your viewers. Think about how popular channels use logos and color schemes!
By integrating pictures thoughtfully, you can create a more dynamic and engaging viewing experience that resonates with your audience. Remember, a well-placed image can speak volumes!
Also Read This: HTML Mastery: Adding Flaticon Icons Effortlessly
Preparing Your Picture for Upload
Before you dive into adding pictures to your YouTube video, it's essential to prepare your image properly. This ensures that it looks great and fits seamlessly into your content. Here are some key tips to consider:
- Choose the Right Format: Use common file formats like JPEG or PNG. These formats are widely supported and maintain good quality.
- Optimize Image Size: Ideally, your image should be under 2MB for faster uploads. You can use tools like TinyPNG or ImageOptim to compress your images without losing quality.
- Resolution Matters: For a clear display, aim for a resolution of at least 1280 x 720 pixels. This ensures your image doesn’t appear pixelated on larger screens.
- Aspect Ratio: Maintain a 16:9 aspect ratio if you’re adding it to a video. This makes sure it fits well within the frame.
- Editing Tools: Consider using tools like Canva or Photoshop to edit your images. You can add text overlays, adjust colors, or crop them to suit your video style.
By preparing your picture with these tips, you'll not only enhance the visual appeal of your video but also keep your audience engaged. A well-prepared image can make all the difference in grabbing viewers' attention!
Also Read This: How Much Can You Earn from 200K Views on YouTube?
Steps to Add a Picture in YouTube Video Editor
Adding a picture to your YouTube video might seem daunting, but it’s actually pretty straightforward! Just follow these steps, and you’ll have your image integrated in no time:
- Log into Your YouTube Account: Start by logging into your YouTube account. Navigate to YouTube Studio.
- Select Your Video: In the left menu, click on 'Content' to see your uploaded videos. Click on the video you want to edit.
- Open the Video Editor: Once you’re on the video details page, find the 'Editor' tab on the left and click it.
- Click on 'Add Image': In the Editor, look for the option to add images or overlays. This could be labeled as 'Add image' or 'Image overlay'.
- Upload Your Picture: Click on the upload button, then select the picture from your device. Wait for it to upload completely.
- Adjust Image Position and Duration: Drag the image to the desired position on the timeline. You can also adjust how long it appears in the video by dragging the edges of the image layer.
- Preview Your Video: Once you’re satisfied, hit 'Preview' to see how the image looks within your video. Make any final adjustments as needed.
- Save Changes: Finally, don’t forget to click 'Save' to ensure all your changes are applied.
And there you have it! With these simple steps, you can easily add pictures to your YouTube videos, enhancing viewer engagement and creativity.
Also Read This: Consequences of the Rumbling in Attack on Titan
5. Using Third-Party Software to Add Pictures
Adding pictures to your YouTube videos can take your content to the next level, and sometimes, using third-party software is the best way to do it. Here's how to make the most of those tools!
There are several popular software options that can help you seamlessly integrate images into your videos, such as:
- Adobe Premiere Pro: A professional-grade video editing software offering advanced features. You can easily overlay images, adjust their size, and animate them to fit your video's flow.
- Final Cut Pro: Perfect for Mac users, this software provides powerful image manipulation tools that allow you to add pictures effortlessly and enhance visual storytelling.
- Filmora: A user-friendly platform ideal for beginners. With its drag-and-drop functionality, adding pictures is as simple as selecting an image and placing it on the timeline.
- Camtasia: This is excellent for tutorial videos. It allows you to insert images directly onto the screen while recording your video, making it easy to create engaging content.
To get started, simply download your chosen software, import your video, and then add images from your files. You can adjust the duration, add transitions, and even apply filters to your pictures for a cohesive look!
Also Read This: How to Download Audio from a YouTube Video
6. Tips for Enhancing Your Video with Pictures
Pictures are a fantastic way to enhance your YouTube videos, but using them effectively can make all the difference. Here are some handy tips to consider:
- Quality Matters: Always use high-resolution images. Blurry or pixelated pictures can distract your audience rather than engage them.
- Relevance is Key: Ensure that the pictures you add relate directly to the content of your video. This keeps viewers interested and helps convey your message better.
- Positioning: Be mindful of where you place your pictures. Position them in a way that they don't obstruct important video content. Use the Rule of Thirds to make your composition visually appealing.
- Use Text Overlays: Adding text to your images can enhance comprehension. Use short, impactful phrases to highlight key points.
- Balance & Timing: Don’t overload your video with too many pictures. A good rule of thumb is to use images to reinforce your points rather than overwhelm your audience. Timing is also essential; let images stay on screen long enough for viewers to absorb the information.
By following these tips, you’ll create visually compelling videos that keep your audience engaged and enhance your storytelling!
How to Add a Picture to a YouTube Video
Adding a picture to a YouTube video can enhance your content, making it more engaging and visually appealing. Whether you're looking to add a thumbnail, overlays, or images within the video, there are various methods to achieve this. Below are detailed steps to guide you through the process.
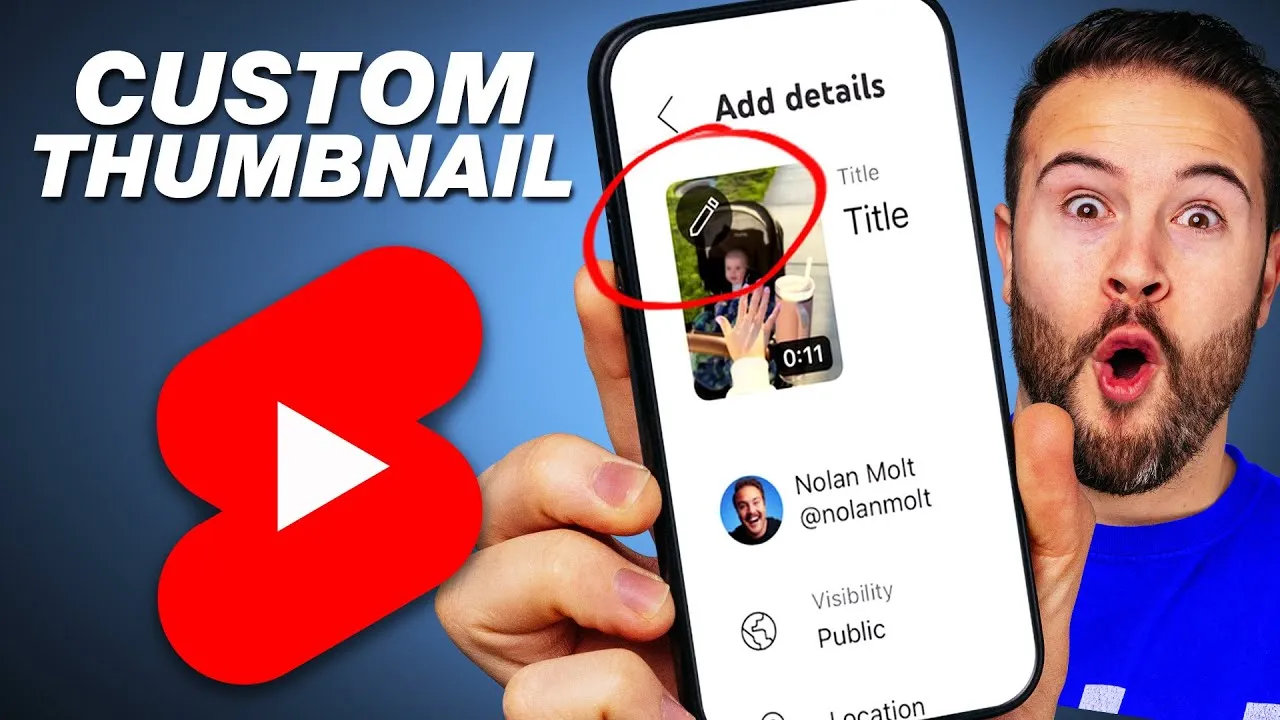
1. Adding a Thumbnail
A thumbnail is the first impression a viewer gets from your video. Here’s how to add one:
- Go to YouTube Studio.
- Select Content from the left sidebar.
- Click on the video you want to edit.
- Under the Thumbnail section, choose Upload thumbnail.
- Select the image you wish to use and click Save.
2. Adding Images in Editing Software
If you want to place images within the actual video, you’ll need video editing software. Here’s a general guideline:
| Step | Description |
|---|---|
| 1 | Choose your video editing software (e.g., Adobe Premiere Pro, iMovie). |
| 2 | Import your video clip and the image you want to add. |
| 3 | Drag the image onto the timeline above the video track. |
| 4 | Resize and position the image as needed. |
| 5 | Export your video and upload it to YouTube. |
By following these steps, you can easily add pictures to your YouTube videos, making them more attractive and informative for your audience.
Conclusion: Adding pictures to your YouTube videos can significantly enhance viewer engagement, and whether through thumbnails or in-video images, the process is straightforward and effective.