Exporting your videos from CapCut to YouTube can be a game-changer for content creators looking to share their creativity with the world. With its intuitive interface and powerful editing tools, CapCut allows users to produce high-quality videos that can captivate audiences. This guide will walk you through the process of exporting your videos seamlessly, ensuring that your uploads to YouTube maintain their quality and charm. Let's dive into the simple steps that will help you share your creations with ease!
Step-by-Step Guide to Exporting Videos from CapCut
Exporting your edited videos from CapCut to YouTube is straightforward. Follow these steps to ensure a smooth process:
- Finish Your Editing: Before exporting, make sure you’ve finalized all edits. Review your cuts, transitions, and effects to ensure everything looks perfect.
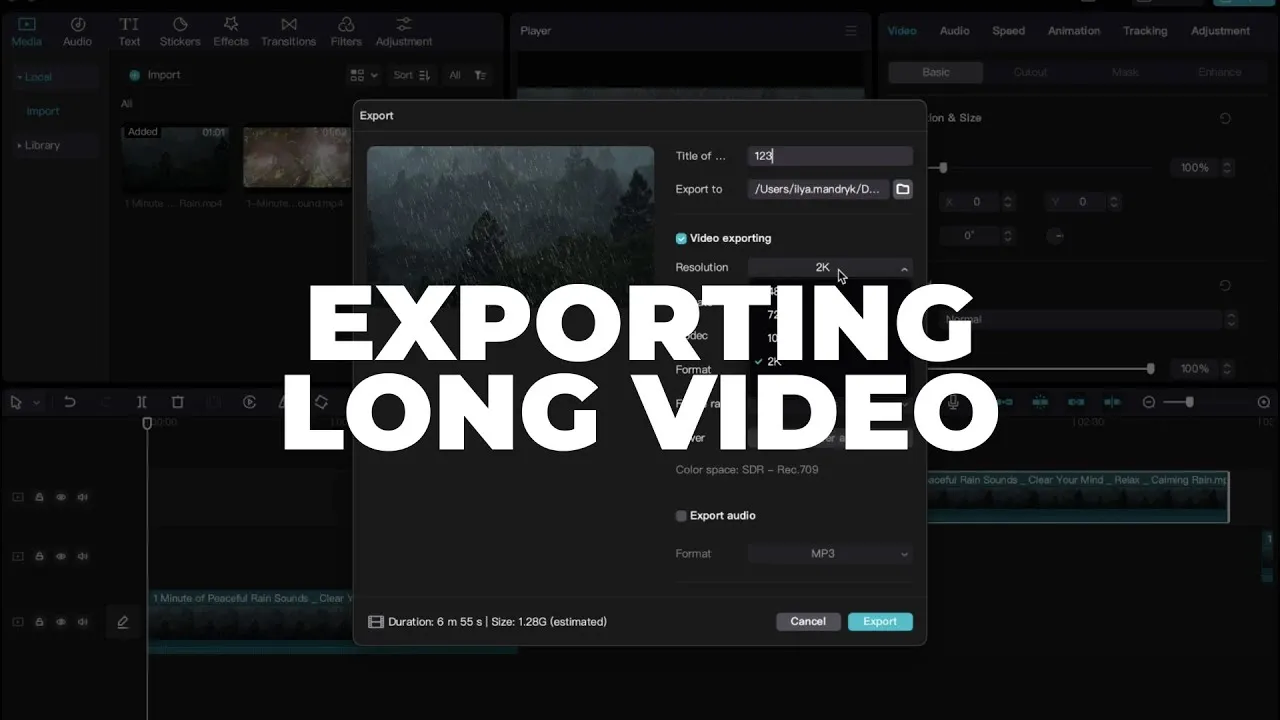
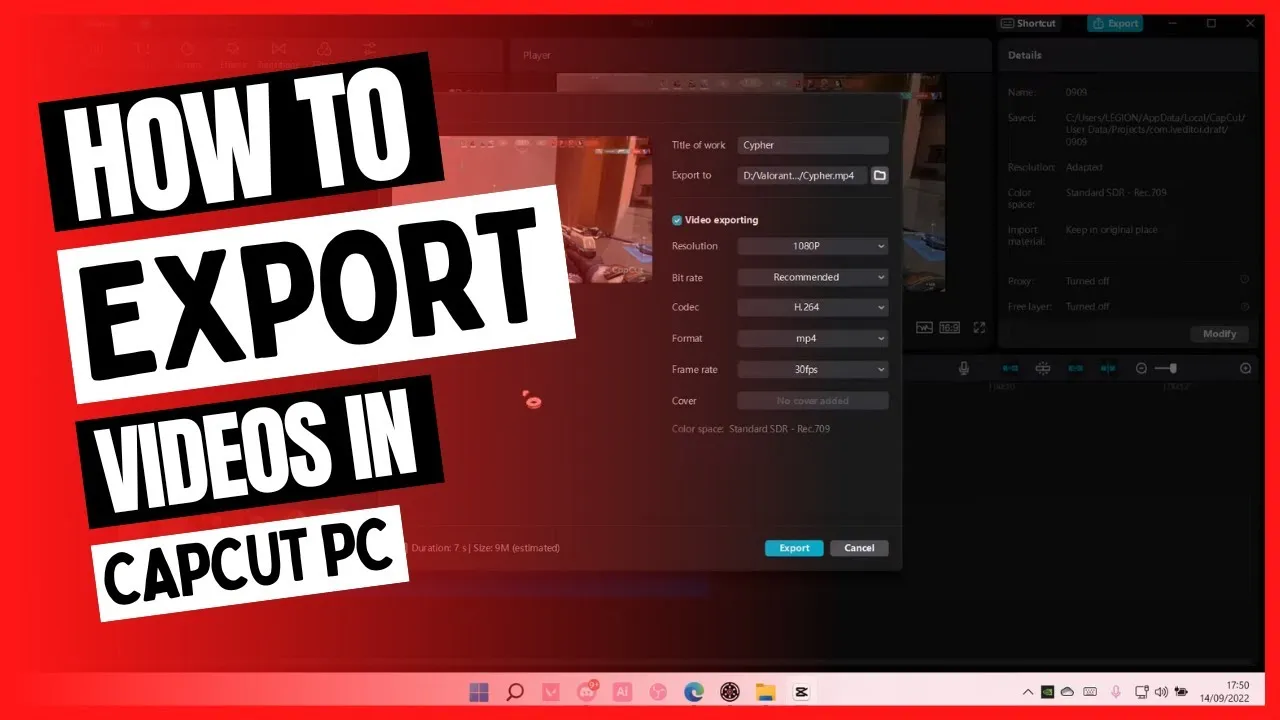
- Open the Export Menu: Tap on the Export button located at the top right corner of the screen. This will open the export settings.
- Select Video Quality:
- Choose your desired resolution; options typically include 720p, 1080p, and even 4K if supported.
- For high-quality uploads, select 1080p or 4K.
- Adjust Frame Rate: You can also set the frame rate. A standard frame rate is 30fps or 60fps. Higher frame rates provide smoother motion.
- Export the Video: After adjusting the settings, tap on the Export button again to start the process. Wait for the video to render; this may take a few moments depending on the length and complexity of your video.
- Save and Share: Once exported, you’ll usually get an option to share directly to YouTube. If not, you can find the video in your device’s gallery and upload it manually.
By following these simple steps, you'll ensure your CapCut videos are not just ready but primed for YouTube, maintaining their quality and appeal. Happy uploading!
Also Read This: Mastering Eye Drawing Techniques in Sketch
Choosing the Right Settings for High-Quality Exports
When it comes to exporting your CapCut videos for YouTube, selecting the right settings is crucial for ensuring your content looks its best. Here's how to get those high-quality exports:
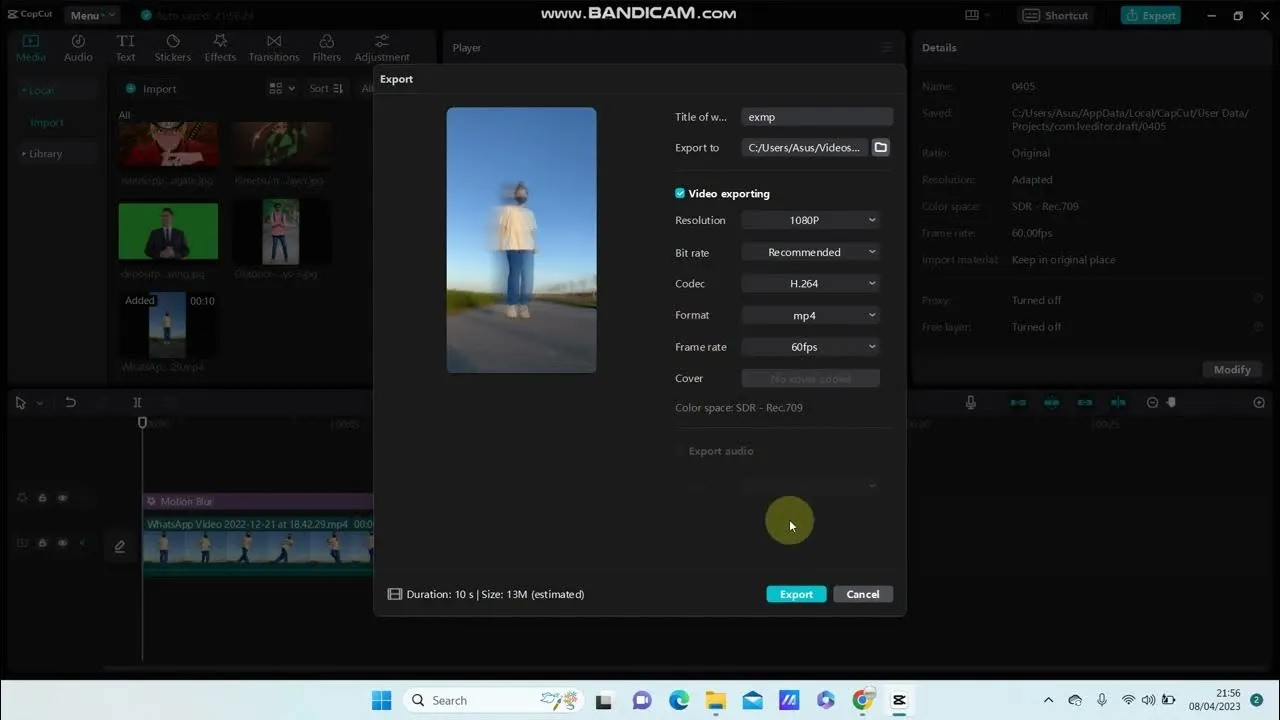
- Resolution: Aim for at least 1080p (1920x1080) for standard HD uploads. If you want to take it a notch higher, consider 4K (3840x2160) for stunning visuals.
- Frame Rate: Stick to 30 fps for most videos, but if your content is action-packed, 60 fps can enhance the smoothness.
- Bitrate: Higher bitrates equal better quality. For 1080p, a bitrate of around 8 Mbps is good, while 4K can go up to 35-45 Mbps.
- Format: Export your video in MP4 (H.264 codec) for the best compatibility with YouTube.
Before you hit that export button, double-check these settings in CapCut. It might seem tedious, but trust me, your viewers will appreciate the quality. Keep in mind that the quality of your export can significantly impact how your audience perceives your work. So take that extra time to get it right!
Also Read This: How to Edit a Scheduled Post on LinkedIn Without Losing Engagement
Uploading Your Video to YouTube
Now that you have your high-quality video exported from CapCut, it’s time to share it with the world on YouTube! Follow these steps to ensure a smooth upload:
- Sign in to YouTube: Use your Google account to log in to your YouTube channel.
- Click the Upload Button: Look for the camera icon with a "+" sign, usually located at the top right corner. Select "Upload video."
- Drag and Drop Your Video: You can either drag your exported video file or browse your computer to select it.
- Fill in Video Details: Give your video an engaging title, a detailed description, and don’t forget to add relevant tags to help viewers find your content.
- Choose Thumbnail: Upload a custom thumbnail if you want to grab attention. Thumbnails can make or break your video's click-through rate!
- Select Visibility: Choose whether to make your video public, unlisted, or private. If you’re ready for the world to see, select public!
After hitting “Publish,” don’t just sit back—promote your video on social media and engage with your audience through comments. Happy uploading!
Also Read This: Adding Your Telegram Username to Your Profile
Tips for Ensuring Optimal Video Quality on YouTube
Getting the best quality for your CapCut videos when uploading to YouTube isn’t just about pressing “upload.” Here are some handy tips to ensure your videos look stunning:
- Choose the Right Resolution: Always export your video in at least 1080p (Full HD) or higher. CapCut allows you to choose the export resolution, so make sure you're selecting the best one for your content.
- Use the Right Frame Rate: Keep your frame rate consistent. If you recorded your video at 30fps, export it at the same frame rate. This helps maintain smooth motion and prevents any choppy playback.
- Export Settings Matter: When exporting from CapCut, use the highest bit rate available. This ensures that your video retains as much detail as possible. Higher bit rates often lead to larger file sizes, but they also enhance quality.
- Check Your Codec: Using the H.264 codec is usually recommended for YouTube uploads. It strikes a great balance between quality and file size.
- Optimize Audio Quality: Don’t forget about sound! Make sure your audio settings are clear and crisp. Aim for a sample rate of 48kHz to keep everything sounding professional.
- Test and Preview: Before making your video public, preview how it looks on different devices. YouTube has its own compression, so checking it on mobile, tablet, and desktop can help spot issues.
Also Read This: Is Dailymotion Safe from Viruses in 2020 and How to Stay Protected
Troubleshooting Common Issues
Even with the best preparation, issues can arise when uploading videos to YouTube from CapCut. Here are some common problems and how to fix them:
- Video Not Uploading: If your video refuses to upload, check your internet connection. A stable and fast connection is crucial. You can also try reducing the file size by lowering the resolution or bit rate.
- Poor Video Quality After Upload: If your video looks pixelated or blurry, it might be due to YouTube’s compression. Ensure you’ve uploaded the video in the highest quality possible. Sometimes, waiting a bit for YouTube to process can help improve this.
- Audio Desynchronization: If your video and audio aren’t in sync, double-check your export settings. Sometimes adjusting the frame rate can resolve these pesky issues.
- Formatting Errors: Make sure your video is in a format that YouTube accepts, like MP4 or MOV. If you're unsure, consider converting your file before uploading.
- Slow Upload Speed: If you’re experiencing slow upload speeds, try uploading during off-peak hours when internet traffic is lower. This can lead to faster processing times.
Exporting CapCut Videos to YouTube for High-Quality Uploads
In the world of content creation, ensuring that your videos maintain their quality during the export process is critical, especially when uploading to platforms like YouTube. CapCut, a popular video editing app, provides an intuitive interface for editing videos, but understanding how to export them correctly can elevate your content's quality. Below are essential steps and tips for exporting your CapCut videos for high-quality uploads to YouTube.
Steps to Export CapCut Videos
- Edit Your Video: Complete all your edits in CapCut, including trimming, adding effects, and inserting music.
- Choose the Right Resolution: Before exporting, navigate to the export settings. Select a resolution that matches YouTube's recommendations:
- 1080p (Full HD) - 1920 x 1080
- 4K (Ultra HD) - 3840 x 2160
- Select Frame Rate: A frame rate of 30 fps or 60 fps is ideal for most YouTube videos.
- Export Your Video: Click on the export button and choose the preferred quality settings. The higher the bitrate, the better the quality.
Export Settings for Optimal Quality
| Setting | Recommended Value |
|---|---|
| Resolution | 1920 x 1080 or 3840 x 2160 |
| Frame Rate | 30 fps or 60 fps |
| Bitrate | 8 Mbps (1080p) or 35-45 Mbps (4K) |
By following these steps and utilizing the recommended settings, you can ensure that your CapCut videos are exported in the highest quality possible for YouTube. This attention to detail not only enhances viewer experience but also helps your videos perform better in search algorithms.
In conclusion, exporting videos from CapCut to YouTube with the right settings is crucial for maintaining quality and ensuring that your content stands out. By paying attention to resolution, frame rate, and other export settings, you can significantly enhance your video's visual appeal.