Changing your YouTube account email can seem like a daunting task, but it doesn't have to be! Whether you're looking to switch to a more professional email or simply want to update your contact information, we're here to guide you through the process. In this guide, we’ll explore the reasons you might want to change your email and how to do it effortlessly. Let’s dive in!
Why You Might Want to Change Your YouTube Email
There are several compelling reasons for wanting to change the email associated with your YouTube account. Here are some key motivators:
- Switching to a Professional Email: If you’ve been using a personal email address, you might want to transition to a more professional one, especially if you're using your channel for business or branding purposes.
- Recovering Access: If you lost access to your current email account or it has been compromised, changing your YouTube email can help you regain control and secure your channel.
- Consolidating Accounts: Many users have multiple accounts across various platforms. Changing your YouTube email to one that you frequently use can simplify your online presence.
- Enhancing Security: If your current email is outdated or lacks proper security measures, switching to a more secure and updated email can protect your content and personal information.
- Personal Preference: Sometimes, it’s just about personal preference. You may have a new email address that you prefer to use for all your communications.
Regardless of your reason, changing your email can be a straightforward process that enhances your YouTube experience. Let’s take a look at how to do this seamlessly in the next sections.
Also Read This: How to Share a YouTube Video on Instagram
Step 1: Sign In to Your YouTube Account
To kick things off, the first thing you need to do is sign in to your YouTube account. This is pretty straightforward, but let’s break it down to make sure you don’t miss a step:
- Open YouTube: Start by navigating to the YouTube website or open the YouTube app on your smartphone.
- Click on Sign In: If you aren't already signed in, look for the “Sign In” button, usually located at the top right corner of the page.
- Enter Your Credentials: Input your current email address and password associated with your account. If you've forgotten your password, don’t worry; there’s an option to reset it!
- Verification: Depending on your security settings, you might have to go through a verification process—this could involve two-factor authentication if you've enabled it.
Once you’ve successfully signed in, the screen will refresh, showing your personalized YouTube homepage. This is your gateway to managing your account and making that email change!
Also Read This: Hiding appreciated posts on Behance
Step 2: Access Your Account Settings
Now that you're logged in, it’s time to access your account settings. This part is crucial because that's where all the magic happens! Here’s how to navigate there:
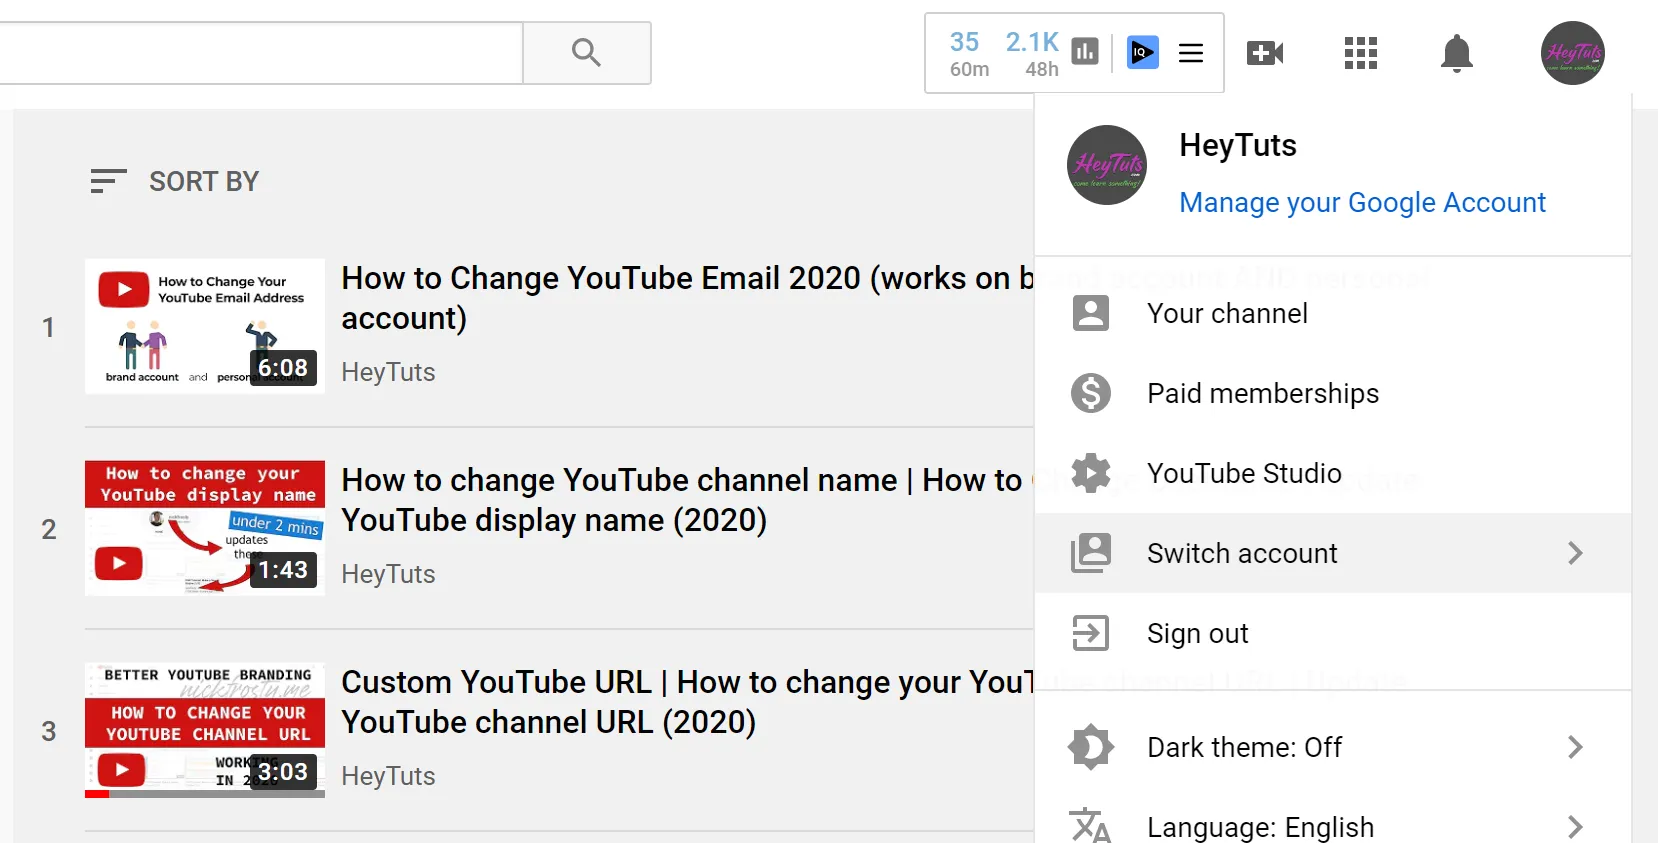
- Click on Your Profile Icon: Look at the top right corner of the screen—your profile picture or icon is waiting! Click on it.
- Select “Settings”: In the dropdown menu, find and click on “Settings.” This will take you to a new page where you can manage various aspects of your account.
- Navigate to “Account”: On the left-hand sidebar, you'll see several options. Click on “Account” to view account-related settings, including your email address.
In this section, you can easily manage personal information, privacy settings, and, of course, update your email address. Getting to this point is a breeze, and you're almost there!
Also Read This: How to Keep YouTube Music Playing in the Background for Continuous Listening
Step 3: Navigate to Email Preferences
Now that you’re logged into your YouTube account, it’s time to find the section where you can change your email preferences. This step is crucial because it sets the stage for your email update. Here’s how you can do it:
- Click on Your Profile Picture: This is usually located in the top right corner of the screen. It’s your personal icon that represents your channel.
- Select “Settings”: From the dropdown menu, you’ll see various options. Click on “Settings” to enter your account settings.
- Go to “Advanced Settings”: On the left sidebar, look for “Advanced Settings.” This is where you'll manage your account details, including email preferences.
Once you’re in the Advanced Settings section, you’ll see an area dedicated to your account information. This is the heart of your account management, where you can keep all your details updated.
Remember, navigating through YouTube’s settings can sometimes feel overwhelming due to its extensive options. But don’t worry; you’re almost there! Just take your time, and you’ll find the Email Preferences section without a hitch.
Also Read This: How to Conceal Your Facebook Friend List on Mobile Devices
Step 4: Enter Your New Email Address
Congratulations on making it this far! Now, let’s get you set up with your new email address. This step is straightforward, but it’s important to pay attention to the details:
- Locate the Email Field: Inside the Email Preferences section, find the field labeled “New Email Address.” This is where you’ll input your new email.
- Type Carefully: Enter your new email address carefully to avoid any typos. Double-check it, as this email will be used for notifications and account recovery.
- Confirm Your New Email: Often, you’ll need to enter the new email address again to confirm it. This step ensures that you’ve typed it correctly.
Once you’ve entered the new email, you might see a prompt to save the changes. Don’t forget to click that button! After saving, you’ll likely receive a verification email at your new address.
Check your inbox for that email, and click on the verification link to finalize the process. If you don’t see it, be sure to check your spam or junk folder just in case!
Also Read This: Share Canva Templates with Ease with How to Share a Canva Template
Step 5: Verify Your New Email Address
Alright, you’ve done the hard work of changing your email address for your YouTube account! Now comes the final step—verifying your new email. This is crucial because it ensures that you have access to your new email and helps to protect your account from unauthorized changes.
Here’s how to verify your new email address:
- Check Your Inbox: Head over to your new email’s inbox. Look for an email from YouTube. Sometimes, it might land in the spam or junk folder, so be sure to check there too!
- Open the Email: Once you find it, open the email. You’ll see a verification link or a button that says something like “Verify My Email.”
- Click the Link: Simply click on that link. This will redirect you to YouTube, confirming that your email change is completed.
If you don’t see the email after a few minutes, don’t panic! You can always request a new verification email by going back to your YouTube settings and selecting “Resend Verification Email.” This is a handy feature for those of us who may have not been quick enough to catch that email.
Also Read This: Downloading JPG Files from Adobe Stock for Your Creative Projects
Common Issues and Troubleshooting
Even though changing your YouTube account email is a straightforward process, you might run into a few hiccups along the way. Here’s a handy guide to common issues and how to troubleshoot them:
- Didn’t Receive the Verification Email? Sometimes, emails can get delayed. Make sure you’ve entered the correct email address and check your spam folder. If not found, request another verification email.
- Link Expired: If you clicked the verification link after a while, it might have expired. Just go back to settings and request a new one.
- Incorrect Password: If you’re having trouble logging in to your new email, reset your password through your email provider’s recovery process.
- Email Already in Use: If your new email is already linked to another YouTube account, you’ll need to unlink it from that account first before using it.
By keeping these common issues in mind, you can smoothly navigate any bumps in the road while changing your YouTube email!
Changing Your YouTube Account Email with Ease
Changing the email associated with your YouTube account can be a straightforward process if you know what steps to take. Whether you want to update your email for security reasons or simply prefer a different address, here’s a complete guide to help you through the process seamlessly.
Before you begin, it’s important to note that changing your email will not delete your YouTube channel or any of your uploaded content. However, ensure you have access to the new email address you want to use, as verification may be required. Follow these steps to change your YouTube account email:
- Sign in to your YouTube account.
- Click on your profile icon in the top right corner.
- Select Settings from the dropdown menu.
- In the settings menu, go to Advanced Settings.
- Click on Change Email.
- Enter your new email address and click Send Verification Email.
- Check your new email inbox for the verification message and follow the instructions.
If you are unable to change your email through the above steps, it may be due to your account being linked to a Google account, in which case you will need to update your Google account email instead. This can typically be done by:
| Step | Action |
|---|---|
| 1 | Go to your Google Account settings. |
| 2 | Navigate to the Personal Info section. |
| 3 | Select Email and follow the prompts to change your email. |
By following these steps, you can easily change the email associated with your YouTube account, ensuring that you maintain access and security.
Conclusion: Updating your YouTube account email is a simple process that can enhance your account's security and ensure you stay connected. Always remember to verify your new email to enjoy uninterrupted access to your channel.