In the dynamic world of motion graphics, stock video serves as a powerful tool that can elevate your projects to new heights. Whether you're creating an engaging advertisement, a captivating social media post, or an intricate animation, integrating stock video can save time and enhance your overall production quality. It allows you to tap into a vast library of professional footage that complements your creative vision, without the need for extensive filming or costly production setups.
Finding the Right Stock Video Clips
Choosing the perfect stock video clips is essential to ensure your motion graphics project resonates with your audience. Here’s how to effectively find the right footage:
- Define Your Vision: Before diving into stock platforms, have a clear idea of the theme and mood you're aiming for. Consider the style, color palette, and emotional tone you want to convey.
- Utilize Keywords: Use specific keywords related to your concept. For instance, if you're working on a tech-themed project, search for terms like “technology,” “innovation,” or “futuristic.” This technique narrows down your results to clips that align with your vision.
- Explore Reputable Stock Libraries: Websites like Shutterstock, Adobe Stock, and Pond5 offer extensive collections. Pay attention to the licensing options to avoid any legal complications down the line.
- Check Resolution and Quality: Always opt for high-resolution clips (preferably 4K) to ensure your project maintains a professional look, even when scaled or edited.
- Preview and Filter: Most stock video sites allow you to preview clips. Take advantage of filters for category, duration, and orientation to refine your search further.
With these tips in mind, you'll be well on your way to discovering stock video clips that not only enhance your motion graphics but also resonate with your audience. Happy hunting!
Also Read This: Understanding YouTube Video Resolution and Pixel Count
Importing Stock Video into Adobe After Effects
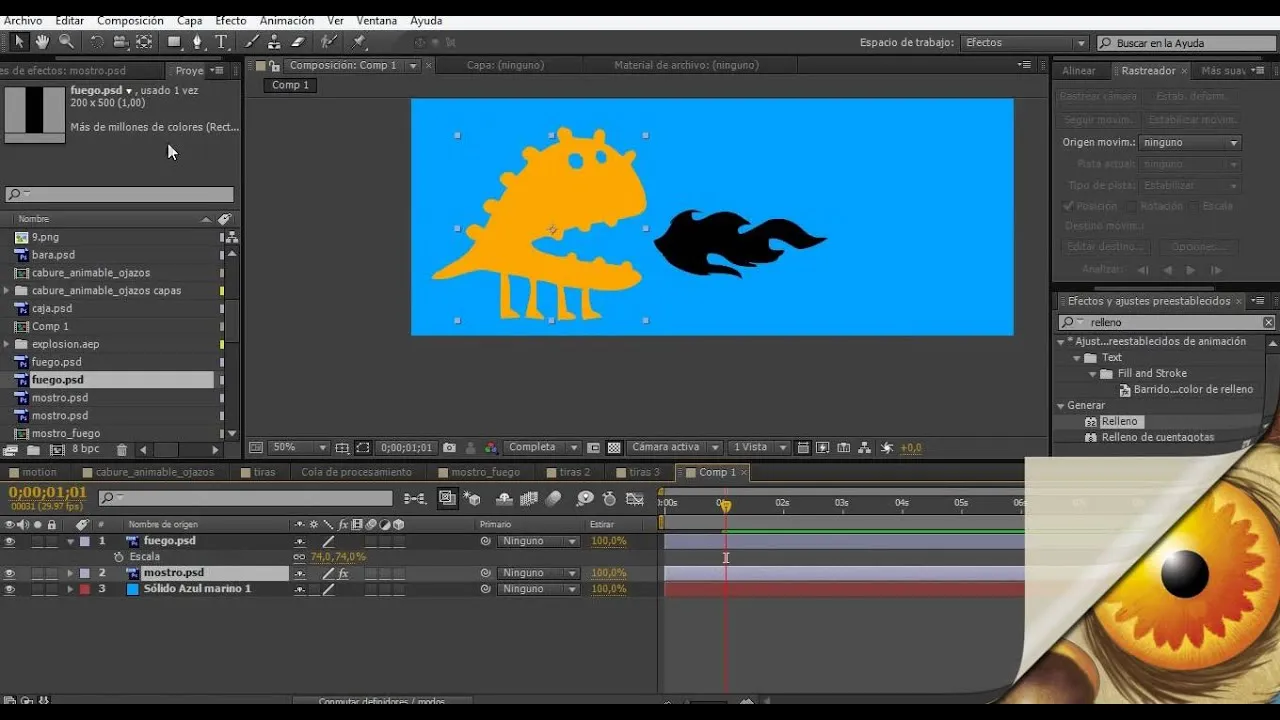
Importing stock video into Adobe After Effects is a straightforward process that can significantly enhance your motion graphics projects. Whether you’re using footage from renowned sites like Shutterstock or free libraries like Pexels, the import steps remain largely the same.
Here’s how you can do it:
- Open Your Project: Launch Adobe After Effects and open your active project or create a new one.
- Access the Import Menu: Go to File in the top menu, then select Import followed by File... Alternatively, you can use the shortcut Ctrl+I (Windows) or Cmd+I (Mac).
- Select Your Stock Video: In the file browser that appears, navigate to the location where your stock video is saved. Select the video file you wish to import and click Open.
- Adjust Import Settings: Depending on your needs, you might want to adjust the import settings. You can choose to import as a composition or footage, depending on what you plan to do with the video.
- Check the Project Panel: Once imported, your stock video will appear in the Project Panel. You can now drag it to the timeline to start editing!
Remember, high-quality stock footage can elevate your project tremendously. So, always opt for clips that match your project’s theme and style!
Also Read This: Can You Stream and Receive Donations if Demonetized on YouTube
Organizing Your Stock Clips in the Project Panel
Once you’ve imported your stock videos into Adobe After Effects, the next crucial step is to organize them effectively in the Project Panel. A well-organized project can save you time and stress as you work through your edits.
Here’s how to keep your stock clips neat and accessible:
- Create Folders: Right-click in the Project Panel and select New Folder. Name folders based on categories like “Stock Video,” “Audio,” or by project scenes. This helps you quickly locate specific clips.
- Label Clips: Use color labels to visually distinguish different types of clips. For example, use green for video, red for audio, and blue for graphics. Right-click on the clip, hover over Label, and choose a color.
- Add Descriptions: If you’re working with many clips, consider adding a brief description in the Comment section of the clip properties. This can give you context about the content of the video at a glance.
Additionally, you can always rearrange your clips by dragging them into the desired order within the folders. A tidy workspace not only enhances productivity but also allows for a more creative flow!
Also Read This: Design Passports with Canva Passport Template
5. Using Stock Video in Your Motion Graphics Composition
Incorporating stock video into your motion graphics projects can elevate your work dramatically. Think of stock footage as the secret ingredient that adds depth and context to your animations. Whether you're creating an explainer video, a promotional piece, or a social media clip, stock video can save you time and enhance your storytelling.
Here are some ways to effectively use stock video in your compositions:
- Set the Scene: Use stock footage as a background layer to give your project a sense of place. For example, a bustling cityscape can create an energetic backdrop for an urban-focused animation.
- Visual Transitions: Blend stock video with your animations to create smooth transitions. For instance, a clip of clouds could morph into a logo reveal, adding a professional touch to your project.
- Emphasize Key Messages: Use relevant footage that complements your text. If you’re discussing sustainability, a clip of a lush forest can reinforce your message powerfully.
Remember, the key is to choose footage that aligns with your project's theme and maintains visual coherence. This way, your audience will engage with both the animation and the live-action elements seamlessly.
Also Read This: Choosing the Best Image Format for Online Uploads
6. Editing and Enhancing Stock Footage in After Effects
Once you've added stock video to your motion graphics, the next step is to edit and enhance that footage to fit your vision. Adobe After Effects offers a plethora of tools to help you manipulate and refine your stock clips.
Here are some techniques you can use:
- Color Correction: Use the Color Correction tools to adjust the lighting and color balance of your stock footage. This ensures it matches your project's overall color scheme. Try using the Curves or Hue/Saturation effects for this.
- Speed Adjustments: Change the speed of your footage to create dramatic effects. Speeding up a clip can add excitement, while slowing it down can evoke emotion. Use the Time Stretch feature for precise control.
- Layering and Masks: Combine stock footage with your animated elements using layers and masking techniques. For instance, you could mask out a part of the stock video to reveal other graphics underneath.
- Adding Effects: Enhance your stock video with After Effects' built-in effects. Adding a subtle Gaussian Blur can help blend the footage into the animation, making it feel more cohesive.
By using these techniques, you can transform stock video from a simple background into a dynamic component of your motion graphics project. The goal is to create a unified look that captivates your audience and communicates your message effectively.
Also Read This: Uploading Pornographic Content on Dailymotion
7. Exporting Your Final Motion Graphics Project
Once you’re satisfied with your motion graphics project in Adobe After Effects, it’s time to export it! This step is crucial, as it determines how your audience will experience your work. But don't worry, I’ll guide you through the process!
First, navigate to the top menu and click on Composition, then select Add to Render Queue. This action opens the Render Queue panel, where all the magic happens. Here’s a breakdown of important settings:
- Output Module: Click on the text in this section to choose your desired file format. For web use, formats like H.264 or QuickTime are popular choices.
- Output To: This is where you decide where your file will be saved. Click on the blue text to specify your output location.
- Render Settings: You can choose settings like resolution and frame rate. Make sure these match your project specifications.
After everything is set, simply click on the Render button. Depending on the complexity of your project, this may take some time, so grab a snack while you wait!
Once rendering is complete, check the output file to ensure everything looks just right. And there you go—your motion graphics project is ready to shine!
8. Conclusion and Tips for Using Stock Video Effectively
Incorporating stock video into your motion graphics projects can elevate your work, adding depth and visual interest. However, to make the most of it, consider these tips:
- Choose Relevance: Always pick stock footage that complements your main message. For instance, if your project is about sustainability, clips of nature or clean energy will resonate well.
- Maintain Quality: High-resolution stock videos ensure that your project looks professional. Avoid anything grainy or pixelated.
- Edit Thoughtfully: Don’t just slap stock footage in; integrate it smoothly. Use transitions, color grading, and effects to make it blend seamlessly with your graphics.
- Keep Branding in Mind: If you’re creating content for a brand, ensure the stock footage aligns with their visual identity. Consistency is key!
By following these tips, you'll not only enhance your projects but also engage your audience more effectively. Remember, the goal is to create something unique, so don’t shy away from experimenting!