Welcome to the exciting world of 360-degree videos! As technology continues to evolve, so does the way we consume content. 360-degree videos offer an immersive experience that traditional videos simply can’t match. Imagine being able to control your view, looking around as if you were actually in the scene. Whether it’s exploring breathtaking landscapes, attending a concert, or experiencing a virtual tour, 360-degree videos transport viewers to another world. In this guide, we’ll explore how to upload 360-degree videos on YouTube and the benefits of doing so. Let’s dive in!
Benefits of Uploading 360-Degree Videos to YouTube
Uploading 360-degree videos to YouTube can be a game-changer for content creators. Here are some of the key benefits:
- Enhanced Viewer Engagement: 360-degree videos allow viewers to take control of their experience, making them more engaged. They can explore at their own pace and focus on what interests them the most.
- Unique Storytelling Opportunities: This format allows creators to tell stories in a more immersive way. You can transport your audience to different locations and environments, making your content stand out.
- Increased Reach: YouTube is the second largest search engine globally. By uploading 360-degree videos, you tap into a growing audience interested in this format, potentially increasing your views and subscribers.
- Higher Shareability: Unique and immersive content is more likely to be shared across social media platforms, increasing your visibility and reach.
- Cutting-Edge Technology: By embracing 360-degree videos, you position yourself as an innovative creator. This can attract collaborations and partnerships with brands looking to experiment with new formats.
In summary, uploading 360-degree videos to YouTube not only enhances viewer engagement but also opens up a plethora of creative opportunities. It's a fantastic way to showcase your content in a fresh, exciting manner!
Also Read This: How to Get Adobe Stock Templates for Free and Enhance Your Design Projects
3. Preparing Your 360-Degree Video for Upload
Alright, so you’ve shot an amazing 360-degree video, and now you’re itching to share it with the world on YouTube! But hold your horses; there’s a bit of prep work involved to ensure your video looks stunning and performs well. Let’s dive into the steps you need to take!
1. Edit Your Video: First things first, make sure your video is polished. Use editing software that supports 360-degree video. Popular options include:
- Adobe Premiere Pro
- Final Cut Pro
- DaVinci Resolve
Trim any unnecessary footage, add transitions, and make sure the audio is crisp. Remember, quality matters!
2. Check the Resolution: Aim for at least 4K resolution (3840 x 2160) for a crisp viewing experience. YouTube supports resolutions up to 8K, but higher resolutions also mean larger file sizes.
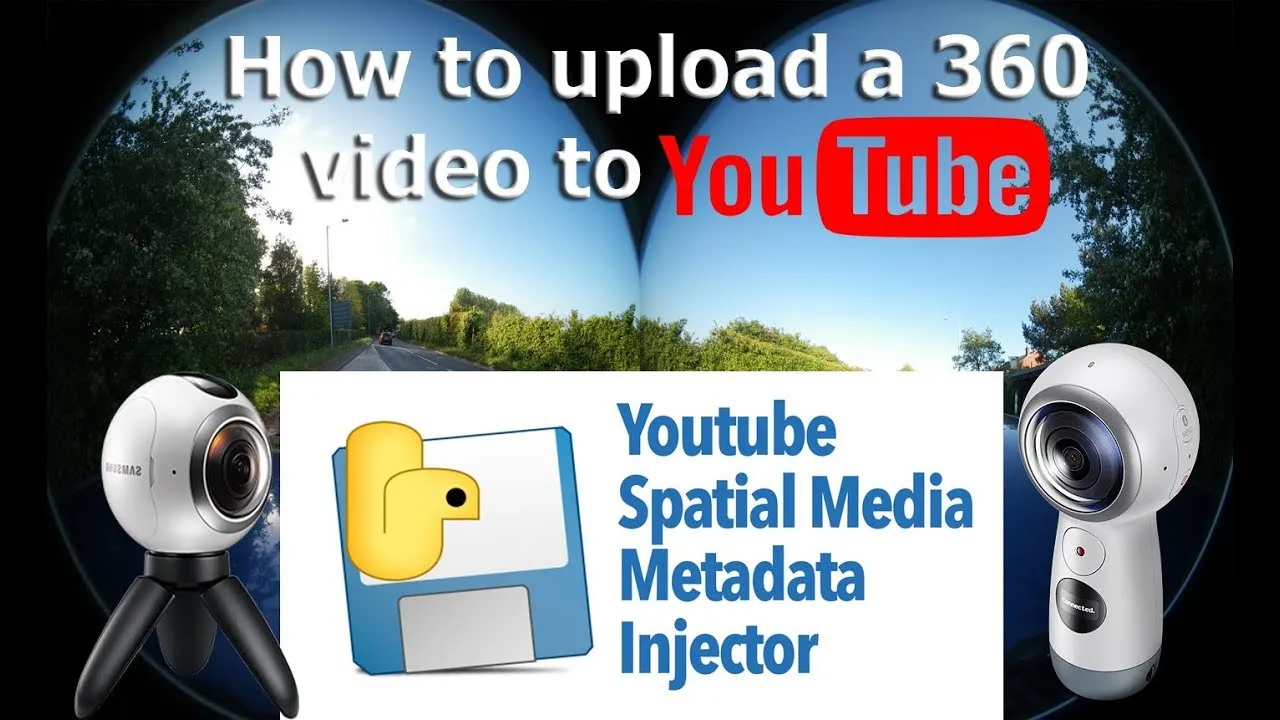
3. Metadata Matters: Before uploading, you’ll want to add the appropriate metadata. Use a tool like Spatial Media Metadata Injector to embed the necessary 360-degree metadata into your video file. This step is crucial; it tells YouTube that your video is 360-degree footage.
4. Compression: To make your video easier to upload while preserving quality, consider compressing it. Use a video compression tool like HandBrake, ensuring you maintain a balance between quality and file size.
Getting these steps right will set your video up for success, so take your time in preparing it for the big reveal!
Also Read This: How to Post Pictures on LinkedIn for Maximum Engagement
4. Steps to Upload Your 360-Degree Video on YouTube
Now that your 360-degree video is prepped and ready to go, let’s walk through the steps to upload it to YouTube. It’s simpler than you might think!
- Sign In: Begin by signing into your YouTube account. If you don’t have one, creating an account is quick and easy!
- Click on the Upload Button: Look for the camera icon with a "+" sign at the top right of the YouTube homepage and click on it. Then select “Upload Video.”
- Select Your Video: Drag and drop your prepared 360-degree video file into the upload window or click “Select Files” to browse for it on your computer.
- Add Video Details: While your video uploads, fill in the details. Think about a catchy title, a descriptive summary, and relevant tags to help viewers find your video.
- Choose a Thumbnail: Select or upload an eye-catching thumbnail. This is often the first impression viewers get, so make it interesting!
- Set Visibility: Decide whether you want your video to be public, unlisted, or private. If you’re unsure, starting with unlisted allows you to share it while keeping it hidden from general searches.
- Publish: Once you’ve filled in all the details and confirmed everything looks good, hit that “Publish” button! Your video is now live!
And there you have it! Your 360-degree video is uploaded and ready for viewers to experience. Remember to promote it on social media and engage with your audience for maximum impact!
Also Read This: Does YouTube TV Offer Pac-12 Network Streaming Options for Sports
5. Optimizing Your Video for Better Visibility
So, you've uploaded your 360-degree video to YouTube—congratulations! But how do you ensure it reaches the right audience? Optimization is key. Here are some effective strategies to enhance your video's visibility:
- Title: Choose a catchy and descriptive title. Include relevant keywords that viewers might use to search for videos like yours. For example, instead of "My 360 Video," try "Explore the Serengeti in 360 Degrees!"
- Description: Write a detailed description. Use this space to explain what viewers can expect from your video. Don’t forget to incorporate keywords naturally, as they help with search rankings. Aim for at least 250 words!
- Tags: Use relevant tags to help categorize your video. Think of tags as keywords that describe the content. Include both broad and specific tags related to your video.
- Thumbnail: Create an eye-catching thumbnail. A compelling image can greatly increase click-through rates. Make sure it represents your video accurately and entices viewers to click.
- Engagement: Encourage viewers to like, comment, and share your video. The more engagement your video has, the more likely it will be recommended by YouTube’s algorithm.
- Promotion: Share your video across social media platforms and relevant forums. The more exposure you get, the better chance your video has of going viral!
By following these optimization tips, you’ll be well on your way to enhancing your video’s visibility and reaching a wider audience!
Also Read This: Understanding Adobe Stock Photos Cost and Payment Structures
6. Common Issues and Troubleshooting Tips
Even the best creators encounter issues when uploading 360-degree videos to YouTube. But don’t worry! Here are some common problems and handy troubleshooting tips to help you out:
- Video Not Processing: Sometimes, your video may get stuck during processing. This could be due to a large file size. Try compressing your video before uploading it again.
- Audio Sync Issues: If you notice that the audio doesn’t match the video, check your editing software settings. Ensure the audio track is properly aligned before exporting the final version.
- 360-Degree Feature Not Working: If your video doesn’t display in 360 degrees, make sure you’ve added the appropriate metadata. Use the 360 Video Metadata Tool provided by YouTube to embed this information correctly.
- Low Quality: If your video appears blurry or pixelated, check your upload settings. Aim for a higher resolution (at least 4K) to ensure the best quality for viewers.
- Playback Issues: Viewers may experience buffering or playback problems. Encourage them to check their internet connection or try using a different browser.
Remember, these issues are not uncommon. With a little patience and troubleshooting, you can get your 360-degree videos up and running smoothly on YouTube!
A Comprehensive Guide to Uploading 360-Degree Videos on YouTube
360-degree videos offer an immersive viewing experience, allowing audiences to explore scenes from multiple angles. With the rise of virtual reality (VR) and enhanced video technologies, uploading 360-degree content on YouTube has become increasingly popular. This guide will provide you with all the steps and tips you need for a successful upload.
Understanding 360-Degree Videos
Before diving into the uploading process, it’s essential to understand what 360-degree videos are. These videos allow viewers to pan around and explore the content, creating a more engaging experience. They typically require specialized cameras or software to capture the footage.
Preparing Your Video for Upload
To upload a 360-degree video on YouTube, follow these steps:
- Capture Your Video: Use a 360-degree camera or smartphone that supports 360 video recording.
- Edit Your Video: Use video editing software that supports 360-degree video formats, ensuring you maintain the correct aspect ratio.
- Export the Video: Save your video in a compatible format, such as MP4, and make sure to include the necessary metadata.
Uploading to YouTube
Once your video is prepared, you can upload it to YouTube:
- Log in to your YouTube account.
- Click on the “Upload” button.
- Select your 360-degree video file and fill in the necessary details (title, description, tags).
- Ensure you check the box for “This is a 360 video” in the advanced settings.
- Click “Publish” to make your video live.
Tips for Enhancing Your Video
To ensure your 360-degree video stands out, consider the following:
- High-Quality Footage: Use high-resolution settings for better clarity.
- Engaging Content: Create content that encourages viewers to explore their surroundings.
- Effective Thumbnails: Design eye-catching thumbnails to attract viewers.
In conclusion, uploading 360-degree videos on YouTube can greatly enhance viewer engagement and provide a unique experience. By following the steps outlined above, you can easily share immersive content with a global audience.