YouTube TV has revolutionized the way we consume live television. With a wide array of channels spanning various genres, it offers something for everyone. From news and sports to entertainment and lifestyle, finding the right channel can sometimes feel overwhelming. In this post, we're diving into how to set up channels on YouTube TV, making navigation a breeze. Whether you're a seasoned user or just starting, customizing your channel list can significantly enhance your viewing experience.
Benefits of Customizing Your Channel List

Customizing your channel list on YouTube TV comes with several perks that can elevate your streaming experience. Here’s why you should consider tailoring your channel lineup:
- Streamlined Navigation: Without the clutter of channels you rarely watch, finding your favorites becomes much quicker. Imagine having instant access to only the shows and networks you love!
- Personalized Recommendations: When your channel list reflects your interests, YouTube TV can better suggest content that suits your tastes. This means more enjoyable viewing sessions.
- Focused Content Discovery: You’ll discover new shows and networks that align with your preferences, making it easier to explore new content without wading through irrelevant channels.
- Improved Accessibility: By prioritizing channels that matter most to you, navigating through the interface becomes intuitive. This is especially beneficial for users who may not be tech-savvy.
In summary, customizing your YouTube TV channel list not only enhances your experience but also makes it more enjoyable and less overwhelming. Plus, it puts you in control of the content you consume!
Also Read This: Getting featured in Behance
3. Step-by-Step Guide to Setting Up Channels

Setting up channels on YouTube TV is a straightforward process that can significantly enhance your viewing experience. Whether you're a newbie or a seasoned user, follow these simple steps to get your channels up and running.
- Log into YouTube TV: Start by opening the YouTube TV app or website. Enter your Google account details to sign in.
- Navigate to Settings: Click on your profile picture in the top right corner. From the dropdown menu, choose "Settings."
- Select “Live Guide”: In the Settings menu, find and select the “Live Guide” option to view your available channels.
- Customize Your Channels: Scroll through the list and look for the channels you want to add or remove. You can toggle the channels on or off according to your preferences.
- Save Changes: Once you're satisfied with your selections, make sure to click on “Done” to save your changes.
- Explore Your New Setup: Go back to the homepage to see your newly organized channels. You can now easily navigate through them during your viewing sessions!
And there you have it! In just a few minutes, you can personalize your YouTube TV experience to fit your needs.
Also Read This: How to Introduce Yourself in Class in English
4. Organizing Channels for Easy Access

Once you've set up your channels, it's essential to keep them organized to ensure easy access. Here are some tips and tricks to help you manage your channels effectively:
- Create Custom Lists: YouTube TV allows you to create custom groups. For example, you can group channels by genre such as sports, news, or entertainment for quicker access.
- Prioritize Your Favorites: Make sure your most-watched channels are placed at the top of your list. This way, they’re just a click away when you want to dive into your favorite shows.
- Regularly Update Your Preferences: Viewing habits change, so revisit your settings every few months. Unsubscribe from channels you rarely watch and add new ones that pique your interest.
Here’s a quick table showcasing how you might organize channels by genre:
| Genre | Channels |
|---|---|
| Sports | ESPN, NFL Network, NBA TV |
| News | CNN, BBC, Fox News |
| Entertainment | HBO, AMC, Netflix |
By organizing your channels thoughtfully, you’ll spend less time scrolling and more time enjoying your favorite content!
Also Read This: The Top Audio Editing Tools for Podcasters and YouTubers
Managing Channel Preferences
Setting up your channel preferences on YouTube TV is a breeze, and it can significantly enhance your viewing experience. With the right channels prioritized, you can navigate through your options quickly and efficiently. Here’s how to get started:
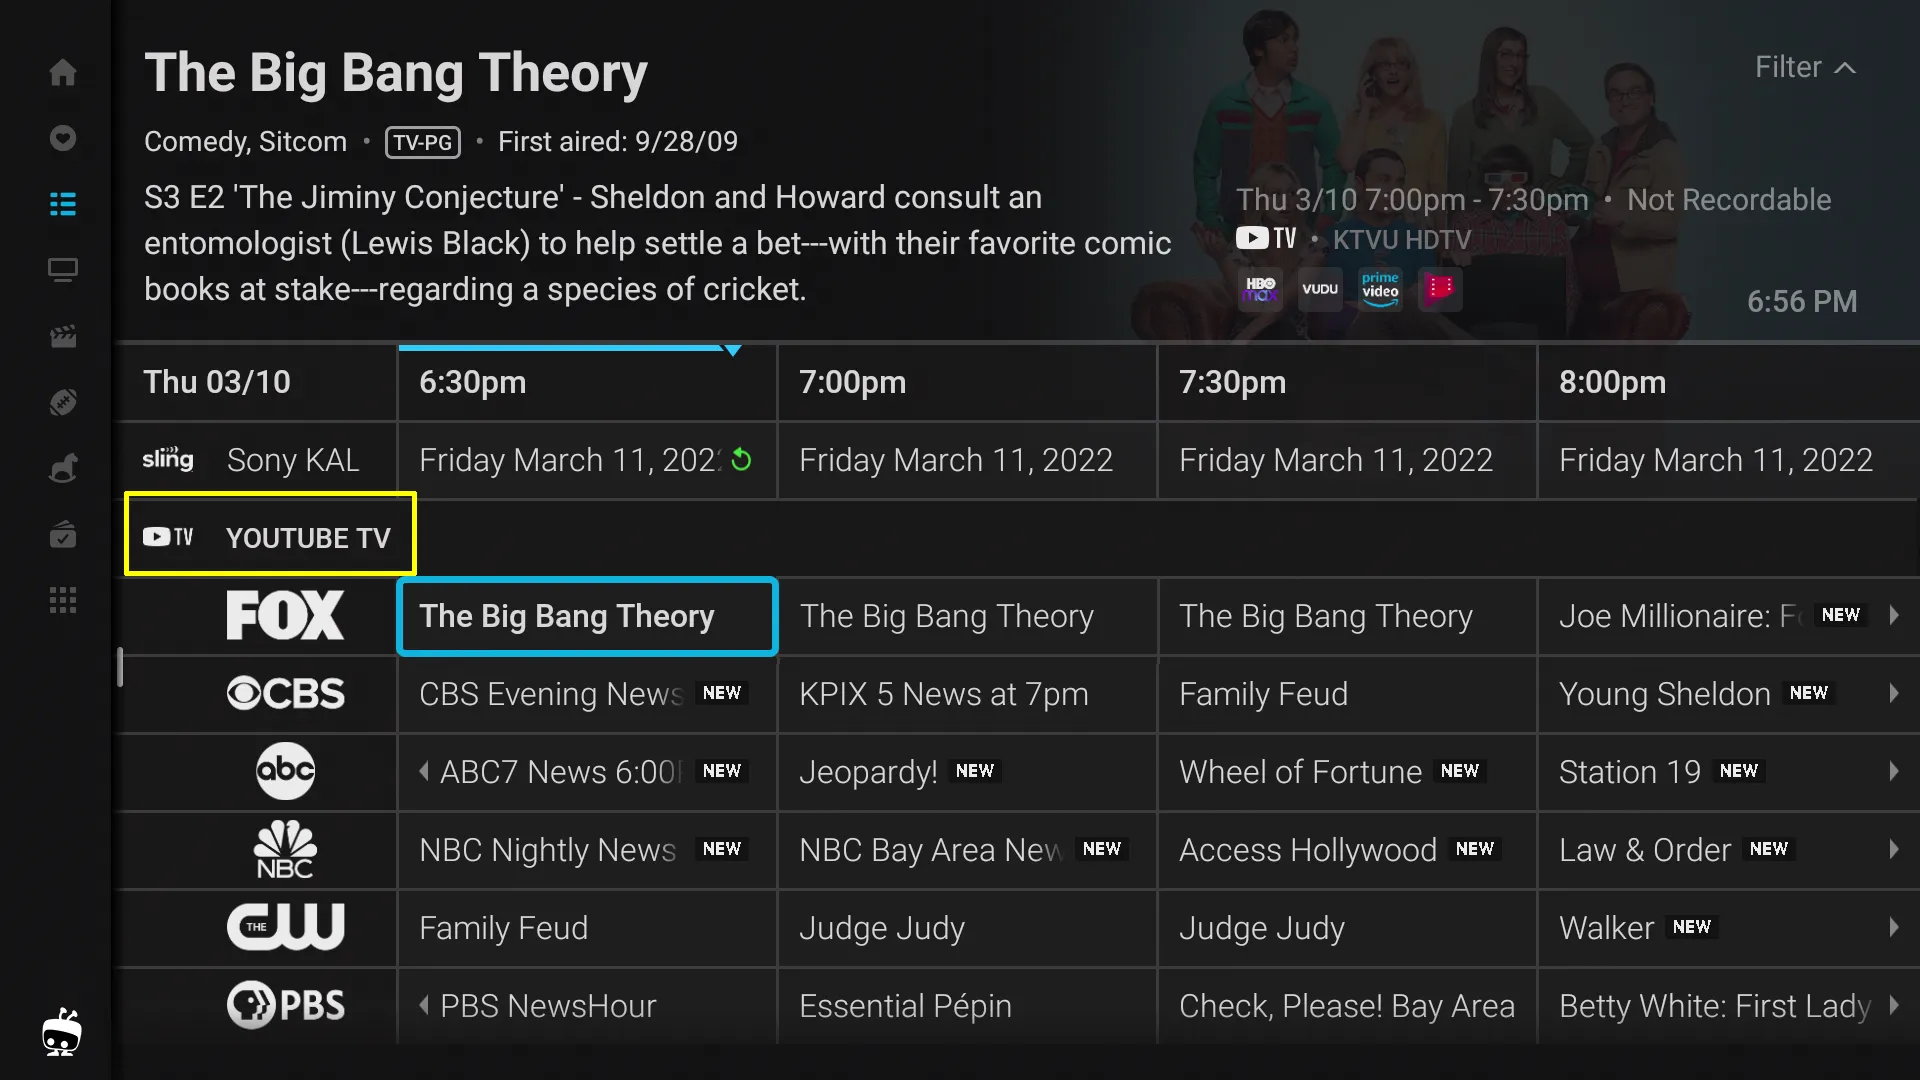
First, log in to your YouTube TV account and head to the "Live" tab. This is where you'll find all your live channels. To manage your channel preferences:
- Rearranging Channels: Simply click and drag the channels to reorder them according to your preference. Want your favorite sports channel at the top? Just drag it there!
- Hiding Channels: If there are channels you rarely watch, you can hide them. Click on the channel’s name, and you’ll see an option to hide it. This helps declutter your interface.
- Adding Channels: Discovering new channels is easy! Go to the "Add-ons" section and browse through various networks. You can add channels that interest you, expanding your viewing options.
Additionally, YouTube TV allows you to set preferences for notifications based on your favorite shows or channels. This way, you’ll never miss an important game or episode again!
Also Read This: A Quick Guide to Saving Files and Images from Behance
Troubleshooting Common Issues
Even the best systems can run into hiccups. Here’s a friendly guide to troubleshooting some common YouTube TV issues, ensuring you get back to watching your favorite shows in no time!
| Issue | Solution |
|---|---|
| Streaming Problems | Check your internet connection. Restart your router if needed. A stable connection is key! |
| Channel Not Available | Make sure your subscription covers that channel. Try refreshing the app or logging out and back in. |
| Playback Errors | Clear your app cache or uninstall and reinstall the app. Sometimes a fresh start is all you need! |
If problems persist, don’t hesitate to check YouTube TV’s help center or contact their support for more personalized assistance. Remember, every problem has a solution!
Setting Up Channels on YouTube TV for Easy Navigation
YouTube TV has revolutionized the way we consume television by providing a versatile platform that allows users to watch live TV, record shows, and stream on-demand content. One of the key features of YouTube TV is the ability to customize your channel lineup, making navigation seamless and tailored to your viewing preferences. Here’s how to set up channels for easy navigation:
1. Accessing Your Channel List
To begin setting up your channels, follow these steps:
- Open the YouTube TV app or website.
- Sign in to your account.
- Navigate to the "Live" tab on the homepage.
2. Customizing Your Channel Lineup
Once you have accessed your channel list, you can customize it by:
- Reordering Channels: Click and drag channels to rearrange them according to your preference.
- Hiding Unwanted Channels: Select the channels you don’t watch and hide them from your lineup.
- Adding Favorite Channels: Mark your most-watched channels as favorites for quicker access.
3. Utilizing Search and Filters
YouTube TV also provides powerful search and filter options to enhance your viewing experience:
| Feature | Description |
|---|---|
| Search Bar | Type in the name of a channel or show to find it quickly. |
| Filter Options | Narrow down your channel selection by categories like sports, news, and entertainment. |
By following these steps and utilizing the available features, you can create a highly personalized and efficient channel lineup on YouTube TV that enhances your viewing experience. Remember to revisit your settings periodically to ensure your channel list remains aligned with your evolving preferences.
Conclusion and Final Tips
Setting up channels on YouTube TV for easy navigation is straightforward and can greatly improve your viewing experience. Regularly update your channel preferences, utilize the search and filter functions, and don’t hesitate to explore new channels to keep your entertainment options fresh and engaging.