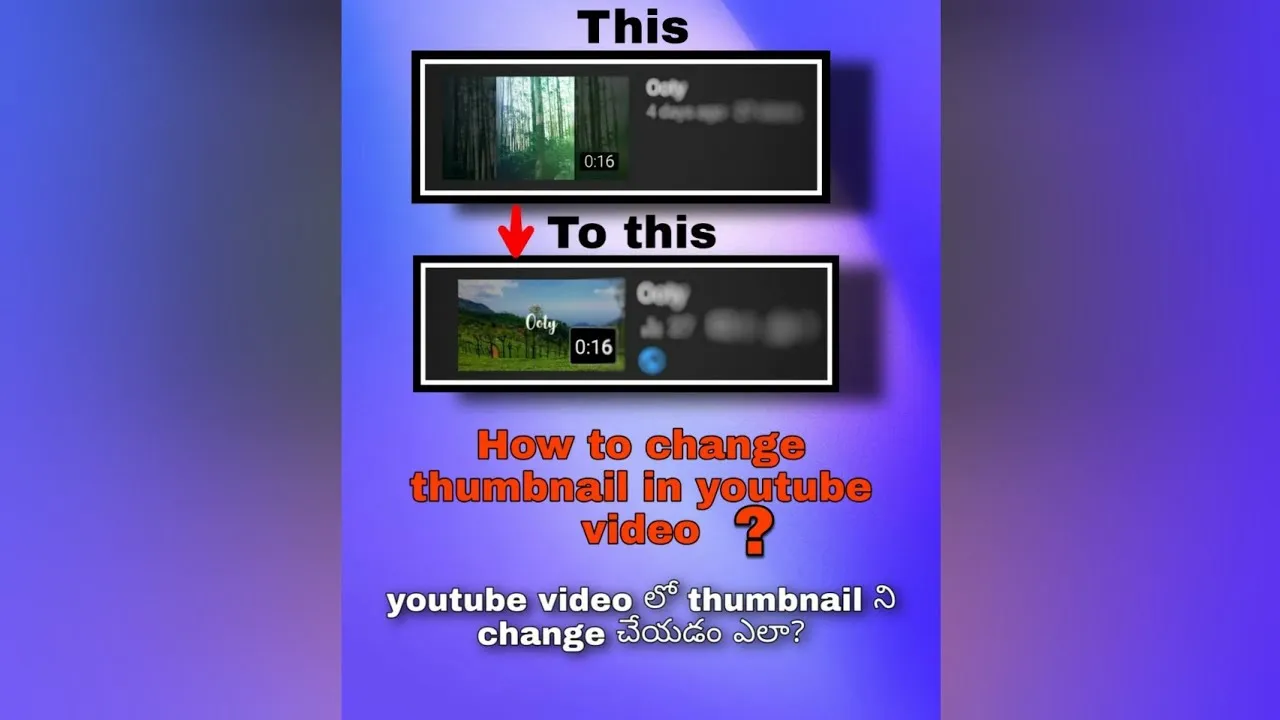
YouTube thumbnails serve as the first impression for your videos, acting like a mini-advertisement. They are small images that represent your video content and can significantly influence whether a viewer clicks on your video or scrolls past it. A well-designed thumbnail can make the difference between a viewer choosing your content over countless others. In this post, we’ll explore the importance of thumbnails, how to change them after uploading your videos, and tips for creating eye-catching designs that can boost your views.
Why Thumbnails Matter for Your Videos
Thumbnails are crucial for your video’s success for several reasons:
- First Impressions Count: Thumbnails are often the first thing potential viewers see. A captivating thumbnail can grab attention immediately, encouraging clicks.
- Branding: Consistent thumbnail styles help in building your brand identity. If your thumbnails have a recognizable look, viewers will associate them with your channel.
- Higher Click-Through Rate (CTR): Eye-catching thumbnails can significantly improve your CTR. A compelling image can lead to more views and better engagement.
In a study, it was shown that videos with custom thumbnails had a 30% higher CTR compared to those using auto-generated thumbnails. This is a staggering difference that highlights the importance of investing time in creating effective thumbnails.
Additionally, thumbnails contribute to your video’s SEO. When you optimize your thumbnail with relevant keywords, it can help improve search visibility. To maximize effectiveness, consider:
| Thumbnail Aspect | Best Practices |
|---|---|
| Image Quality | Use high-resolution images (1280x720 pixels recommended). |
| Text Overlay | Incorporate bold, readable text that summarizes your video. |
| Color Scheme | Use vibrant colors that stand out and draw attention. |
In conclusion, investing time and effort into creating an effective thumbnail can greatly enhance your video performance, making it a vital element of your YouTube strategy.
Also Read This: Fixing Intrusion Prevention Access Blocks in Fortiguard Downloader
Steps to Change Thumbnails After Uploading
Changing your YouTube thumbnail after you've uploaded your video is a straightforward process. Here’s a step-by-step guide to help you navigate the changes:
- Log in to YouTube: First, ensure you're logged into the correct YouTube account where your video is posted.
- Go to YouTube Studio: Click on your profile icon at the top right corner and select "YouTube Studio" from the dropdown menu.
- Select Content: In the left sidebar, click on "Content" to view all your uploaded videos.
- Choose the Video: Find the video for which you want to change the thumbnail. Click on the video title or the thumbnail itself.
- Edit Thumbnail: In the video details section, locate the "Thumbnail" section. You will see your current thumbnail and an option to upload a new one.
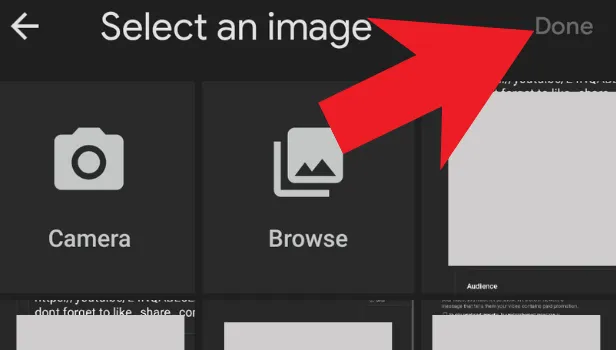
- Upload New Thumbnail: Click on the "Upload thumbnail" button. Choose a new image from your device. Remember, thumbnails should ideally be 1280x720 pixels for the best quality.
- Save Changes: After uploading, don’t forget to click "Save" at the top right corner to apply your changes.
And voila! Your video now has a fresh new look through its thumbnail. It’s a simple yet effective way to attract more viewers.
Also Read This: How to Save Video from LinkedIn for Offline Access
Best Practices for Creating Effective Thumbnails
Your thumbnail is often the first impression potential viewers get of your video, so it’s essential to make it count! Here are some best practices to ensure your thumbnails stand out:
- Use High-Quality Images: Low-quality images can make your video look unprofessional. Always use clear and high-resolution images.
- Keep It Simple: A cluttered thumbnail can confuse viewers. Aim for a clean and simple design that conveys your video’s essence.
- Incorporate Text Wisely: Adding brief, catchy text can enhance your thumbnail. Use bold fonts and limit text to a few words to keep it readable.
- Use Contrasting Colors: Thumbnails with vibrant, contrasting colors attract attention. Experiment with different color combinations to see what pops!
- Highlight Faces: Thumbnails featuring expressive faces tend to perform better. A human touch can create a connection with viewers.
- Maintain Consistency: If you’re running a series or a channel, keep a consistent style across your thumbnails. This builds brand recognition.
- Test Different Thumbnails: Don’t hesitate to experiment! Sometimes, A/B testing different thumbnails can reveal what works best for your audience.
By following these best practices, you can create eye-catching thumbnails that not only attract clicks but also represent the content of your videos accurately.
Also Read This: How to Block YouTube on a School Chromebook: A Guide for Administrators
Common Questions About YouTube Thumbnails

When it comes to YouTube thumbnails, many creators have questions that can help them optimize their channels and improve viewer engagement. Let’s tackle some of the most common queries!
- Can I change my YouTube thumbnail after uploading? Yes, you can change your thumbnail at any time after uploading your video. Simply navigate to your video in YouTube Studio, click on the thumbnail section, and upload a new image.
- Are there specific size requirements for thumbnails? Absolutely! YouTube recommends a thumbnail size of 1280 x 720 pixels. This ensures that your thumbnail looks great on all devices, from desktops to mobile phones.
- What file formats are acceptable? YouTube accepts JPEG, GIF, BMP, or PNG formats. Just make sure your file size is under 2 MB to avoid any uploading issues!
- How important are thumbnails for my video's success? Extremely! A compelling thumbnail can significantly increase your click-through rate (CTR). It’s your first chance to grab a viewer’s attention, so make it count!
- Can I use copyrighted images for my thumbnails? It’s best to avoid using copyrighted images unless you have permission. Instead, consider creating your own graphics or using stock photos that are free for commercial use.
Conclusion and Final Thoughts
In conclusion, changing your YouTube thumbnail after uploading is not just possible; it’s a key strategy for enhancing your video's performance. Here are a few final thoughts to keep in mind:
- Experimentation is Key: Don’t hesitate to test different thumbnails to see which ones resonate best with your audience. A/B testing can be a game-changer!
- Stay On-Brand: Ensure your thumbnails maintain a consistent look that reflects your brand. This helps in building recognition and trust with your audience.
- Keep It Simple: A cluttered thumbnail can be overwhelming. Use bold text and striking images that convey your video's message clearly.
- Monitor Your Metrics: Pay attention to your CTR and audience retention stats to assess the effectiveness of your thumbnails. Adjust your strategy based on what the data tells you.
By keeping these points in mind, you'll be better equipped to create eye-catching thumbnails that not only attract viewers but also drive engagement. So, go ahead and put these tips into action, and watch your YouTube channel thrive!