Are you a photographer looking to expand your reach and earn from your craft? Joining iStock Photo could be the perfect opportunity for you! iStock is a well-known platform that connects photographers with businesses and individuals seeking high-quality images. In this guide, we’ll walk you through everything you need to know about becoming a contributor to
Understanding iStock Photo
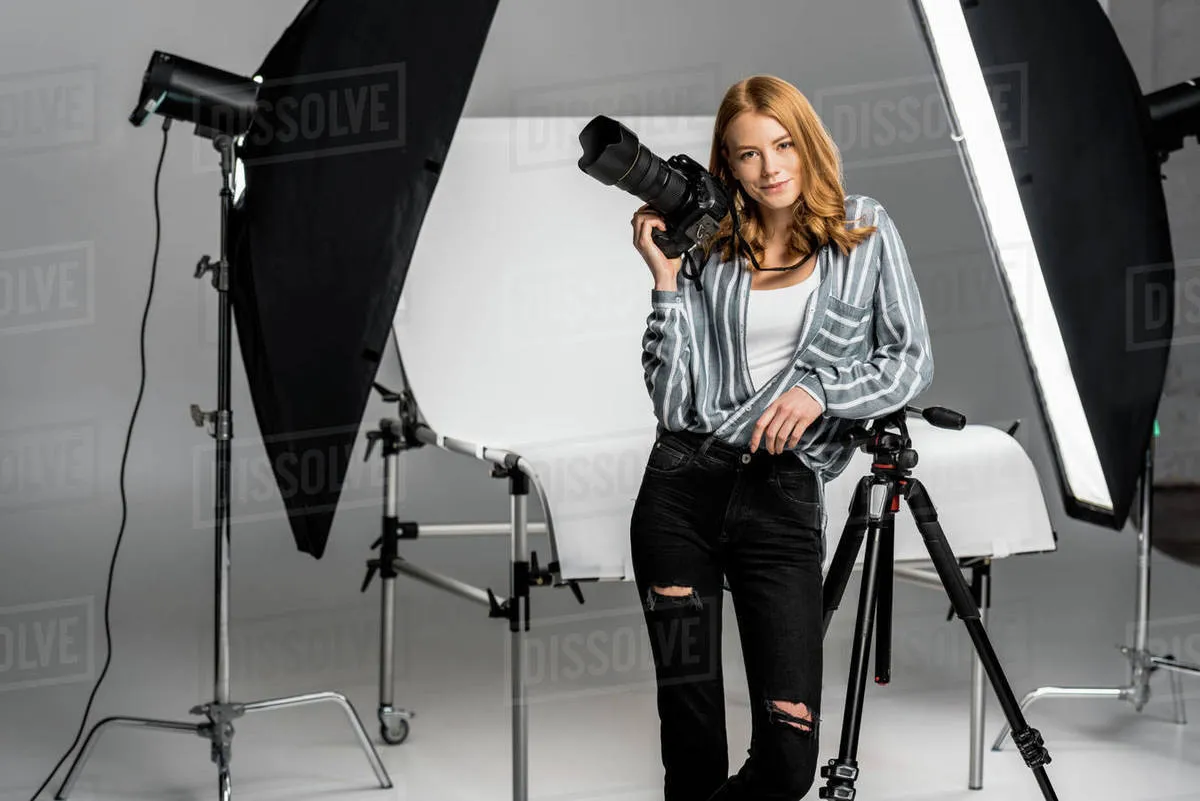
iStock Photo is a part of the Getty Images family and has been a leading platform for stock photography since its inception in 2000. It allows photographers to upload and sell their images while providing buyers with access to a vast library of diverse visuals. Here’s a closer look at what iStock Photo offers:
- Types of Content: iStock accepts various types of content, including photographs, illustrations, vectors, and videos. This means that no matter your skill set, there's a place for your work.
- Royalty Structure: Photographers earn royalties based on the number of downloads. The more popular your images become, the more you can earn. Generally, contributors can earn anywhere from 15% to 45% of the sale price depending on the exclusivity of their images.
- Quality Control: iStock has strict quality guidelines. Your submissions must meet their technical and aesthetic standards, ensuring customers receive only the best. This can help you improve your skills!
- Community and Support: Joining iStock means you’re part of a vibrant community of photographers. There are forums, tutorials, and resources to help you grow and succeed.
Understanding iStock Photo is crucial for any photographer looking to make the most of this platform. Whether you’re aiming to showcase your creativity or earn a side income, mastering the ins and outs of iStock will set you up for success!
Also Read This: Excluding Specific Terms from Search in Adobe Stock to Narrow Your Results
3. Steps to Create Your iStock Profile
Joining iStock as a photographer is an exciting opportunity to showcase your work and earn some money while doing what you love. But before you dive in, you’ll need to create a solid profile. Here’s how to do it!
Step 1: Sign Up
First things first, head over to the iStock website and click on the “Sign Up” button. You’ll need to provide some basic information like your name, email address, and a password. Make sure to choose a professional email that you check regularly.
Step 2: Choose Your Contributor Type
iStock offers two types of contributors: Exclusive and Non-Exclusive. Exclusive contributors earn a higher percentage of royalties but can only sell their images on iStock. Non-Exclusive contributors can sell their work on other platforms as well. Choose the one that suits your goals!
Step 3: Fill Out Your Profile
Once you've signed up, you’ll need to complete your profile. Add a profile picture that reflects your personality and work. Write a brief bio that highlights your photography style and interests. Remember, a friendly and engaging bio can help you connect with potential buyers!
Step 4: Set Your Payment Preferences
Choose how you want to get paid. iStock offers various payment options, including PayPal and bank transfers. Make sure to select the option that’s most convenient for you.
Step 5: Submit Your Profile for Approval
After completing your profile, submit it for approval. The iStock team will review it to ensure it meets their standards. Once approved, you’re all set to start uploading your work!
Also Read This: How to Message Someone on Telegram
4. Preparing Your Photography Portfolio
Your photography portfolio is your showcase, your calling card, and essentially your ticket to success on iStock. So, putting together a compelling collection is crucial. Here’s how to prepare a standout portfolio!
Step 1: Select Your Best Work
Quality over quantity! Choose a curated selection of your best images that highlight your skills and unique style. Aim for a mix of different subjects and genres to showcase your versatility. Here’s a checklist:
- Technical Excellence: Sharp focus, good exposure, and proper lighting.
- Variety: Include landscapes, portraits, abstracts, and any niche that you excel in.
- Storytelling: Images that evoke emotion or tell a story tend to attract more buyers.
Step 2: Format and Size
Ensure your images meet iStock’s requirements. Generally, this means:
- Minimum dimensions of 3 MP.
- Formats: JPEG is the preferred format.
- Quality: No watermarks or excessive editing.
Step 3: Write Descriptive Keywords
When you upload your photos, you’ll need to enter keywords and descriptions. Think like a buyer! Use specific and relevant keywords that describe your image. For example, instead of just “dog,” try “golden retriever playing fetch in a park.”
Step 4: Keep it Updated
Your portfolio isn’t static. Regularly update it with new work to keep it fresh and relevant. Remove older images that no longer represent your best efforts or that are out of date.
By preparing a thoughtful and well-curated portfolio, you’ll increase your chances of standing out in the competitive world of iStock photography! Happy shooting!
Also Read This: Downloading templates from Behance
Submitting Your Photos for Review
Okay, so you've got your stunning photos ready and you're excited to share them with the world through iStock Photo! But first things first: you need to submit them for review. This process is crucial because it ensures that the quality of images on the platform meets their standards.
Here’s a quick rundown of how to navigate the submission process:
- Create an Account: If you haven't done so already, sign up on iStock Photo. Make sure to complete your profile to show your personality and style.
- Prepare Your Photos: iStock prefers high-resolution images. Typically, your photos should be at least 4 megapixels. Pay attention to lighting and composition!
- Upload Your Images: Use the easy drag-and-drop feature on the iStock platform to upload your photos. You can also add multiple images at once, which saves time.
- Add Metadata: This is super important! Include keywords, titles, and descriptions that accurately represent your images. Good metadata helps potential buyers find your work.
- Submit for Review: Hit that submit button! Your images will go through a review process, which typically takes a few days. Be patient; quality takes time.
Once approved, your images will be live on the platform, ready for purchase. If any of your photos are rejected, don’t be discouraged! Review the feedback and improve your submissions next time.
Also Read This: The Top 5 Free Image Editing Tools for Beginners
Tips for Success on iStock Photo
Ready to make a splash on iStock Photo? Here are some tried-and-true tips that can help you succeed and boost your sales:
- Focus on Quality: Always prioritize quality over quantity. A few excellent photos will outperform many mediocre ones.
- Stay Current: Keep an eye on trending topics. Seasonal photos, lifestyle shots, and relevant events can attract more buyers.
- Diversity of Content: Offer a variety of subjects. From landscapes and portraits to business settings and abstract concepts, diversity will broaden your audience.
- Engage with Buyers: Take the time to understand who is buying your images. Follow trends and engage in forums or groups related to stock photography.
- Optimize Your Metadata: Invest time in creating effective keywords and descriptions. Think like a buyer; what would they search for?
Lastly, don’t forget to promote your iStock portfolio through social media or a personal blog. The more visibility your photos get, the better your chances of selling them!
Also Read This: How to Download Your Resume from Behance
7. Common Challenges and How to Overcome Them
Joining iStock Photo as a photographer is an exciting opportunity, but it comes with its own set of challenges. Here are some common hurdles you might face and tips to conquer them:
- Quality Standards: iStock has strict quality requirements for submissions. To overcome this, invest time in understanding the specific guidelines. Use a good camera, pay attention to lighting, and focus on composition. Regularly review iStock's submission guidelines to keep your work up to par.
- Market Saturation: With thousands of contributors, standing out can be tough. Research trending topics and keywords in your niche. Use tools like Google Trends or social media hashtags to identify popular themes. Create unique images that tell a story—this can create a connection with potential buyers.
- Rejection of Submissions: It’s normal to face rejections, but don’t let it discourage you! Instead, learn from the feedback provided. If your submission is rejected, analyze the reasons and improve your skills. Consider joining photography forums or groups to gain insights and constructive criticism.
- Understanding Licensing: Navigating licensing agreements can be complex. Familiarize yourself with iStock’s licensing options to avoid legal issues. Resources like iStock’s help center are invaluable for gaining clarity on how licenses work.
By anticipating these challenges and being proactive, you’ll position yourself for success in the iStock Photo community!
8. Conclusion
Embarking on your journey as a photographer with iStock Photo can be incredibly rewarding. Not only do you have the chance to showcase your creativity to a global audience, but you also have the potential to earn a sustainable income from your art.
Here’s a quick recap of what you need to remember:
- Understand the platform's quality and submission standards.
- Stay updated with market trends to keep your portfolio relevant.
- Learn from feedback and continuously improve your technique.
- Familiarize yourself with licensing to protect your work.
In short, by facing challenges head-on and staying committed to improving your craft, you will not only enhance your photography skills but also increase your chances of success on iStock. So grab your camera, unleash your creativity, and start capturing stunning images that resonate with people around the world!