Recording music from YouTube can be an exciting way to explore sound for personal projects, improve your skills, or simply enjoy your favorite tracks offline. However, it’s essential to approach this with a clear understanding of the tools available and the legal implications involved. In this guide, we will walk you through the basics of recording music from YouTube, ensuring you’re equipped with the right knowledge to start your musical journey responsibly.
Understanding Copyright and Legal Considerations
Before diving into the technical aspects of recording music from YouTube, it's crucial to grasp the legal landscape surrounding copyright. Music, like any creative work, is protected by copyright law, which gives the original creators exclusive rights over their work. Here are some key points to consider:
- Copyright Basics: When a song is uploaded to YouTube, the creator typically holds the copyright. This means they control how the music can be used, shared, or reproduced.
- Fair Use: Some usage might fall under "fair use," which allows limited use of copyrighted material without permission under specific circumstances, like commentary or educational purposes. However, fair use is a gray area and can be complicated.
- Creative Commons Licenses: Look for music labeled as Creative Commons. This type of music is often free to use under certain conditions, such as giving credit to the creator.
- Content ID Claims: YouTube uses a Content ID system that automatically detects copyrighted material. If you download and use music without permission, you risk having your content flagged or removed.
- Obtaining Permission: When in doubt, reach out to the copyright holder to ask for permission to use their music. Some artists appreciate the outreach and may grant you access.
By understanding these legal considerations, you can navigate the process of recording music from YouTube more confidently, ensuring that you respect the rights of the creators while enjoying the music you love.
Also Read This: Design Research Posters with Canva Research Poster Template
Choosing the Right Tools for Recording
When it comes to recording music from YouTube, selecting the right tools is crucial for ensuring high-quality audio. Here’s a breakdown of the options you can consider:
- Screen Recording Software: A versatile option that captures both audio and video. Popular choices include:
- OBS Studio: Free and open-source, it offers advanced features for recording and streaming.
- Camtasia: A user-friendly tool ideal for beginners, but it comes with a price tag.
- Audio Recording Software: If you only need audio, you can use software like:
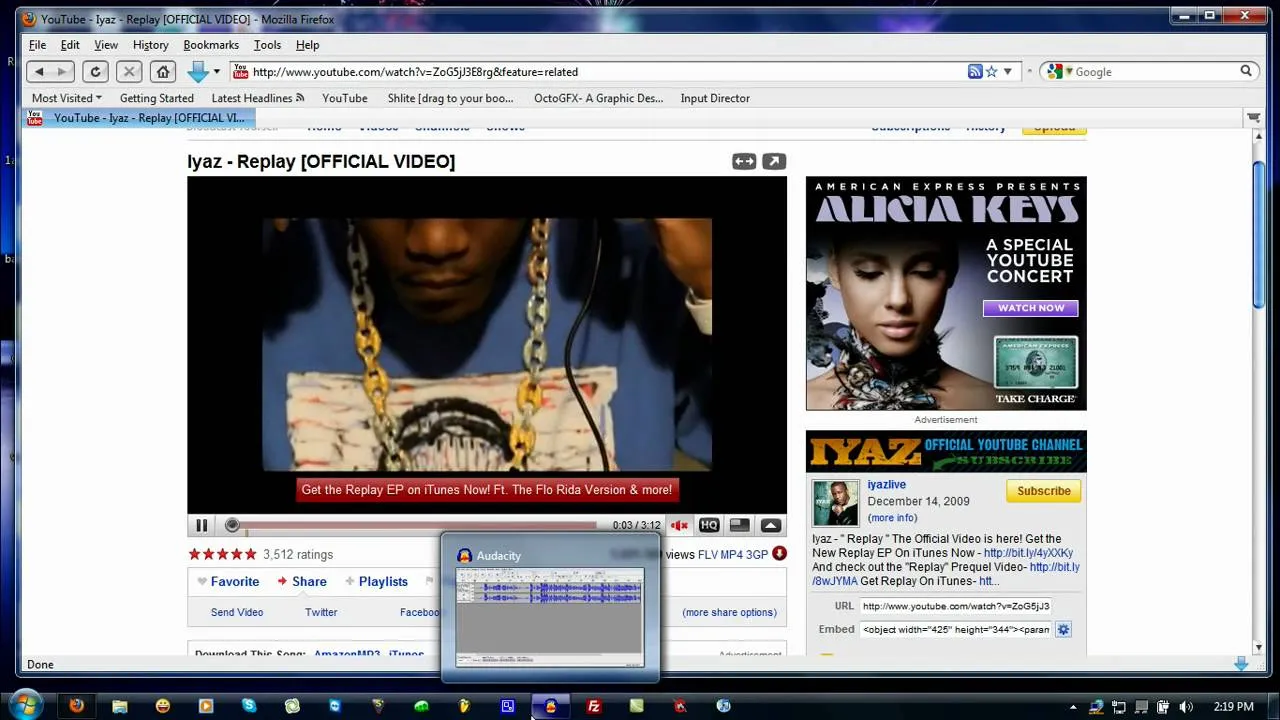
- Audacity: This free, open-source software is perfect for beginners and offers a range of editing options.
- GarageBand: Great for Mac users, it’s intuitive and comes with various built-in sounds.
- Browser Extensions: Convenient tools that allow you to download audio directly from YouTube. Examples include:
- Video DownloadHelper: A widely used extension that supports various formats.
- YTD Video Downloader: A simple tool to download videos and extract audio.
Make sure your chosen tool aligns with your recording needs, whether it’s high-quality sound or ease of use. It's wise to do a little research and even watch tutorials to get familiar with the software before diving into recording!
Also Read This: Dailymotion Down Troubleshooting Guide and Common Issue Fixes
Step-by-Step Guide to Recording Music from YouTube
Ready to start recording? Follow this simple step-by-step guide to make the process smooth and easy:
- Choose Your Tool: Select the recording software or extension that best fits your needs, as discussed earlier.
- Install Necessary Software: If you’re using software like OBS or Audacity, download and install it on your device.
- Configure Settings: Open your recording tool and adjust the audio settings. Ensure the input is set correctly to capture sound from your computer.
- Find Your Music: Navigate to YouTube and find the song or video you want to record. Play it to ensure it’s the right selection.
- Start Recording: Hit the record button in your chosen software. If it’s OBS, remember to select the “Desktop Audio” option for optimal results.
- Monitor the Recording: Keep an eye on audio levels to avoid clipping or distortion. Adjust settings if necessary during the recording.
- Stop and Save: Once your song has finished, stop the recording and save the file in your desired format (like MP3 or WAV).
And there you have it! You’ve successfully recorded music from YouTube. Happy listening and enjoy your new tunes!
Also Read This: Edit Fun Chip Bags Using Canva Editable Chip Bag Template
5. Editing Your Recorded Music
Once you've recorded your music from YouTube, the next exciting step is editing! This process can transform your raw audio into a polished piece of art. Here’s how to get started:
First, choose an editing software that suits your skill level. If you're a beginner, you might try:
- Audacity: Free and user-friendly, perfect for basic edits.
- GarageBand: Ideal for Mac users, offering a simple interface with great features.
- Adobe Audition: A bit more advanced, but packed with professional tools.
After selecting your software, import your recorded file. You can do this by dragging and dropping the file into the program. Now, let’s dive into some essential editing techniques:
- Trimming: Remove any unwanted silence or mistakes at the beginning or end of your track.
- Fade In/Out: Apply a fade-in at the beginning and a fade-out at the end for a smooth transition.
- Adjusting Volume Levels: Ensure your audio isn’t too loud or too soft. Aim for a balanced sound.
- Adding Effects: Experiment with reverb or EQ settings to enhance the overall sound quality.
Don’t forget to listen to your edits multiple times. This helps catch any awkward segments or discrepancies. Finally, once you're satisfied, you’re ready to move on to saving and exporting your masterpiece!
Also Read This: How to Create a YouTube Short Video on Your iPad
6. Saving and Exporting Your Music Files
After editing, it's crucial to save and export your music files properly to ensure they retain the best quality. Here’s a simple guide to help you through the process:
First, save your project file in the editing software. This allows you to revisit and make changes later. Use a descriptive name for easy identification. For instance, “MySong_Edit1.”
Next, it’s time to export your final product. Here are the common formats you might consider:
| Format | Use Case | Quality |
|---|---|---|
| MP3 | Great for sharing online | Good, but lossy compression |
| WAV | Best for quality preservation | High quality, large file size |
| AIFF | Preferred by professionals | High quality, large file size |
When exporting, select the format that best suits your needs. If you plan to upload it to platforms like SoundCloud or YouTube, MP3 is usually the most convenient choice. However, for archiving, WAV or AIFF is recommended due to their lossless quality.
Finally, after hitting the export button, take a moment to listen to the final version to ensure it sounds just as you envisioned. And there you have it! Your music is ready to be shared with the world.
How to Record Music from YouTube for Beginners
Recording music from YouTube can be a great way to enjoy your favorite tracks offline. However, it’s essential to approach this process with an understanding of copyright laws and respect for the content creators. Below, we’ll outline some simple methods to help beginners get started with recording music from YouTube.
Methods to Record Music from YouTube
Here are some popular methods to record music from YouTube:
- Using Online Audio Converters: Websites like YTMP3 and Convertio allow you to paste the YouTube link and convert it to MP3 format. Simply follow these steps:
- Copy the YouTube video URL.
- Paste it into the converter website.
- Select the audio format (e.g., MP3) and click "Convert."
- Download the converted file to your device.
- Using Desktop Software: Applications such as Audacity or 4K YouTube to MP3 can be downloaded and used to extract audio:
- Install the software on your computer.
- Open the software and paste the YouTube link.
- Choose the desired audio format and start the download.
- Recording Using a Screen Recorder: If you prefer a more hands-on approach, use screen recording software to capture audio:
- Open your screen recorder and set it to capture system sound.
- Play the YouTube video and start recording.
- Save the audio file once the recording is complete.
Things to Keep in Mind
| Aspect | Considerations |
|---|---|
| Copyright | Always check the copyright status of the music you wish to record. |
| Quality | Choose methods that provide high-quality audio output. |
| Legal Use | Use recorded music for personal enjoyment, not for commercial purposes. |
By following these methods and considerations, beginners can successfully record music from YouTube while remaining respectful of copyright laws. Enjoy your music collection!