Are you looking to elevate your video projects and save time in the editing process? Adobe Stock Templates in Premiere Pro could be your game-changer! These templates offer a fantastic way to integrate professional design elements effortlessly, allowing you to focus on your creative vision. Whether you're a seasoned pro or just starting, utilizing these templates can transform your projects and streamline your workflow. Let’s dive into what Adobe Stock Templates are all about!
Understanding Adobe Stock Templates
Adobe Stock Templates are pre-designed assets available for use in Adobe Premiere Pro, designed to help you create stunning videos without starting from scratch. They encompass a wide range of templates, including transitions, titles, lower thirds, and motion graphics, all tailored to fit various themes and styles. Here’s why they are a fantastic resource for any video editor:
- Diverse Selection: Whether you're working on a corporate video, a wedding montage, or a YouTube vlog, there's a template to suit your needs. Adobe Stock offers templates for:
- Intros and Outros
- Text Animations
- Infographics
- Slideshow Presentations
- User-Friendly: Most templates are designed with ease of use in mind. They come with intuitive controls that allow you to customize colors, fonts, and images with just a few clicks.
- Time-Saving: Instead of spending hours creating elements from scratch, you can simply drag and drop these templates into your project, significantly cutting down on editing time.
- Professional Quality: Adobe Stock templates are crafted by professional designers, ensuring that your video has a polished, high-quality look that stands out.
In summary, understanding Adobe Stock Templates is about recognizing how they can simplify your editing process and enhance your final product. With their diverse offerings, user-friendly design, and professional quality, these templates are an asset you don’t want to overlook!
Also Read This: YouTube's Quality Issues Explained with Effective Solutions
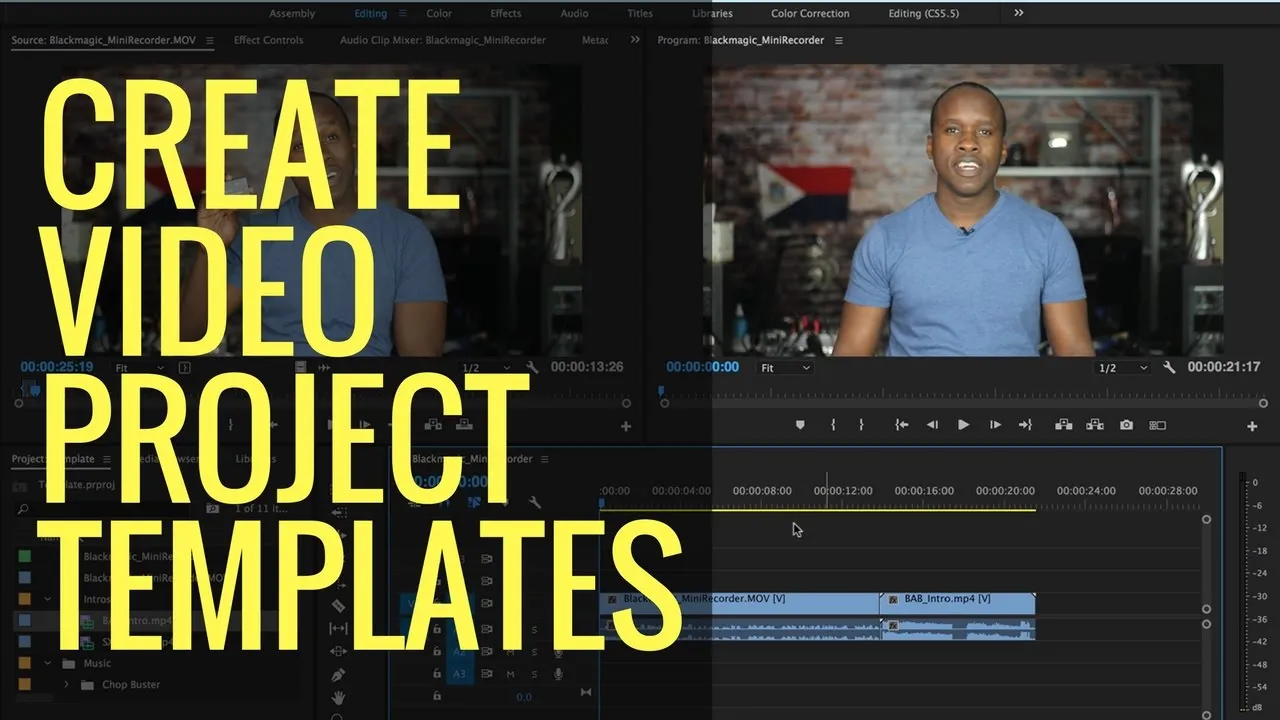
3. Setting Up Premiere Pro for Template Integration
Before you dive into the world of Adobe Stock templates, it's essential to ensure that your Premiere Pro is set up correctly for seamless integration. Follow these steps to get started:
- Open Premiere Pro: Launch the application and either create a new project or open an existing one.
- Access the Libraries Panel: Navigate to Window > Libraries. This panel is crucial for managing your Adobe Stock assets.
- Sign in to Your Adobe Account: If you haven’t already, log in to your Adobe account. This will allow you to access your purchased templates and any subscriptions you have.
- Sync Your Libraries: Make sure your libraries are synchronized. Click on the sync button at the bottom of the Libraries panel to update your assets.
- Adjust Your Workspace: Customize your workspace layout to keep the Libraries panel easily accessible. You can drag and drop panels to rearrange them as per your comfort.
With your Premiere Pro environment set up, you’re ready to explore and integrate templates without any hiccups!
Also Read This: How to Upload on Behance – A Simple Guide to Adding Your Work to the Platform
4. Finding the Right Adobe Stock Templates
Now that your Premiere Pro is ready, it’s time to find the perfect Adobe Stock templates to enhance your video projects. Here’s how you can navigate and select the best options:
- Visit Adobe Stock: Go to the Adobe Stock website or access it directly through the Libraries panel in Premiere Pro.
- Use the Search Bar: Type in keywords related to your project. For example, if you’re creating a travel video, try searching for “travel slideshow template.”
- Utilize Filters: Narrow down your results using filters such as Orientation, License Type, or Media Type. This helps you find templates that fit your specific needs.
- Preview Templates: Click on any template to view it in detail. Check the preview, read the description, and make sure it aligns with your vision.
- Check Compatibility: Ensure the template is compatible with your version of Premiere Pro to avoid any functionality issues.
Remember, the right template can significantly streamline your creative process, so take your time exploring the vast library of options available!
Also Read This: A Comprehensive Guide to Submitting Your Photos to Getty Images
Importing Templates into Premiere Pro
Importing templates into Adobe Premiere Pro is a straightforward process that can significantly enhance your video projects. Here’s how you can do it seamlessly:
- Open Premiere Pro: Start by launching Adobe Premiere Pro on your computer.
- Create or Open a Project: Either open an existing project or create a new one where you want to use the template.
- Access the Essential Graphics Panel: Go to Window in the top menu and select Essential Graphics. This panel is your gateway to all the templates available.
- Browse Adobe Stock: Within the Essential Graphics panel, click on the Browse tab. Here, you'll find a collection of templates available through Adobe Stock.
- Search for Templates: Use the search bar to find specific templates that fit your project’s theme. You can filter results based on categories like titles, lower thirds, transitions, and more.
- Preview Templates: Click on any template to see a preview. It allows you to get a feel for how it will look in your project.
- Import the Template: Once you find a template you like, simply drag it into your timeline or right-click and select Import.
And just like that, your template is ready to be used in your project! It's as simple as a few clicks, and you're well on your way to creating professional-grade videos.
Also Read This: Essential Guide to Using Licensed Photos from Imago Images
Customizing Templates for Your Project
Once you've imported a template into Premiere Pro, customizing it to align with your project’s vision is key. Here’s how you can make it your own:
- Modify Text: Double-click on any text layer in the timeline to edit the text. You can change the font, size, color, and style to match your branding.
- Adjust Colors: Select the template layer, and go to the Essential Graphics panel. Here, you can change the colors of shapes, backgrounds, and text to fit your aesthetic.
- Change Images and Videos: If the template includes placeholders for images or videos, simply right-click on the layer, choose Replace Footage, and select your media files.
- Animate Elements: Use the Effect Controls panel to add animations or transitions to your text and graphics, giving life to your project.
- Layer Management: Organize your layers in the timeline for easier editing. You can lock or hide layers that you don’t want to affect while working on others.
By customizing templates, you can create a unique visual story that resonates with your audience. The flexibility offered by Adobe Stock templates ensures that your creativity shines through, making your projects not just finished products but captivating experiences.
Also Read This: How Much Does Millennial Farmer Make on YouTube and Whatâs His Revenue from Farming Content
7. Tips for Effective Use of Templates
Using templates in Adobe Premiere Pro can significantly streamline your video projects, but to get the most out of them, you need a few tricks up your sleeve. Here are some practical tips:
- Choose the Right Template: Before diving into a project, browse through different categories. Make sure the template aligns with your video's theme, whether it’s a corporate presentation, a vlog, or a creative portfolio.
- Customize to Fit Your Brand: Don’t just slap your content into a template. Modify colors, fonts, and graphics to match your brand identity. This will make your video feel cohesive and professional.
- Layering and Sequence: Understand how the template layers are arranged. Utilize the timeline view in Premiere Pro to easily adjust the timing and sequence of animations or transitions for better flow.
- Experiment with Effects: Feel free to play around with the effects and settings. Sometimes tweaking the animations or adding your own flair can elevate the overall quality of your video.
- Keep it Simple: Don’t overload your video with too many effects or transitions. A clean, straightforward approach often resonates better with viewers.
- Use High-Quality Assets: Pair your templates with high-resolution images or video clips. This will enhance overall production quality, making your project more visually appealing.
8. Conclusion
Incorporating Adobe Stock templates into your Premiere Pro projects can transform the way you create videos. With a myriad of options that cater to different styles and purposes, templates can save you time and effort while delivering professional results.
By following the tips outlined above, you can maximize the effectiveness of these templates, ensuring that your videos stand out. Remember, it’s not just about using a template; it’s about making it your own. Personalization and creativity are key to making your projects truly shine.
So, why not give it a go? Explore the vast library of Adobe Stock templates today and see how they can elevate your video storytelling!