Have you ever thought about why certain pictures catch your eye while others go unnoticed? The way images are angled in your design can play a role in capturing attention. In Canva changing the angle of an image is an easy task but it can greatly influence the mood of your project. Whether you're working on a post, a presentation or a flyer knowing how to tweak image angles can assist you in conveying the message.
How to Access the Angle Adjustment Tool in Canva
Starting out with Canva is super easy and finding the angle adjustment tool is a piece of cake too. Here’s a simple guide on how to access it.
- Log in to your Canva account or create one if you haven’t already.
- Open a new design or select an existing project that includes an image.
- Click on the image you want to adjust. You’ll see a toolbar at the top of the screen.
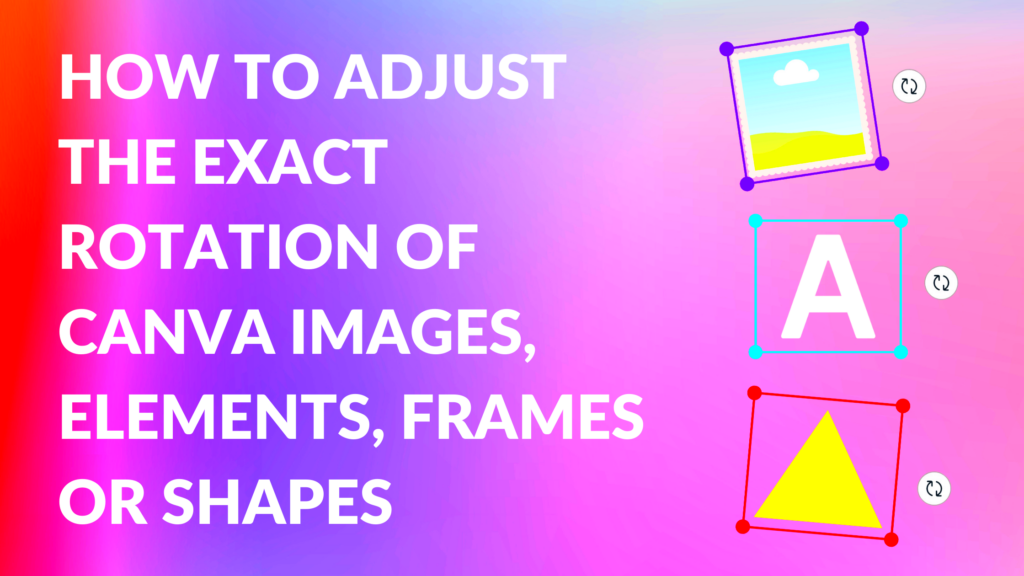
- Look for the rotate icon, usually represented by a circular arrow.
- Click and drag the circular arrow to rotate the image to your desired angle, or enter a specific degree in the input box.
It's really that easy! Now you can showcase your pictures in a unique way by finding the ideal perspective.
Also Read This: John Cena's Royal Rumble Victories A Historical Overview
Step by Step Guide for Adjusting Image Angles
Rotating images might appear challenging initially, but with some practice you'll master it quickly. Here's a comprehensive walkthrough.
- Select Your Image: Start by clicking on the image you want to adjust. This will activate the editing options.
- Locate the Rotation Tool: Once your image is selected, look for the rotation handle, which is usually found at the top of the image.
- Adjust the Angle: Click and drag the rotation handle to change the angle. You can see a small overlay showing the angle in degrees, which helps you get it just right.
- Fine-Tune Your Adjustments: If you want a precise angle, you can manually enter the degree of rotation in the provided box.
- Preview Your Changes: After making adjustments, take a step back and preview your design. Sometimes, a slight angle can make a world of difference!
When I discovered the impact of adjusting angles I was truly impressed by how a minor shift could infuse my designs with energy. I recall designing an invitation for my sisters birthday and just tweaking the angle gave it a more vivid and spirited appearance. So go ahead and have fun trying things out!
Also Read This: Exploring Storyblocks Offerings for Footage and Image Downloads
Tips for Creating the Perfect Image Angle
Discovering the image perspective can be a challenge akin to piecing together a puzzle. Similar to how a fresh viewpoint can uncover opportunities in life the way you position your images can elevate a decent design to an exceptional one. I remember an instance when I was crafting a collage for a friends wedding and a slight shift in angle made the photos appear as if they were swaying in harmony. Here are some suggestions to assist you in achieving the image angle.
- Consider Your Message: Think about what you want to convey. A slight tilt can suggest movement, while a straight angle offers stability.
- Use the Rule of Thirds: Imagine dividing your image into a grid. Place key elements along these lines or at their intersections for a balanced composition.
- Experiment with Different Angles: Don’t hesitate to try various angles. Sometimes, an unexpected tilt can create an intriguing focal point.
- Maintain Consistency: Ensure that all images in your design have a similar angle style. This creates a cohesive look and feel.
- Seek Feedback: Share your design with friends or family. Fresh eyes can offer valuable perspectives that you might have missed.
Keep in mind that the process of design is like an adventure. Give yourself the freedom to experiment and enjoy the ride as you tweak those perspectives!
Also Read This: Canva Image Skewing
Common Issues with Angle Adjustments and Solutions
Even the most experienced designers face hurdles when it comes to tweaking image angles. It’s just a part of the creative journey! I’ve had my moments of annoyance too, especially when an image doesn’t match my vision. Here are a few challenges you may come across and how to tackle them:
| Issue | Solution |
|---|---|
| Image appears blurry after rotation | Try using higher-resolution images or check the image size before rotation. |
| Inconsistent angle among multiple images | Use the same degree of rotation for all images or follow the rule of thirds for balance. |
| Design feels unbalanced | Reassess the placement of other design elements and adjust the angles accordingly. |
| Difficulty in visualizing angles | Use Canva's preview feature to see how your adjustments look in the overall design. |
Every obstacle you encounter presents a chance to grow. Welcome the difficulties that come your way and dont hesitate to reach out for assistance when necessary!
Also Read This: Unlocking Adobe Stock for Free and Accessing Premium Assets
Benefits of Proper Image Angle Adjustment in Your Designs
Changing the angles of images is not just a small touch; it can greatly improve your design work. I recall working on a poster for a community festival and finding that the angle brought the pictures to life, conveying the excitement of the occasion. Here are advantages of honing your skills in adjusting image angles.
- Enhanced Visual Appeal: A well-adjusted angle can draw attention and create a more attractive layout.
- Improved Focus: The right angle directs viewers' eyes to the most important elements, ensuring they capture your message.
- Increased Engagement: Engaging designs keep viewers interested and encourage them to explore further.
- Consistency in Branding: Maintaining a specific angle style can help reinforce your brand identity across various materials.
- Creative Expression: Adjusting angles allows for personal flair, making your designs unique and reflective of your vision.
When you learn to tweak angles skillfully you do more than enhance your creations; you weave a narrative. Your visuals have the power to evoke feelings and memories adding depth to your designs that makes them both relatable and unforgettable!
Also Read This: Effective Strategies for Connecting with Recruiters on LinkedIn to Enhance Your Job Search
Exploring Additional Features Related to Image Adjustment
Canva is a goldmine of functionalities that offer more than simply tweaking image orientations. Each time I access it, I get the sense of entering an imaginative wonderland filled with fresh opportunities. When you set out on your design adventure dont forget to check out the extra features that can take your projects to the level. Here are a few worth exploring.
- Image Filters: Enhance the mood of your image with Canva's built-in filters. Whether you want a vintage look or a vibrant pop of color, filters can significantly affect the perception of your design.
- Crop Tool: Sometimes, adjusting the angle isn’t enough. Cropping can help eliminate distractions and focus on the main subject of your image, allowing for a cleaner design.
- Adjust Brightness and Contrast: Fine-tuning these settings can complement your angle adjustments. A brighter image can feel more inviting, while higher contrast can add depth.
- Overlay Text and Graphics: Adding text or graphics can create a layered look. Make sure to position them in a way that harmonizes with the adjusted angles of your images.
- Alignment Tools: Use the alignment tools to ensure your images and other elements are perfectly aligned. This can help maintain a sense of order and professionalism in your designs.
These features team up with angle tweaks to let you craft designs that really strike a chord. I still recall the moment I stumbled upon these tools they sparked my creativity for a birthday invite that my friends still talk about!
Also Read This: Understanding YouTube Earnings for Creators with 100k Subscribers
Frequently Asked Questions About Canva Image Angle Adjustment
Like any tool, it’s natural to have questions when exploring the features of Canva. Here are a few queries I’ve come across along with my thoughts on them.
| Question | Answer |
|---|---|
| Can I reset the angle of an image? | Yes! Simply select the image, and in the rotation tool, you can set the angle back to 0 degrees. |
| What if my image looks distorted after adjusting the angle? | Ensure you are using high-resolution images. If distortion occurs, try cropping or resizing before rotating. |
| Is there a way to copy angle adjustments to other images? | Yes! After adjusting one image, you can duplicate it, and the angle will remain the same. |
| Can I undo an angle adjustment? | Absolutely! Canva has an undo feature (Ctrl + Z or Command + Z) to revert any changes. |
When I began my Canva journey I spent some time browsing through discussions looking for solutions. It was comforting to realize that I wasn't the only one navigating this path!
Conclusion on Mastering Image Angle Adjustments in Canva
As we conclude our deep dive into tweaking image angles in Canva keep in mind that honing this ability is an adventure brimming with imagination and personal flair. The perspectives you select can shape your audiences perception of your message and through consistent practice you'll discover a unique approach that aligns perfectly with your artistic vision.
Looking back on my journey I’ve come to realize that design goes beyond expertise; it’s about forging a connection with your audience. Each tweak in perspective conveys a piece of your narrative be it a joyful moment frozen in a snapshot or a compelling presentation that commands attention. Embrace the opportunity to try new things gain insights and evolve throughout the process.
Feel free to explore Canva and let your imagination flow as you play with those perfectly tweaked angles. Every project is a chance to showcase your individuality and passions. Enjoy the design process!