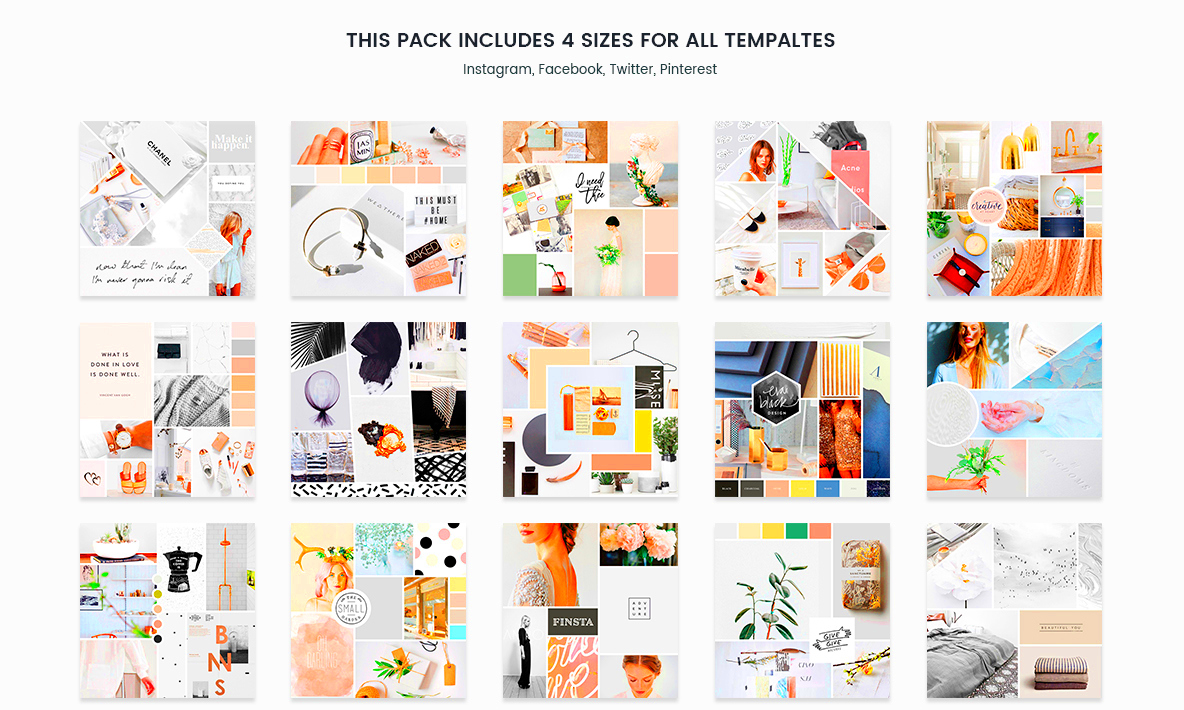
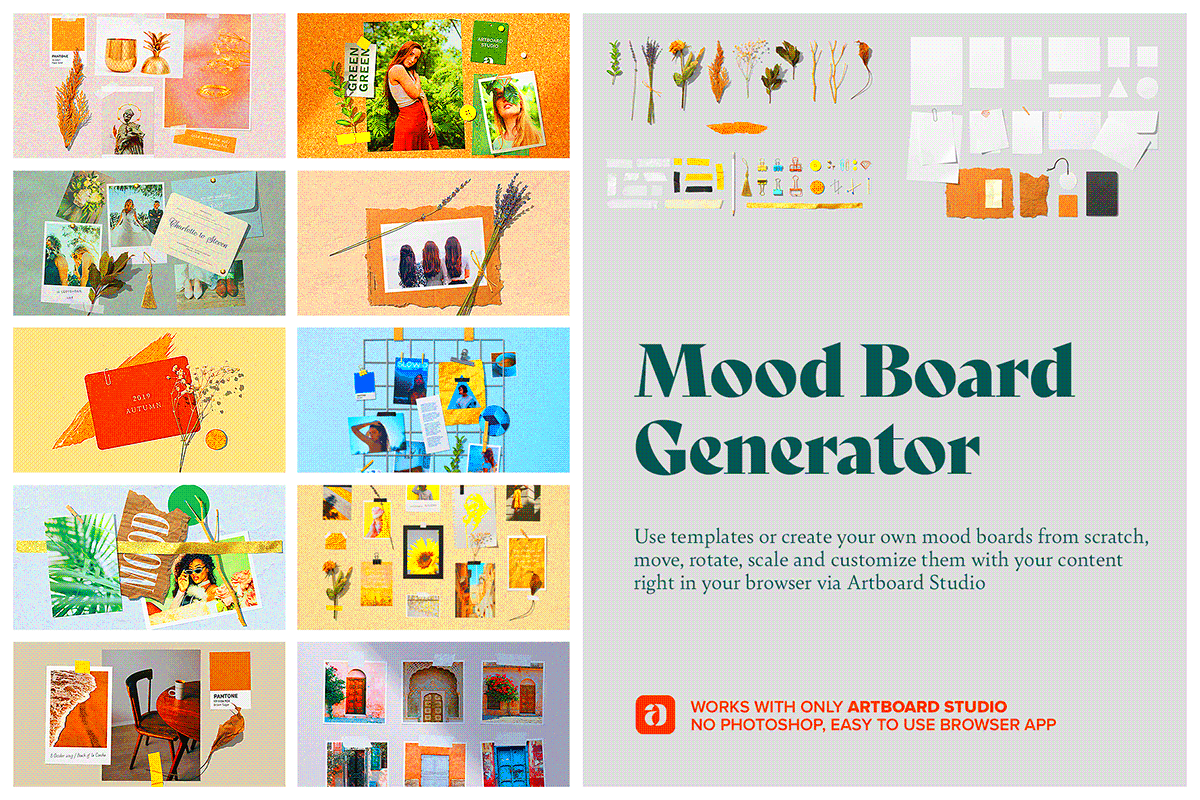
Lets explore the true essence of a moodboard. Its like a canvas for your thoughts, feelings and inspirations. Whether you choose to make it tangible through a wall collage or go the route of a digital creation on platforms such as Behance a moodboard serves as a way to showcase your unique vision. For me the process of putting together my moodboard felt akin to assembling a puzzle made up of my ideas. I distinctly recall sitting in my nook surrounded by scissors, magazines and glue as I let my creativity flow freely. It was an liberating journey that offered me a glimpse into the overall concept I wished to bring to life.
A moodboard typically includes:
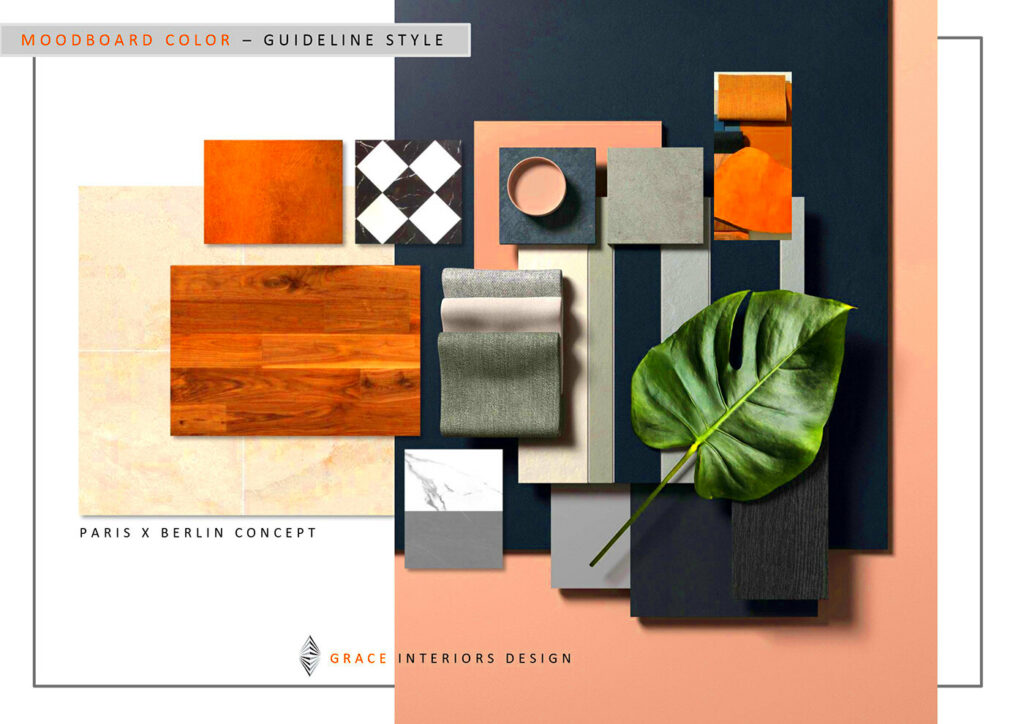
- Images that inspire you
- Color palettes
- Textures and patterns
- Fonts and typography
- Quotes or words that resonate with your vision
The charm of a moodboard is in its adaptability. It allows you to express your individuality and imagination without any rigid guidelines. Whether you're working on a project organizing an occasion or seeking some personal motivation a moodboard can act as a source of inspiration.
Why Moodboards Matter for Your Creative Projects
You may be curious about the significance of moodboards. They play a role in enhancing your creative journey by serving various functions. Firstly they assist in honing your ideas. During a design project for a café I found myself overwhelmed by the countless options at hand. Putting together a moodboard not only streamlined my choices but also helped me stay aligned with the ambiance I aimed to portray—cozy inviting with a touch of uniqueness.
Here are some reasons why mood boards are important:
- Visual Clarity: They allow you to visualize concepts, making it easier to communicate your ideas to others.
- Creative Inspiration: A moodboard can spark new ideas, combining elements that you might not have thought of otherwise.
- Emotional Connection: The right images and colors can evoke feelings, helping you connect more deeply with your project.
- Collaboration Tool: They serve as a fantastic tool for sharing ideas with teammates or clients, ensuring everyone is on the same page.
Moodboards serve as a tool to help steer your creative process, offering direction amidst the often hectic path of turning your concepts into reality.
Also Read This: Imago Stock Photos: Creating Brand Image
Getting Started with Behance for Your Moodboard
Are you all set to put together a moodboard on Behance? That’s awesome! Starting out is super easy and I’m excited to share my experiences to help make the process even smoother for you. Behance isn’t just a place to showcase your work; it’s a lively community where you can find inspiration and express your creativity.
To begin with if you havent done so yet create an account on Behance. Its an process and before you know it you'll be diving into a realm filled with creative brilliance. Here’s a quick guide to help you get started on your moodboard journey:
- Create an Account: Head to the Behance website and create an account. It’s quick and easy!
- Explore Projects: Browse through different projects to gather inspiration. You’ll be amazed at the creativity out there!
- Collect Images: Use the ‘Collect’ feature to save images you love. This is where your moodboard starts taking shape.
- Organize Your Thoughts: Once you’ve collected enough, it’s time to think about how to organize them. Are there specific themes or colors that stand out?
- Create a Project: Now, go to ‘Create a Project’ on your dashboard. Upload your collected images, and start arranging them to form your moodboard.
While creating your moodboard keep in mind to infuse it with your unique flair. Feel free to show who you are! Every piece you select should align with your imagination and artistic vision. After all it is a reflection of your individuality!
Also Read This: Creative Ideas for Making DIY Makeup at Home with Dailymotion Videos
Choosing the Right Images for Your Moodboard
Moodboards have the power to set the tone you want to express through your image choices. Picture stepping into a space adorned with visuals that don’t align with your feelings—it creates an atmosphere, doesn’t it? The principle applies to moodboards too. Choosing images carefully is not solely about looks; it’s about encapsulating the core of your concept.
In my journey selecting images I've found it to be a mix of thrill and feeling. I remember when I was creating a board for a friends wedding. There were so many choices online that I ended up going through a sea of photos. Here are a few tips that assisted me in streamlining my selections.
- Define Your Theme: Before you dive into image selection, clarify the theme of your moodboard. Are you going for rustic charm or modern elegance? This will guide your choices.
- Stick to a Color Palette: Limiting your color palette can create harmony. Select images that feature complementary colors, giving your moodboard a cohesive look.
- Focus on Emotions: Choose images that evoke the feelings you want your project to convey. Whether it's warmth, excitement, or nostalgia, emotional resonance matters.
- Be Selective: Less is often more. Instead of overcrowding your board, pick a few striking images that truly represent your vision.
When collecting visuals for your moodboard remember that they should be aesthetically pleasing and convey a narrative. Ultimately your moodboard serves as a representation of yourself so ensure it resonates with authenticity and individuality.
Also Read This: How to Merge Videos Together on YouTube
Organizing Your Moodboard Effectively
Once you have collected the visuals for your moodboard it's time to get things in order. Similar to a story a moodboard should have a seamless flow to lead the viewers gaze smoothly from one element to the next. I recall working on a moodboard for a project and my first arrangement was quite chaotic. It wasn't until I reshuffled everything that the concepts started coming together.
Here’s a guide on how to arrange your moodboard in a way.
- Group Similar Elements: Arrange images that share common themes, colors, or emotions together. This will create a visual connection and help tell your story.
- Use Negative Space: Don’t be afraid of leaving some areas empty. Negative space can help your images breathe and make the overall composition more appealing.
- Layering Techniques: Experiment with layering images to add depth. Use transparency or different orientations to create an interesting visual hierarchy.
- Prioritize Key Images: Place the most impactful images in prominent positions. They should grab attention first and set the tone for the rest of your board.
Keep in mind that putting together a moodboard is all about being creative and there isn't a universal method that works for everyone. Feel free to try things out and trust your instincts. With some practice you'll discover a arrangement that suits you perfectly.
Also Read This: Effective Strategies for Growing Your Portfolio on Behance
Using Behance Tools to Enhance Your Moodboard
After putting together your moodboard its worth checking out the additional features that Behance provides to take your creation up a notch. Behance is more than just a platform; it comes with tools that can enhance your moodboard journey. I was quite impressed by the variety of options available to me when I began using Behance for my projects.
Here are a few of the tools that really stand out that you can make use of.
- Creative Cloud Integration: If you’re using Adobe products, you can seamlessly integrate your work from Photoshop or Illustrator, making it easier to edit and refine your images before uploading.
- Collect Feature: This handy tool allows you to gather and organize images from other projects or collections you admire on Behance. It’s a great way to find inspiration without losing track.
- Customizable Layouts: Behance offers different layout options to showcase your moodboard. Experiment with grids or freeform layouts to see what best highlights your work.
- Feedback and Collaboration: Share your moodboard with friends or colleagues to get their insights. The community aspect of Behance can provide valuable feedback that helps refine your vision.
While using these tools keep in mind that your moodboard is a way to express yourself. Embrace the experience try out various elements and allow your imagination to thrive!
Also Read This: Comparing Forticare and Fortiguard Downloader Services
Sharing and Collaborating on Your Moodboard
Once your moodboard starts coming together the next thrilling moment is sharing it with others. I remember the excitement I felt when I presented my first moodboard to my design team. There’s a certain enchantment in exposing your creative process to input and teamwork. It goes beyond merely displaying your creations; it involves welcoming people into your artistic adventure.
When you share your moodboard keep these things in mind.
- Choose the Right Platform: Behance is a fantastic platform for showcasing your moodboard, but don’t limit yourself. Share it on social media or collaborative platforms where you can reach like-minded individuals.
- Ask for Feedback: Encourage your friends or peers to share their thoughts. Constructive criticism can enhance your work and provide fresh perspectives you may not have considered.
- Collaborate: Use your moodboard as a springboard for collaboration. If you’re working on a project with others, a moodboard can serve as a shared vision, ensuring everyone is aligned.
- Host a Discussion: Organize a casual meetup or an online session to discuss your moodboard. This can foster creativity and generate new ideas, benefiting everyone involved.
Bringing people together to share ideas can take your moodboard from being a solo endeavor to a shared work of art. Keep in mind that every perspective serves as a building block and working together can result in surprising and delightful results!
Also Read This: How to Download YouTube Videos Legally and Safely
Exploring Examples of Moodboards on Behance
One of the aspects of putting together a moodboard is the opportunity to browse through a treasure trove of inspiration on Behance. I frequently find myself captivated by the beautiful imagery and creative concepts shared by other artists. Its refreshing to witness how diverse people put their own spin on common themes.
Here are some advantages of checking out moodboards on Behance.
- Discover New Styles: Each moodboard tells a unique story. By exploring a variety of styles, you can find inspiration that resonates with your own artistic voice.
- Learn from Others: Pay attention to how other creators organize their boards. Note the color palettes, image selections, and layouts that catch your eye. It can inform your own design choices.
- Stay Updated on Trends: Behance is a hub for creative professionals, making it a great place to spot emerging trends in design, photography, and other artistic fields.
- Connect with Creatives: Engaging with other moodboards can open the door to networking. Leave comments or reach out to artists whose work you admire.
While you wander through different ideas make sure to jot down what resonates with you. Every moodboard you come across has the potential to ignite fresh concepts and nourish your imagination ultimately enriching and tailoring a moodboard that reflects your unique style.
Also Read This: What Happens on the Day of Judgment According to Islamic Teachings
Frequently Asked Questions
Putting together a moodboard can bring up a lot of questions, especially if youre not familiar with the process. I recall feeling a bit lost with doubts when I began my journey, so Ive compiled a list of queries that could assist you in getting started.
- What should I include in my moodboard? Focus on elements that resonate with your theme, such as images, colors, textures, and words that inspire you.
- How many images should I use? There’s no hard rule, but aim for quality over quantity. A few impactful images are often more effective than a crowded board.
- Can I use images from other creators? Yes, but be sure to credit them where possible. Respecting copyright and giving credit fosters a supportive creative community.
- How do I know if my moodboard is effective? If your moodboard evokes the emotions you intended and aligns with your vision, you’re on the right track!
- Is there a right or wrong way to create a moodboard? Absolutely not! Your moodboard should reflect your personality and creativity. Embrace the process and enjoy the journey!
Keep in mind that putting together a moodboard is something unique to you and there isn't a universal method that works for everyone. Rely on your gut feelings and allow your imagination to take charge!
Wrapping Up Your Moodboard Journey
As you wrap up your moodboard adventure take a moment to look back on the journey that has influenced your project. Putting together a moodboard goes beyond collecting pictures; it’s a journey into your inner thoughts, feelings and creative vision. I can still recall the joy I felt when I finished my first moodboard, a wave of pride washing over me as I stepped back to appreciate the fusion of my concepts.
As you conclude your journey, take a moment to reflect on these closing reflections
- Embrace the Process: Every step of creating your moodboard is valuable. From gathering images to organizing them, each phase contributes to your growth as a creator.
- Seek Feedback: Don’t shy away from sharing your final product with others. Constructive criticism can lead to valuable insights that you might have overlooked.
- Document Your Experience: Keep a journal of your moodboarding process. Jot down what inspired you, the challenges you faced, and the lessons learned. This will help you in future projects.
- Stay Open to Change: Your moodboard is not set in stone. As your ideas evolve, don’t hesitate to revisit and adjust your board to reflect your current vision.
Ultimately your moodboard reflects your unique creativity and personal growth. Its a canvas for your imagination to flourish and a chance to discover your artistic self. So pause for a moment to appreciate your creation and allow it to fuel your upcoming design journey!