Shaping square nails at home can be a fun and creative process that gives you salon-quality results without the hefty price tag. Whether you’re prepping for a special occasion or just want to pamper yourself, mastering the art of nail shaping is a skill worth learning. Square nails, known for their clean edges and strong appearance, are a popular choice for many. Grab your favorite nail polish and let’s dive into the essential tools and techniques you’ll need to achieve that perfect square shape!
Tools and Materials Needed

To get started on shaping your square nails, you'll need a few essential tools and materials. Here’s a handy list to ensure you have everything at your fingertips:
- Nail Clippers: A good set of nail clippers is essential for trimming your nails before shaping.
- Nail File: A coarse nail file (around 180 grit) for shaping, and a finer one (around 240 grit) for smoothing edges.
- Nail Buffer: This helps to smooth the nail surface and give it a polished finish.
- Cuticle Pusher: To gently push back your cuticles and create a clean foundation for shaping.
- Base Coat: A protective layer that prevents staining and helps your nail polish last longer.
- Nail Polish: Choose your favorite colors to complete your nail look!
- Top Coat: This adds shine and protects your nails from chipping.
- Optional: Nail art tools for added flair, like dotting tools or striping tape.
With these tools in hand, you’re all set to start shaping your square nails. Remember, practice makes perfect, so don’t be discouraged if it doesn’t turn out perfectly the first time!
Also Read This: How to Download Pics from Behance
Preparing Your Nails
Before you dive into shaping those square nails, it's crucial to prepare your nails for the best results. Think of this as laying the groundwork for a beautiful masterpiece. Proper preparation not only helps in achieving the desired shape but also ensures the health of your nails. Here’s how to get started:
- Gather Your Tools: You'll need a nail file, nail clippers, a buffer, and a cuticle pusher. Make sure these are clean to avoid any infections.
- Remove Old Polish: If you have nail polish on, take it off with a gentle remover. This gives you a clean slate to work with.
- Wash Your Hands: Cleanliness is key! Wash your hands and nails thoroughly to remove any dirt or bacteria.
- Soak Your Nails: Soak your fingers in warm, soapy water for about 5-10 minutes. This softens your cuticles, making them easier to manage.
- Push Back Cuticles: Using a cuticle pusher, gently push back your cuticles. This step exposes more of your nail, helping you achieve a sharper square shape.
Taking these preparatory steps ensures that your nails are not only clean but also primed for shaping. You'll be ready to create those beautiful square nails in no time!
Also Read This: Configuring Map Server Access with Fortiguard Downloader
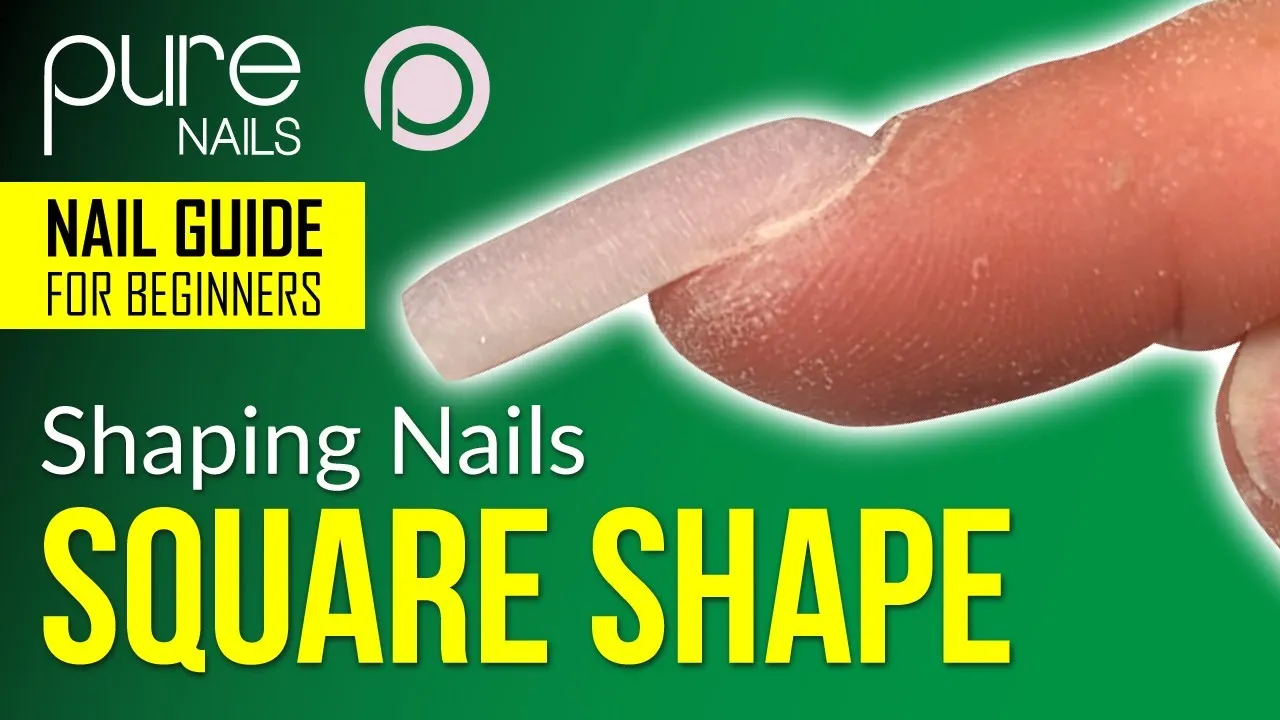
Step-by-Step Process to Shape Square Nails
Now that your nails are prepared, it’s time to shape them! Achieving the perfect square nail shape is all about precision and technique. Follow these steps for best results:
- Trim Your Nails: Start by trimming your nails to your desired length using nail clippers. Aim for a length that allows you to maintain a square shape.
- File The Edges: Take your nail file and start filing each side of the nail straight down. Use a gentle back-and-forth motion, being careful not to file too aggressively.
- Shape The Tips: Focus on creating a straight edge at the tip of the nail. Hold the file at a 90-degree angle to the nail bed and file to achieve that square look.
- Buff The Surface: After you’ve shaped the edges, use a buffer to smooth out any rough spots. This will give your nails a polished and professional finish.
- Inspect Your Work: Take a moment to check each nail. They should all be uniform in shape and length. If any adjustments are needed, now's the time to make them!
And there you have it! Follow these steps, and you’ll be sporting fabulous square nails in no time. Remember, practice makes perfect, so don’t worry if it takes a few tries to get it just right!
Also Read This: How to Watch Rumble on Your TV
5. Finishing Touches
So, you’ve shaped your square nails to perfection—what’s next? It’s time to add those finishing touches that will elevate your manicure from good to stunning! Here are some key steps to ensure your nails shine bright and look professional:
- Buffing: Grab a fine-grit buffer to smooth out any rough edges. Buffing not only gives your nails a polished look but also helps in removing any remaining ridges.
- Cuticle Care: Apply a nourishing cuticle oil to hydrate the cuticles and surrounding skin. This step is crucial for promoting nail health and preventing hangnails.
- Base Coat: Before applying any color, don’t skip the base coat! It acts as a protective layer between your nails and polish, preventing staining and increasing longevity.
- Polish Application: For square nails, a solid color can really make them pop. Apply two thin layers of your favorite polish for an even finish.
- Top Coat: Finish with a glossy top coat to seal in the color and add that salon-quality shine. It’s also essential for preventing chipping.
- Nail Art (Optional): Feeling creative? Add some nail art or decals for a personalized touch. Just make sure they complement the square shape!
With these finishing touches, your square nails will look absolutely fabulous, ready to be shown off!
Also Read This: What Time Does the Royal Rumble Start and Full Event Schedule
6. Tips for Maintaining Square Nails
Now that your square nails are all set, it’s important to keep them looking fresh and fabulous. Here are some tips to maintain your beautiful shape and health:
- Regular Trims: Trim your nails every 2-3 weeks to maintain the square shape. This prevents them from growing too long and losing their defined edges.
- Moisturize: Keep your hands and nails hydrated with a good hand cream. Dry nails can lead to breakage, so moisture is key!
- Avoid Excessive Water Exposure: Long periods of soaking can weaken your nails. Wear gloves while doing dishes or cleaning to protect them.
- Mind Your Diet: A balanced diet rich in vitamins and minerals will promote healthy nail growth. Consider foods high in biotin, like eggs and nuts.
- Limit Nail Polish Remover: Use acetone-free removers whenever possible, as acetone can dry out your nails.
- Stay Away from Your Teeth: Avoid using your nails as tools (like opening cans or biting). It’s a surefire way to damage your manicure!
By following these tips, you can keep your square nails looking great for weeks. Happy manicuring!
Ultimate Guide to Shaping Square Nails at Home
Square nails are a chic and timeless choice that can elevate your overall look. Shaping your nails into a perfect square can be done easily at home with the right tools and techniques. Here’s a comprehensive guide to help you achieve that polished square nail look.
Tools You Will Need
- Nail clippers
- Nail file (preferably glass or crystal)
- Cuticle pusher
- Buffer block
- Base coat and top coat (optional)
Step-by-Step Guide to Shaping Square Nails
- Start with Clean Nails: Remove any old nail polish and wash your hands thoroughly.
- Clip Your Nails: Use nail clippers to trim your nails to your desired length, keeping them straight across.
- File the Edges: Using a nail file, gently file the sides of your nails in a straight line to create the square shape.
- Shape the Tips: Ensure the tips of your nails are also straight across, filing them until you achieve a sharp square edge.
- Buff and Smooth: Use a buffer block to smooth out any rough edges and to give your nails a polished finish.
- Moisturize: Apply cuticle oil or hand cream to keep your nails and hands hydrated.
- Apply Base and Top Coat (Optional): For added durability and shine, consider applying a base coat followed by a top coat.
Tips for Maintaining Square Nails
To keep your square nails looking pristine:
- Regularly trim and file to maintain the shape.
- Avoid using nails as tools to prevent breaking.
- Wear gloves when doing chores to protect your nails.
Shaping square nails at home is a straightforward process that can save you time and money. With the right tools and techniques, you can achieve a professional look without stepping foot in a salon.