Importing your photos into Lightroom is the first step in preparing them for Adobe Stock. It’s a straightforward process, but doing it right is essential for maintaining the quality of your images. Here’s how to get started:
- Open Lightroom: Launch the application to access the Library module.
- Select the Import Button: You’ll find this button in the lower-left corner. Click on it to open the Import dialog.
- Choose Your Source: You can import photos from different sources - a memory card, external drive, or a folder on your computer. Simply navigate to where your images are stored.
- Select Your Photos: You can choose to import all photos or select specific ones. Use the checkboxes to pick your favorites. This is a good time to be selective, as quality is key for Adobe Stock.
- Decide on Import Options: Lightroom offers several options like “Copy,” “Move,” or “Add.” Most photographers choose “Copy” to keep the original files intact.
- Apply Develop Settings: If you have specific presets you’d like to use upon import, you can select them here. This can save you time in the editing process.
- Add Metadata: Consider adding keywords or titles during the import process. This can help in organizing and searching for your images later.
Once you’ve set everything up, click the “Import” button in the lower-right corner. Your photos are now imported into Lightroom and ready for the editing phase!
Editing Your Photos in Lightroom
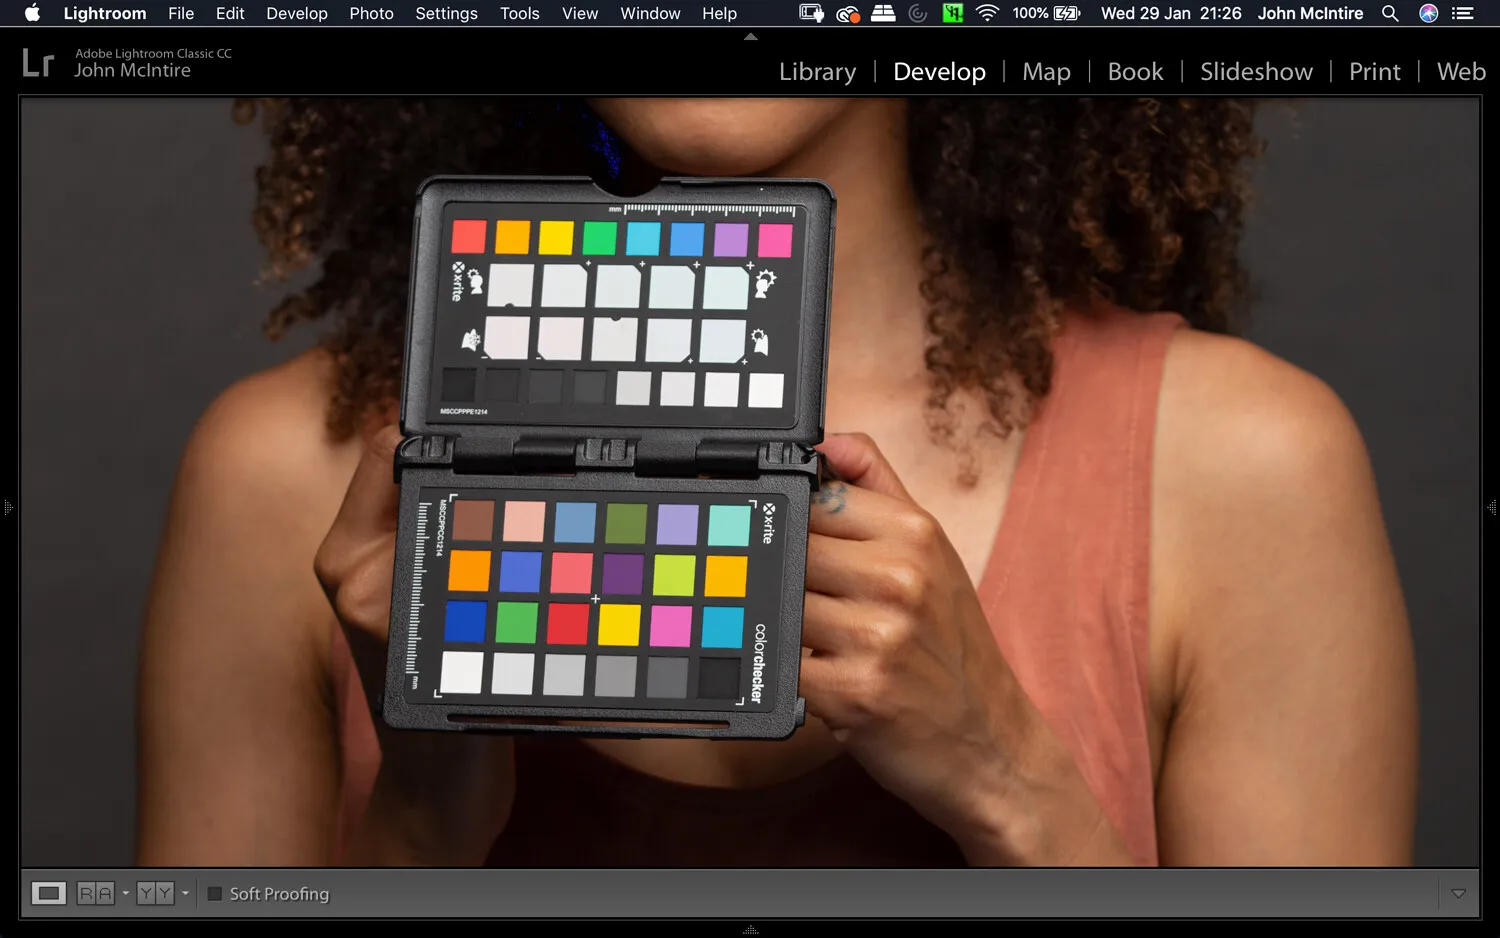
Editing your photos in Lightroom is where the magic happens! This is the stage where you can enhance your images to meet Adobe Stock’s quality standards. Here are some essential steps and tips for effective editing:
- Basic Adjustments: Start with the Basic panel. Here, you can adjust exposure, contrast, highlights, shadows, whites, and blacks. These adjustments lay the foundation for a well-balanced image.
- Color Correction: Use the HSL (Hue, Saturation, Luminance) panel to fine-tune the colors in your photo. Adjusting these settings can help your images pop and look more professional.
- Sharpening and Noise Reduction: In the Detail panel, apply sharpening to enhance edges and details. If your photo has noise (especially from high ISO settings), don’t forget to use the noise reduction slider to smooth it out.
- Crop and Straighten: Use the Crop tool to improve composition. Adobe Stock often prefers images that are well-composed, so don’t hesitate to trim away distractions.
- Spot Removal: If there are any blemishes or distractions in your image, use the Spot Removal tool to clean them up. This can dramatically improve the overall quality.
- Presets for Efficiency: Consider using Lightroom presets to speed up your editing process. You can create your own or find high-quality presets that align with your style.
Finally, always remember to review your edits. Zoom in and check for any imperfections. Once you’re satisfied, your photos will be ready for export to Adobe Stock!
Also Read This: How to Add a Prezi Presentation to Behance
5. Checking for Technical Quality
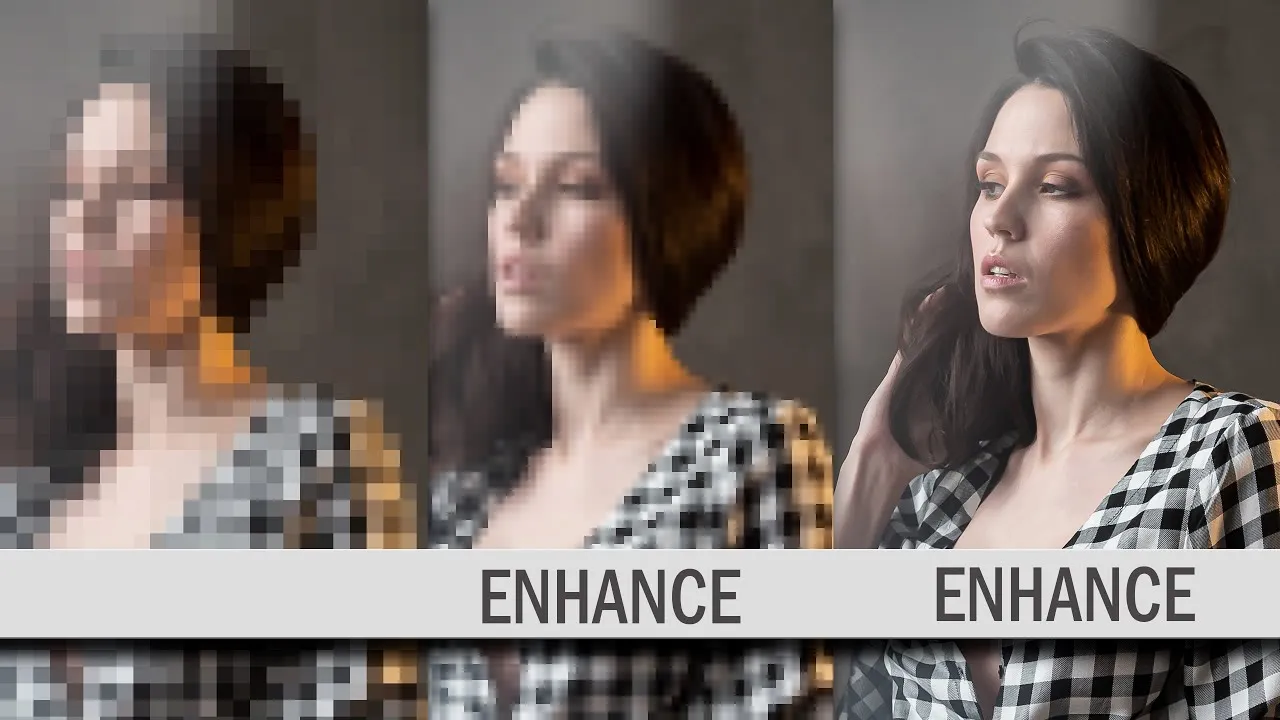
When you’re preparing your photos for Adobe Stock, one of the most crucial steps is checking for technical quality. After all, Adobe has specific standards that your images need to meet for them to be accepted. So, let’s dive into what you should be looking for!
First, you’ll want to ensure that your images are in focus. Blurry photos are a no-go, so zoom in on your images in Lightroom to check sharpness. You can use the “1:1” zoom view to inspect details closely.
Next on the list is checking for noise. High ISO settings can introduce unwanted graininess, especially in low-light conditions. If you notice noise, Lightroom has some great tools under the “Detail” panel to help reduce it. Just remember, too much noise reduction can lead to a loss of detail, so find a balance!
Don’t forget to look for exposure issues. Your photos should have a balanced histogram, so take advantage of the “Histogram” view in Lightroom. If your image is too dark or too bright, use the “Exposure” and “Highlights” sliders to adjust accordingly.
Lastly, check for chromatic aberration and lens distortions. You can easily fix these in Lightroom by going to the “Lens Corrections” panel and enabling the appropriate settings.
By taking the time to check for these technical aspects, you’ll increase your chances of having your photos accepted by Adobe Stock. Happy editing!
Also Read This: How to Execute the Googly Ball in Cricket
6. Finalizing Your Photos for Submission
Now that you’ve checked the technical quality of your photos, it’s time for the final touches before hitting that submit button on Adobe Stock. This stage is all about making your images shine and ensuring they meet the platform's requirements.
First, let’s talk about file format and size. Adobe Stock typically requires JPEG files, so make sure to export your images in this format. When exporting, choose a high-quality setting—ideally at least 100% quality—to maintain detail.
Next, metadata is key! Adding keywords and titles to your images can significantly impact how well they perform on Adobe Stock. In Lightroom, you can easily add this information in the “Library” module. Aim for a mix of broad and specific keywords to help potential buyers find your work.
| Metadata Element | Tips |
|---|---|
| Title | Make it descriptive and relevant to the image. |
| Keywords | Use a mix of 15-25 broad and specific keywords. |
| Description | Provide a brief overview of the image content. |
Finally, do a last-minute review. Check your images one more time to ensure everything looks great and meets Adobe’s quality standards. Once you’re satisfied, it’s time to submit your photos!
By following these steps, you’ll be well on your way to having a successful submission to Adobe Stock. Good luck!
Also Read This: Access Free Airbnb Welcome Book Template from Canva
Exporting Images for Adobe Stock
When it comes to selling your images on Adobe Stock, exporting them correctly from Lightroom is a crucial step. The export settings you choose can significantly impact the quality and acceptance of your photos. Let's break down the essential steps to ensure your images meet Adobe's standards.
1. Setting Export Preferences
To begin, navigate to the library module and select the images you wish to export. Once selected, click on File and then Export. A new window will pop up with several options:
- File Settings: Choose the format, typically JPEG for Adobe Stock, and set the quality to maximum (100).
- Image Sizing: Make sure to set the dimensions to at least 4 MP or 3000 pixels on the longest side, as this meets Adobe's requirements.
- Output Sharpening: Apply for screen sharpening to enhance the image quality, choosing a standard level unless you have specific needs.
2. Color Space
Adobe Stock recommends using the Adobe RGB (1998) color space for exporting. This color space has a wider gamut than sRGB and will help in preserving the color integrity of your images.
3. Metadata
Don’t forget to include relevant metadata during the export process. This includes keywords, titles, and descriptions that will help your image get discovered on Adobe Stock.
Once you have adjusted all settings, click Export and let Lightroom work its magic! Your images are now ready for submission, meeting the quality standards set by Adobe Stock.
Conclusion
Preparing your photos for Adobe Stock in Lightroom may seem like a daunting task, but it doesn’t have to be! By following the steps outlined in this guide, you can ensure your images not only meet Adobe's quality standards but also stand out in a crowded marketplace.
From careful editing and applying the right adjustments to exporting your photos with precision, each step plays a vital role in showcasing your work professionally. Remember, the goal is to present high-quality images that potential buyers will find appealing.
As you prepare to submit your photographs, keep in mind the following:
- Always review Adobe’s submission guidelines for any updates.
- Embrace constructive feedback from Adobe's review process to improve your future submissions.
- Keep practicing your photography and editing skills to continually elevate the quality of your work.
In the end, patience and persistence are key. With time, your portfolio on Adobe Stock can grow, and so can your potential for earnings. So, grab your camera, take those stunning shots, and let Lightroom help you prepare them for the world to see!