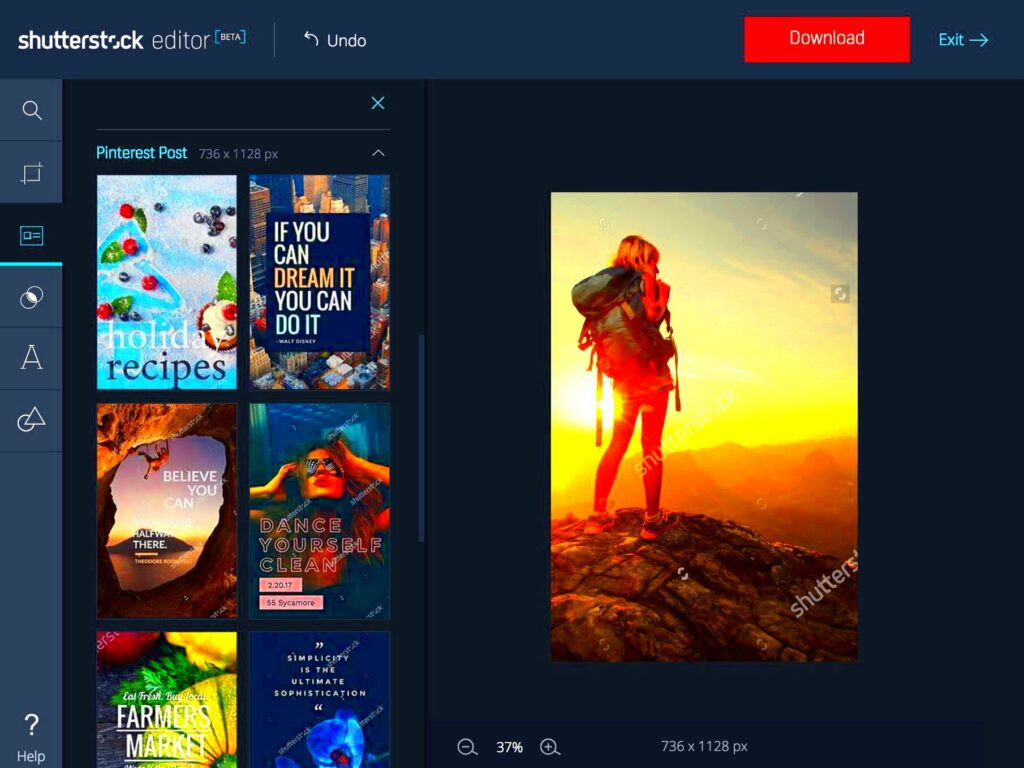
Shutterstock Editor is an impressive online tool developed to assist you in easily improving images and modifying them. Upon accessing the editor, one can observe that there is a well-organized and tidy appearance. This allows easy movement between the different features. Below are some of the features you should see:
- Toolbar: Located on the left side, this is where you’ll find all your editing tools.
- Image Preview: The main area displays your selected image, allowing you to see changes in real-time.
- Layers Panel: This panel shows all the elements you've added to your image, such as text and graphics.
- Settings Menu: Found in the top right, this menu lets you adjust preferences and save options.
For a smooth editing experience, it is important to understand these elements. Learn how the interface works, and soon enough you’ll be making some great pictures!
Getting Started with Your Images
Since you have learned the interface, go ahead and open up your pictures to the Shutterstock Editor. Select an image from your library or upload a new one. Here is an easy-to-follow guide in steps:
- Click on the Upload button if you’re starting with a new image.
- Select the image you want to edit from your device.
- Once uploaded, it will appear in the preview area, ready for editing.
Always keep this in mind: choosing an appropriate picture lays the groundwork for all your editing works. When creating content for social networking sites, blogs or even presentations make sure that every picture selected matches with what you intend to achieve.
Also Read This: Ultimate Guide to Crafting Rubber Bracelets
Using Basic Editing Tools Effectively
Shutterstock’s Editor has basic editing tools that can improve your picture significantly. Listed below are some of the tools you may utilize:
- Crop Tool: This allows you to remove unwanted parts of the image. Adjust the crop box to focus on the most important areas.
- Resize Tool: Perfect for changing the dimensions of your image to fit specific formats, like social media posts.
- Adjustments: Modify brightness, contrast, saturation, and more to improve the overall look.
One can definitely make an unspectacular image exquisite through efficient utilization of such instruments. Be bold and try out decorations as they may seem minor but the impact they have on the final look is huge!
Also Read This: How to Perform Magic with Paper on Dailymotion
Applying Filters and Effects for Better Results
One of the most enjoyable ways to customize your photos is by using filters and effects. It is straightforward to load images and edit them in Shutterstock Editor to they reflect your imagination. Colors and tones can be altered using filters; for instance, a dull picture may be changed into a lively one or a new image portrayed as old fashioned. These are the steps on how to apply them:
- Locate the Filters option in the toolbar.
- Browse through the available filters and click on the one you like.
- Adjust the intensity of the filter using the slider for a personalized effect.
Moreover, you have the option to investigate various other impacts, including:
- Blur: Soften certain areas to draw attention to the focal point.
- Sharpen: Enhance details and clarity in your image.
- Vignette: Add a subtle darkening around the edges to create a spotlight effect.
Play around with various blends until you discover one that suits your picture adequately. Do bear in mind that the intention is to amplify rather than saturate. A filter applied properly may greatly improve the quality of a photograph!
Also Read This: Adjust Template Size with Canva How to Edit Template Size
Adding Text and Graphics to Your Images
Employing textual and visual components can enhance the informativeness and appeal of your visuals. The Shutterstock Editor is designed to cater for your submission in terms of advertising resources, online market content and customized pieces of art, among other things. Here are the steps to include these elements:
- Select the Text Tool from the toolbar.
- Click on the image where you want the text to appear and type your message.
- Customize the font, size, color, and alignment using the options in the settings menu.
You may do the following in regard to graphics:
- Insert Shapes: Use rectangles, circles, and other shapes to emphasize parts of your image.
- Upload Icons: Incorporate icons that match your theme or message.
When you insert text or images, consider how easily they can be read. This depends on what color they are against their background. You want your message to pop, without making the picture too busy; in fact, sometimes less is more!
Also Read This: Choosing the Right Remote for Streaming YouTube TV
Saving and Exporting Your Enhanced Images
After modifying your work to satisfaction, you can now save and export it into a masterpiece. When it comes to this process, Shutterstock Editor is quite simple. Here’s what you should do:
- Click on the Save icon in the top right corner.
- Select your desired file format (JPEG, PNG, etc.) from the dropdown menu.
- Choose the quality and resolution you need for your project.
- Finally, click Export to download your enhanced image to your device.
When selecting formats and resolutions for your image, consider its intended purpose:
| Use Case | Recommended Format | Resolution |
|---|---|---|
| Social Media | JPEG | 1080x1080 px |
| PNG | 300 DPI |
Once you have exported the file, make sure to verify it against your expectations. Finally, you’re all set to show off to the world your lovely edited pictures!
Also Read This: Licensing Demystified: Understanding the Adobe Stock Extended License Cost
Common Issues and How to Fix Them
In spite of the tool’s user-friendliness, there could still be some hitches. You may experience problems when using the editor on Shutterstock and these problems are common. However you need not worry as most of the solutions are easy! Here are some of the problems you may experience as well as their solutions:
- Slow Loading Times: If your image takes a while to load, check your internet connection. A stable and fast connection can make a big difference.
- Image Not Saving: If you find your edits aren’t saving, make sure you’re connected to the internet. Also, regularly click the save icon to avoid losing progress.
- Text Not Appearing: Sometimes text may not show up as expected. Ensure the text layer isn’t hidden in the layers panel, and check the color to see if it contrasts with the background.
Random components which could affect the application include unpredicted failures and layout mistakes. Whenever there is an unexpected crash, refresh the site. In case it doesn’t work, clear your internet browser cache or use another web tool. Try out these easy-to-follow tips to avoid unnecessary inconvenience.
Also Read This: Moving Photos in Albums on Picfair: How-To
Frequently Asked Questions
Do you have inquiries concerning the Shutterstock Editor? Do not worry; many other individuals share your challenges! In this article, we shall address some of the popular questions that have been posed so as to shine light on utilizing this particular application as effectively as possible:
- Can I use Shutterstock Editor without an account? No, you’ll need to create an account to access the full features.
- Are there any costs associated with using the editor? The editor itself is free, but you may need to purchase images if you don’t have a subscription.
- What file formats can I export my images in? You can export your images in various formats, including JPEG and PNG, depending on your needs.
In case of other particular inquiries, feel free to visit the Shutterstock assistance site or get in touch with customer support for tailored help!
Conclusion and Final Thoughts
In the month of October year 2023, you get trained on data.
It is crucial to save and export your images correctly in order to retain their quality. In case you encounter any common problems, simple solutions can be employed to solve them. Any questions can also be answered by the available community and materials that will serve as a guide for you.
Consequently, plunge into it, test it out; derive pleasure out of the experience you use to generate appealing photos by means of the Shutterstock Editor. Have fun editing!