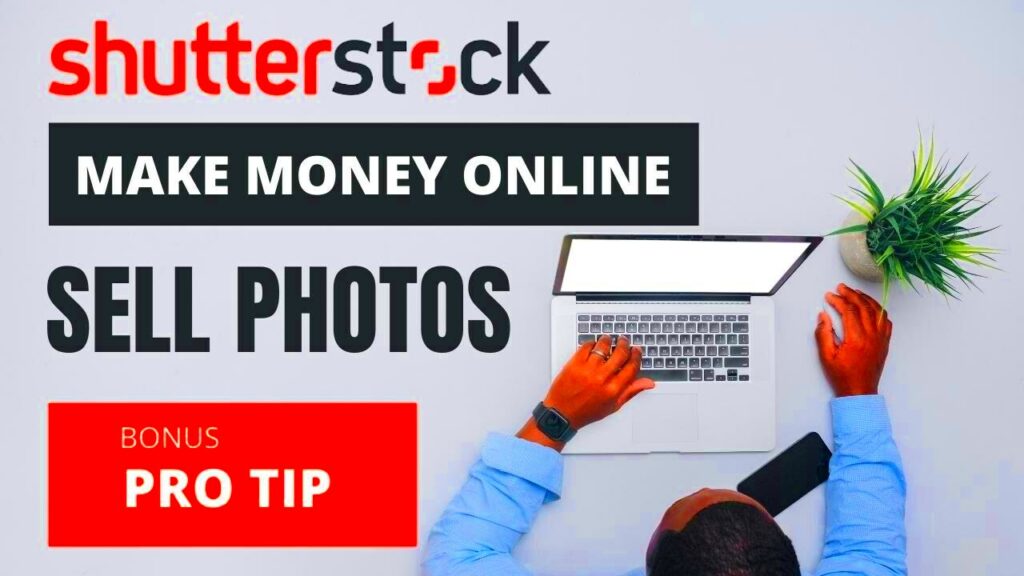
Stock photography is a fantastic way to turn your passion for photography into a source of income. Essentially, it involves taking photos that others can license for their projects. But before diving in, it's crucial to grasp some key concepts.
Here are some important points to consider:
- Quality Matters: The better your images, the more likely they are to be purchased.
- Market Demand: Certain subjects are more popular than others, like business, nature, and lifestyle images.
- Rights and Licenses: Understand the different types of licenses you can offer, such as royalty-free or rights-managed.
- Consistency: Building a recognizable style can help attract buyers.
Overall, having a solid foundation in stock photography will set you up for success in the competitive world of online image sales.
Preparing Your Photos for Uploading

Once you understand the basics, it's time to prepare your photos for uploading to Shutterstock. Proper preparation can make a big difference in how well your images perform.
Consider these steps when getting your photos ready:
- Edit Your Photos: Use software like Adobe Lightroom or Photoshop to enhance your images. Focus on:
- Adjusting brightness and contrast
- Correcting colors
- Cropping for composition
- Ensure Technical Quality: Your images should be at least 4 MP and saved in a high-quality format like JPEG.
- Write Descriptive Titles and Keywords: This helps potential buyers find your images easily. Use relevant keywords that describe the subject and mood of the photo.
- Check for Model and Property Releases: If your images feature recognizable people or private properties, you'll need permission to sell them.
With these steps, you'll have your photos ready for the Shutterstock platform, increasing your chances of making sales.
Also Read This: Understanding YouTube Video Playback and Its Features
Creating Your Shutterstock Account
Now that your photos are ready, it’s time to create your Shutterstock account. This is a straightforward process that opens the door to a global marketplace.
Follow these steps to get started:
- Visit the Shutterstock Website: Go to shutterstock.com.
- Click on Join: Look for the "Join" button, usually found at the top right corner of the homepage.
- Fill Out Your Information: Provide the necessary details, such as your email address, password, and username. Make sure to choose a strong password for security.
- Select Your Account Type: Choose between contributor (for uploading images) or customer (for buying images). Since you’re uploading, select the contributor option.
- Verify Your Email: Check your inbox for a verification email from Shutterstock. Click the link to confirm your account.
- Set Up Your Profile: Once logged in, complete your profile by adding a profile picture and a brief bio. This helps build trust with potential buyers.
And just like that, you’re ready to start uploading your stock photos to Shutterstock!
Also Read This: Is Dailymotion Safe from Viruses in 2018
Steps for Uploading Photos to Shutterstock
Uploading your photos to Shutterstock is an exciting step in your stock photography journey. Once you’ve created your account and prepared your images, it’s time to share your work with the world. Here’s how to get your photos online easily.
Follow these steps to upload your images:
- Log into Your Contributor Account: Start by logging in to your Shutterstock contributor account. You’ll find your dashboard where you can manage your uploads.
- Click on Upload: Look for the “Upload” button on your dashboard. This will take you to the upload page.
- Select Your Files: Click on “Choose Files” or drag and drop your images directly into the upload area. You can upload multiple images at once, so make sure to select the best of your collection.
- Add Titles and Keywords: After uploading, you’ll need to enter a title and relevant keywords for each photo. Think about what potential buyers might search for. Use specific terms to describe your image.
- Choose Categories: Select appropriate categories for your photos. This helps in organizing your images and makes them easier for buyers to find.
- Review Your Uploads: Before submitting, double-check everything for accuracy. Ensure titles, keywords, and categories are correctly filled out.
- Submit for Review: Once you’re happy with your upload, hit the submit button. Your images will go into the review queue.
And that’s it! You’ve successfully uploaded your photos to Shutterstock. Now you can sit back and wait for your images to be reviewed and approved.
Also Read This: How to Add a Link to Your LinkedIn Post
Optimizing Your Photos for Better Visibility
Now that your photos are uploaded, it’s important to make them as visible as possible. The more visibility your images have, the higher the chances of making sales. Here are some strategies to optimize your photos.
Consider the following tips:
- Use Relevant Keywords: Choose keywords that accurately describe the content of your photo. Think like a buyer and include terms they might search for.
- Create Engaging Titles: Your title should be clear and descriptive. Avoid vague terms and focus on what’s in the image. For example, instead of “Nature,” try “Lush Green Forest with Waterfall.”
- Participate in Trends: Keep an eye on current trends in stock photography. If a particular theme is popular, consider uploading images related to that theme.
- Use High-Quality Images: Ensure that your photos are high resolution and well-composed. The better the quality, the more likely they are to catch a buyer's eye.
- Engage with the Community: Participate in forums or social media groups related to stock photography. Networking can help you learn new tips and get feedback on your work.
By implementing these strategies, you'll boost your photos' visibility and increase your chances of making sales on Shutterstock.
Also Read This: Setting Your Rates for Photos on Shutterstock
Understanding the Approval Process
Once you’ve submitted your photos to Shutterstock, they enter the approval process. Understanding this process can help you manage your expectations and improve future uploads. Here’s what happens behind the scenes.
The approval process consists of a few key steps:
- Initial Review: Shutterstock’s team will first check your images for technical quality. They look for issues like focus, exposure, and overall clarity.
- Content Check: Next, your photos will be evaluated for content. Shutterstock has strict guidelines, so make sure your images comply with their content policies. Common reasons for rejection include:
- Infringement of copyright or trademarks
- Low-quality images
- Inappropriate content
- Notification of Approval or Rejection: After the review, you’ll receive an email notification. If approved, your images will go live on the platform. If rejected, the email will explain the reason.
- Improve and Resubmit: If your images are rejected, take the feedback into account. You can improve your photos and resubmit them if they’re not too far off from Shutterstock’s standards.
Understanding this process not only prepares you for what to expect but also helps you improve your work in the future. With persistence and attention to detail, you’ll find success as a Shutterstock contributor.
Also Read This: How to Remove a Watermark in ShootProof
Maximizing Your Earnings on Shutterstock
Once you start uploading photos to Shutterstock, you might wonder how to maximize your earnings. While it’s fantastic to have your images available for sale, there are strategies you can implement to boost your income potential. Here’s how to get the most out of your Shutterstock experience.
Consider these tips:
- Diverse Portfolio: Offer a variety of images to appeal to a wider audience. Consider adding different styles, subjects, and themes to your portfolio.
- Understand Your Niche: Research what types of images sell best in your niche. If you specialize in a particular area, focus on creating high-quality images in that genre.
- Engage in Trends: Keep an eye on emerging trends in photography and stock images. Seasonal themes, social media trends, and current events can all influence what buyers are looking for.
- Promote Your Work: Share your images on social media and photography forums. The more exposure your work gets, the higher the chances of making sales.
- Quality Over Quantity: While it might be tempting to upload as many photos as possible, focus on quality. High-quality images are more likely to be purchased and may lead to higher earnings.
- Utilize Metadata: Make sure your titles, descriptions, and keywords are optimized for search. This will help your images show up more frequently in search results.
By applying these strategies, you can significantly increase your earnings on Shutterstock and enjoy a rewarding experience as a contributor.
Also Read This: Why Is My Hero Ultra Rumble Not Working
Frequently Asked Questions
As you start your journey with Shutterstock, you might have some questions. Here are answers to some common queries that many new contributors have:
- How much can I earn on Shutterstock? Earnings vary based on factors like the number of downloads, your image pricing, and your contributor level. On average, contributors can earn between 15% and 40% of the image price.
- Do I need a model release? Yes, if your images include recognizable people or private property, you’ll need to obtain model or property releases to sell those images legally.
- What types of photos sell best? Popular categories include business, lifestyle, food, nature, and travel. Focus on what you enjoy and what you excel at, while also considering market demand.
- How long does it take for my photos to be approved? The review process can take anywhere from a few hours to a couple of days, depending on the volume of submissions at that time.
- Can I delete my photos later? Yes, you can remove photos from your portfolio at any time. However, keep in mind that this may affect your earnings if those images were selling well.
These answers can help you navigate your experience on Shutterstock more smoothly and confidently.
Conclusion and Final Thoughts
Embarking on your stock photography journey with Shutterstock can be both exciting and rewarding. By following the steps outlined in this blog post, you’re setting yourself up for success. Remember that patience and persistence are key. It may take time to see significant earnings, but with dedication and continuous improvement, you can achieve your goals.
To recap, here are the essential points to remember:
- Understand the basics of stock photography.
- Prepare your photos meticulously before uploading.
- Optimize your images to increase visibility.
- Engage with the Shutterstock community and keep learning.
- Maximize your earnings through diverse and high-quality content.
So, grab your camera, unleash your creativity, and start capturing images that people will love to buy. Your Shutterstock adventure awaits!