Uploading Flash files to Behance can be a bit tricky, especially if you're not familiar with the platform. Whether you're a designer looking to showcase your interactive projects or an artist wanting to bring your animations to life, you're in the right place. In this guide, we’ll walk you through the essentials of uploading your Flash files, ensuring your creative work shines on one of the most popular platforms for artists and designers.
Understanding Behance and Flash Files
Behance is a vibrant online platform where creative professionals can showcase their work, connect with other creatives, and find job opportunities. With millions of users, it serves as a portfolio site for designers, artists, photographers, and more. One of the unique features of Behance is its ability to support various multimedia formats, allowing creatives to present their projects in engaging ways.
Now, let’s talk about Flash files. Adobe Flash was once a dominant technology for creating animations, web applications, and interactive content. While its popularity has waned due to the rise of HTML5 and mobile compatibility issues, many creatives still have valuable Flash projects worth sharing. Here’s why understanding Flash files is crucial for your Behance upload:
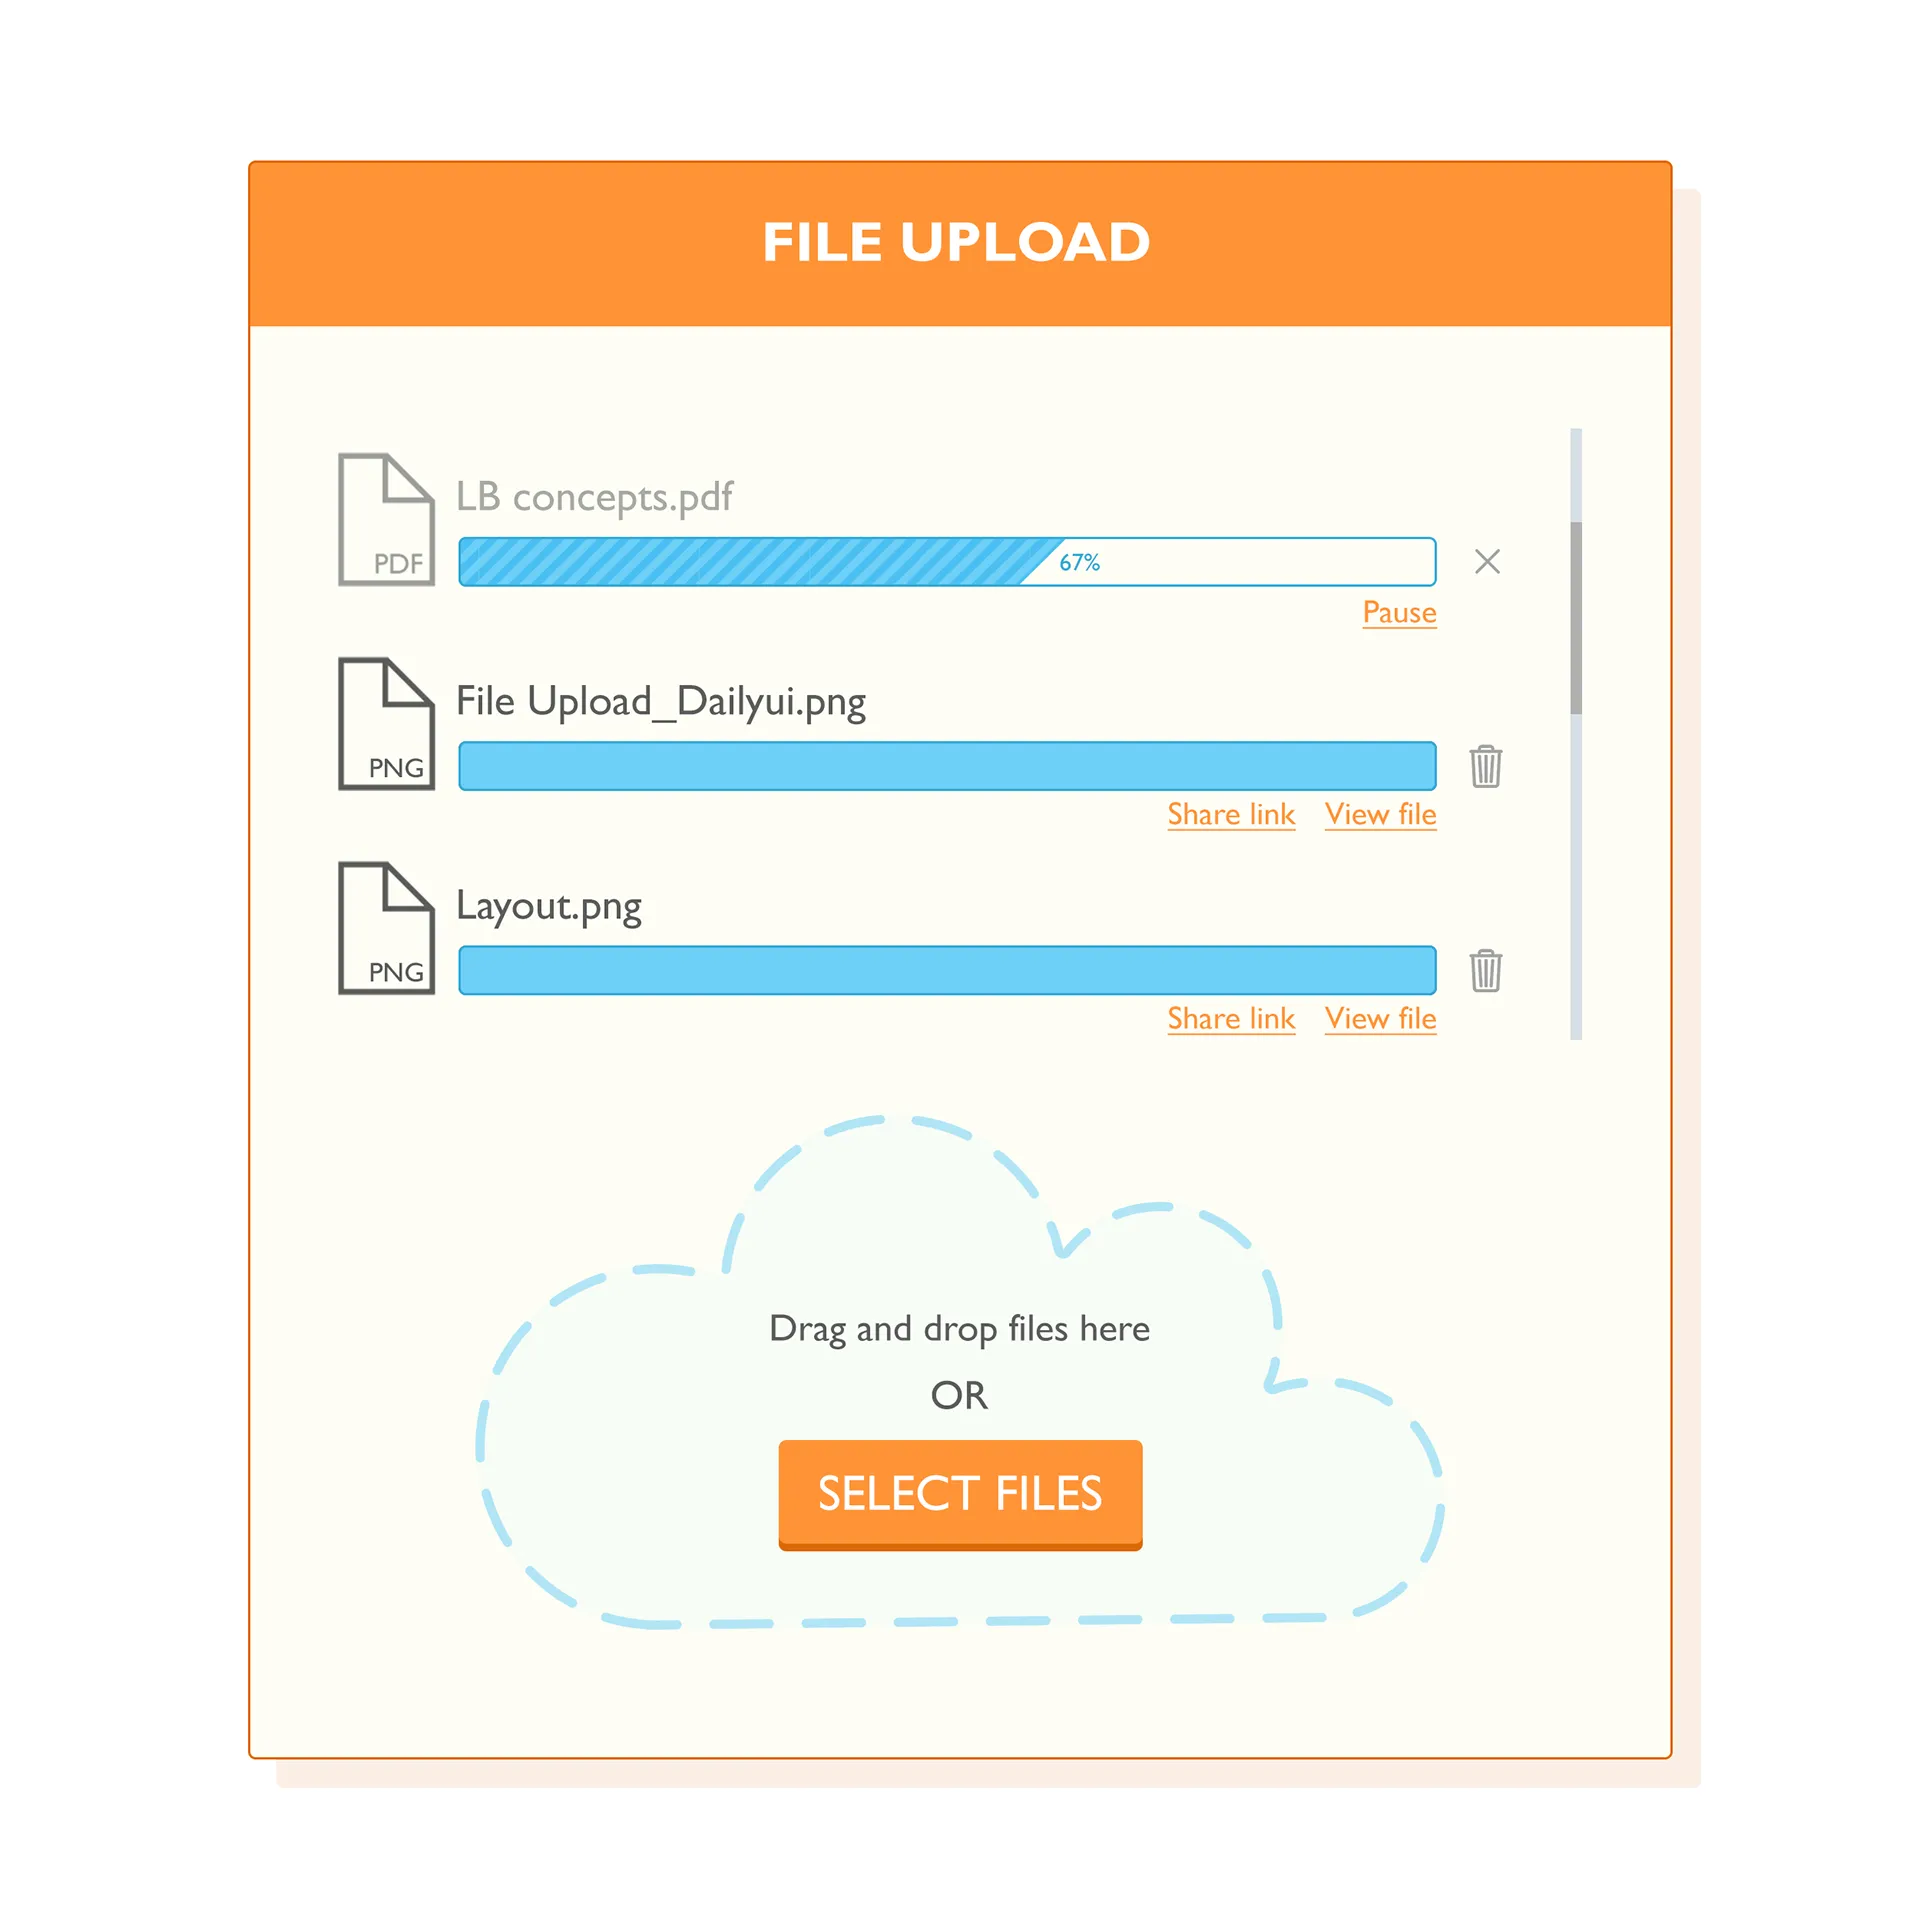
- File Type: Flash files typically come in .fla or .swf formats. Behance supports these formats, but you’ll need to ensure they’re properly optimized for online viewing.
- Compatibility: While Flash offers rich interactive experiences, many browsers have phased it out. Consider creating an HTML5 version to make your work more accessible.
- Interactivity: Flash allows for dynamic content. Think about how you can showcase this interactivity in your Behance project, perhaps through screenshots or video recordings.
Understanding these aspects will help you effectively present your Flash work, ensuring it makes an impact on your audience. Remember, the goal is to highlight your creativity and skills in a way that resonates with viewers!
Also Read This: How to Watch SEC Network on YouTube TV Without Issues
Preparing Your Flash Files for Upload
Before you can showcase your creative genius on Behance, it’s essential to prepare your Flash files properly. This step ensures that your work displays beautifully and functions seamlessly. Here’s how to get started:
- Optimize Your File: Start by optimizing your Flash file. Large files can slow down loading times and may deter viewers. Aim for a file size under 10MB for the best experience.
- Test Functionality: Run your Flash file locally to ensure everything works as intended. Check for any broken links, animations that don’t play, or other issues that could disrupt the viewer’s experience.
- Export Settings: When exporting your Flash file, select the appropriate settings. Typically, you'll want to use the .SWF format, as this is widely supported on platforms like Behance.
- Include a Backup: It’s always a good idea to keep a backup of your original Flash file. Save a version in your project files, so you have easy access in case you need to make adjustments later.
Taking these steps will ensure that your Flash files are not only ready for upload but also primed for maximum viewer engagement. A little preparation goes a long way!
Also Read This: Donât Panic Keeping Up with Kardashian on Dailymotion Watch the Show
Step-by-Step Guide to Uploading Flash Files
Now that your Flash files are prepared, it’s time to upload them to Behance! Follow these simple steps to get your work online:
- Log in to Your Behance Account: If you don’t have one, it’s quick and easy to sign up!
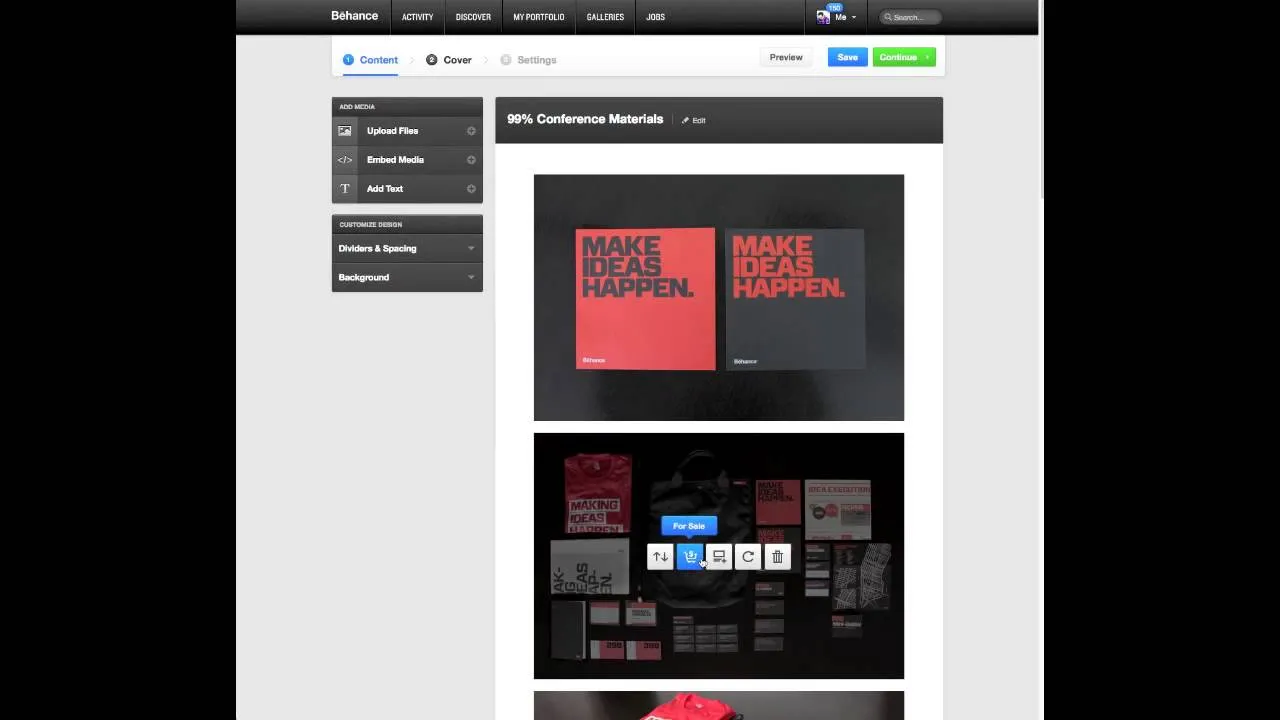
- Create a New Project: Click on the “Create a Project” button on your dashboard. This will lead you to the project editor.
- Upload Your Flash File: In the project editor, look for the option to upload files. Select your optimized .SWF file from your computer. Wait for it to upload completely.
- Add Project Details: After uploading, fill in the project title, description, and any relevant tags. This helps viewers find your work easily.
- Preview Your Project: Before publishing, use the preview feature to check how your Flash file appears on the page. Look for any technical issues.
- Publish Your Project: Once you’re satisfied, hit the “Publish” button. Congratulations, your Flash file is now live on Behance for the world to see!
By following these steps, you can ensure a smooth upload process and present your creativity effectively. Happy sharing!
Also Read This: Understanding the Impact of Likes on YouTube
Best Practices for Showcasing Your Work
When it comes to uploading your Flash files to Behance, showcasing your work effectively is key to attracting attention and engagement. Here are some best practices to consider:
- High-Quality Visuals: Always use high-resolution images or videos. This ensures your work appears professional and polished.
- Engaging Descriptions: Don’t just upload your work; tell your audience about it! Write a compelling description that includes your inspiration, the process, and any challenges you overcame.
- Tagging and Keywords: Use relevant tags and keywords to help users find your work easily. Think about what terms your target audience might search for.
- Consistent Branding: Maintain a consistent style and voice across your Behance projects. This helps in building your personal brand and makes your profile look cohesive.
- Interactive Elements: If your Flash file includes interactive components, ensure they work seamlessly. Test everything before uploading to avoid user frustration.
Lastly, consider the layout of your project. Use Behance’s tools to arrange your images and text in an appealing way. A well-structured project can greatly enhance the viewer’s experience.
Also Read This: Why Does YouTube Keep Turning Off My Comments
Common Issues and Troubleshooting Tips
Uploading Flash files to Behance can occasionally lead to some bumps along the way. Here are some common issues and how to troubleshoot them:
- File Size Limits: Behance has file size restrictions. Ensure your Flash file is within the accepted limits, typically around 20MB. If it's too large, consider compressing it.
- Compatibility Problems: Not all browsers handle Flash files the same way. Test your file across different browsers to ensure compatibility and functionality.
- Loading Issues: If your Flash file takes too long to load, it could deter viewers. Simplify your animations or optimize your file to enhance loading speed.
- Error Messages: If you encounter error messages during upload, check your internet connection and try again. Sometimes a simple restart can fix the issue.
- Feedback and Comments: If users leave feedback or report issues, take it seriously! Engage with them and make necessary adjustments to improve your project.
By being proactive and addressing these common pitfalls, you can ensure a smooth uploading experience and present your work in the best possible light.
How to Upload Flash Files to Behance
Behance is a popular platform for showcasing creative work, including portfolios for graphic designers, artists, and animators. With the rise of multimedia content, many users are looking to upload Flash files to enrich their projects. However, it's important to note that Behance does not support Flash files directly due to security and compatibility issues. Instead, you can follow these steps to present your Flash content effectively on Behance.
Steps to Upload Flash Content to Behance
To share your Flash projects on Behance, consider converting them into video or GIF formats. Here’s how:
- Convert Flash to Video:
- Use software like Adobe Animate or SWF to Video Converter to convert your Flash file (.swf) to a video format (e.g., .mp4).
- Ensure you maintain quality by adjusting the resolution and frame rate settings.
- Upload Video to a Hosting Service:
- Upload the converted video to platforms like YouTube or Vimeo.
- Copy the video URL after uploading.
- Post on Behance:
- Log in to your Behance account and start a new project.
- Choose the option to embed a video and paste the URL.
- Add relevant descriptions, tags, and images to enhance your project.
- Publish your project to showcase your work.
Alternative: Create GIFs
If your Flash content is short, you might consider converting it into a GIF:
- Use tools like ScreenToGif or Giphy to create GIFs from your Flash animation.
- Upload the GIF directly to Behance as you would with images.
By following these steps, you can successfully share your Flash creations on Behance, ensuring your audience can appreciate your work in a supported format.
Conclusion: While Behance does not support direct uploads of Flash files, converting your projects to video or GIF formats allows you to effectively showcase your creative work on the platform.