Watermarks can be a bit of a nuisance, especially when you're trying to visualize your project with stock images or videos from Adobe Stock. While these watermarks serve a crucial purpose—to protect the rights of creators—they can clutter your work. In this guide, we'll explore effective ways to handle watermarks in Adobe After Effects, ensuring you can create stunning visuals without the distraction of those pesky overlays. Ready to dive in? Let’s get started!
Understanding Watermarks and Licensing
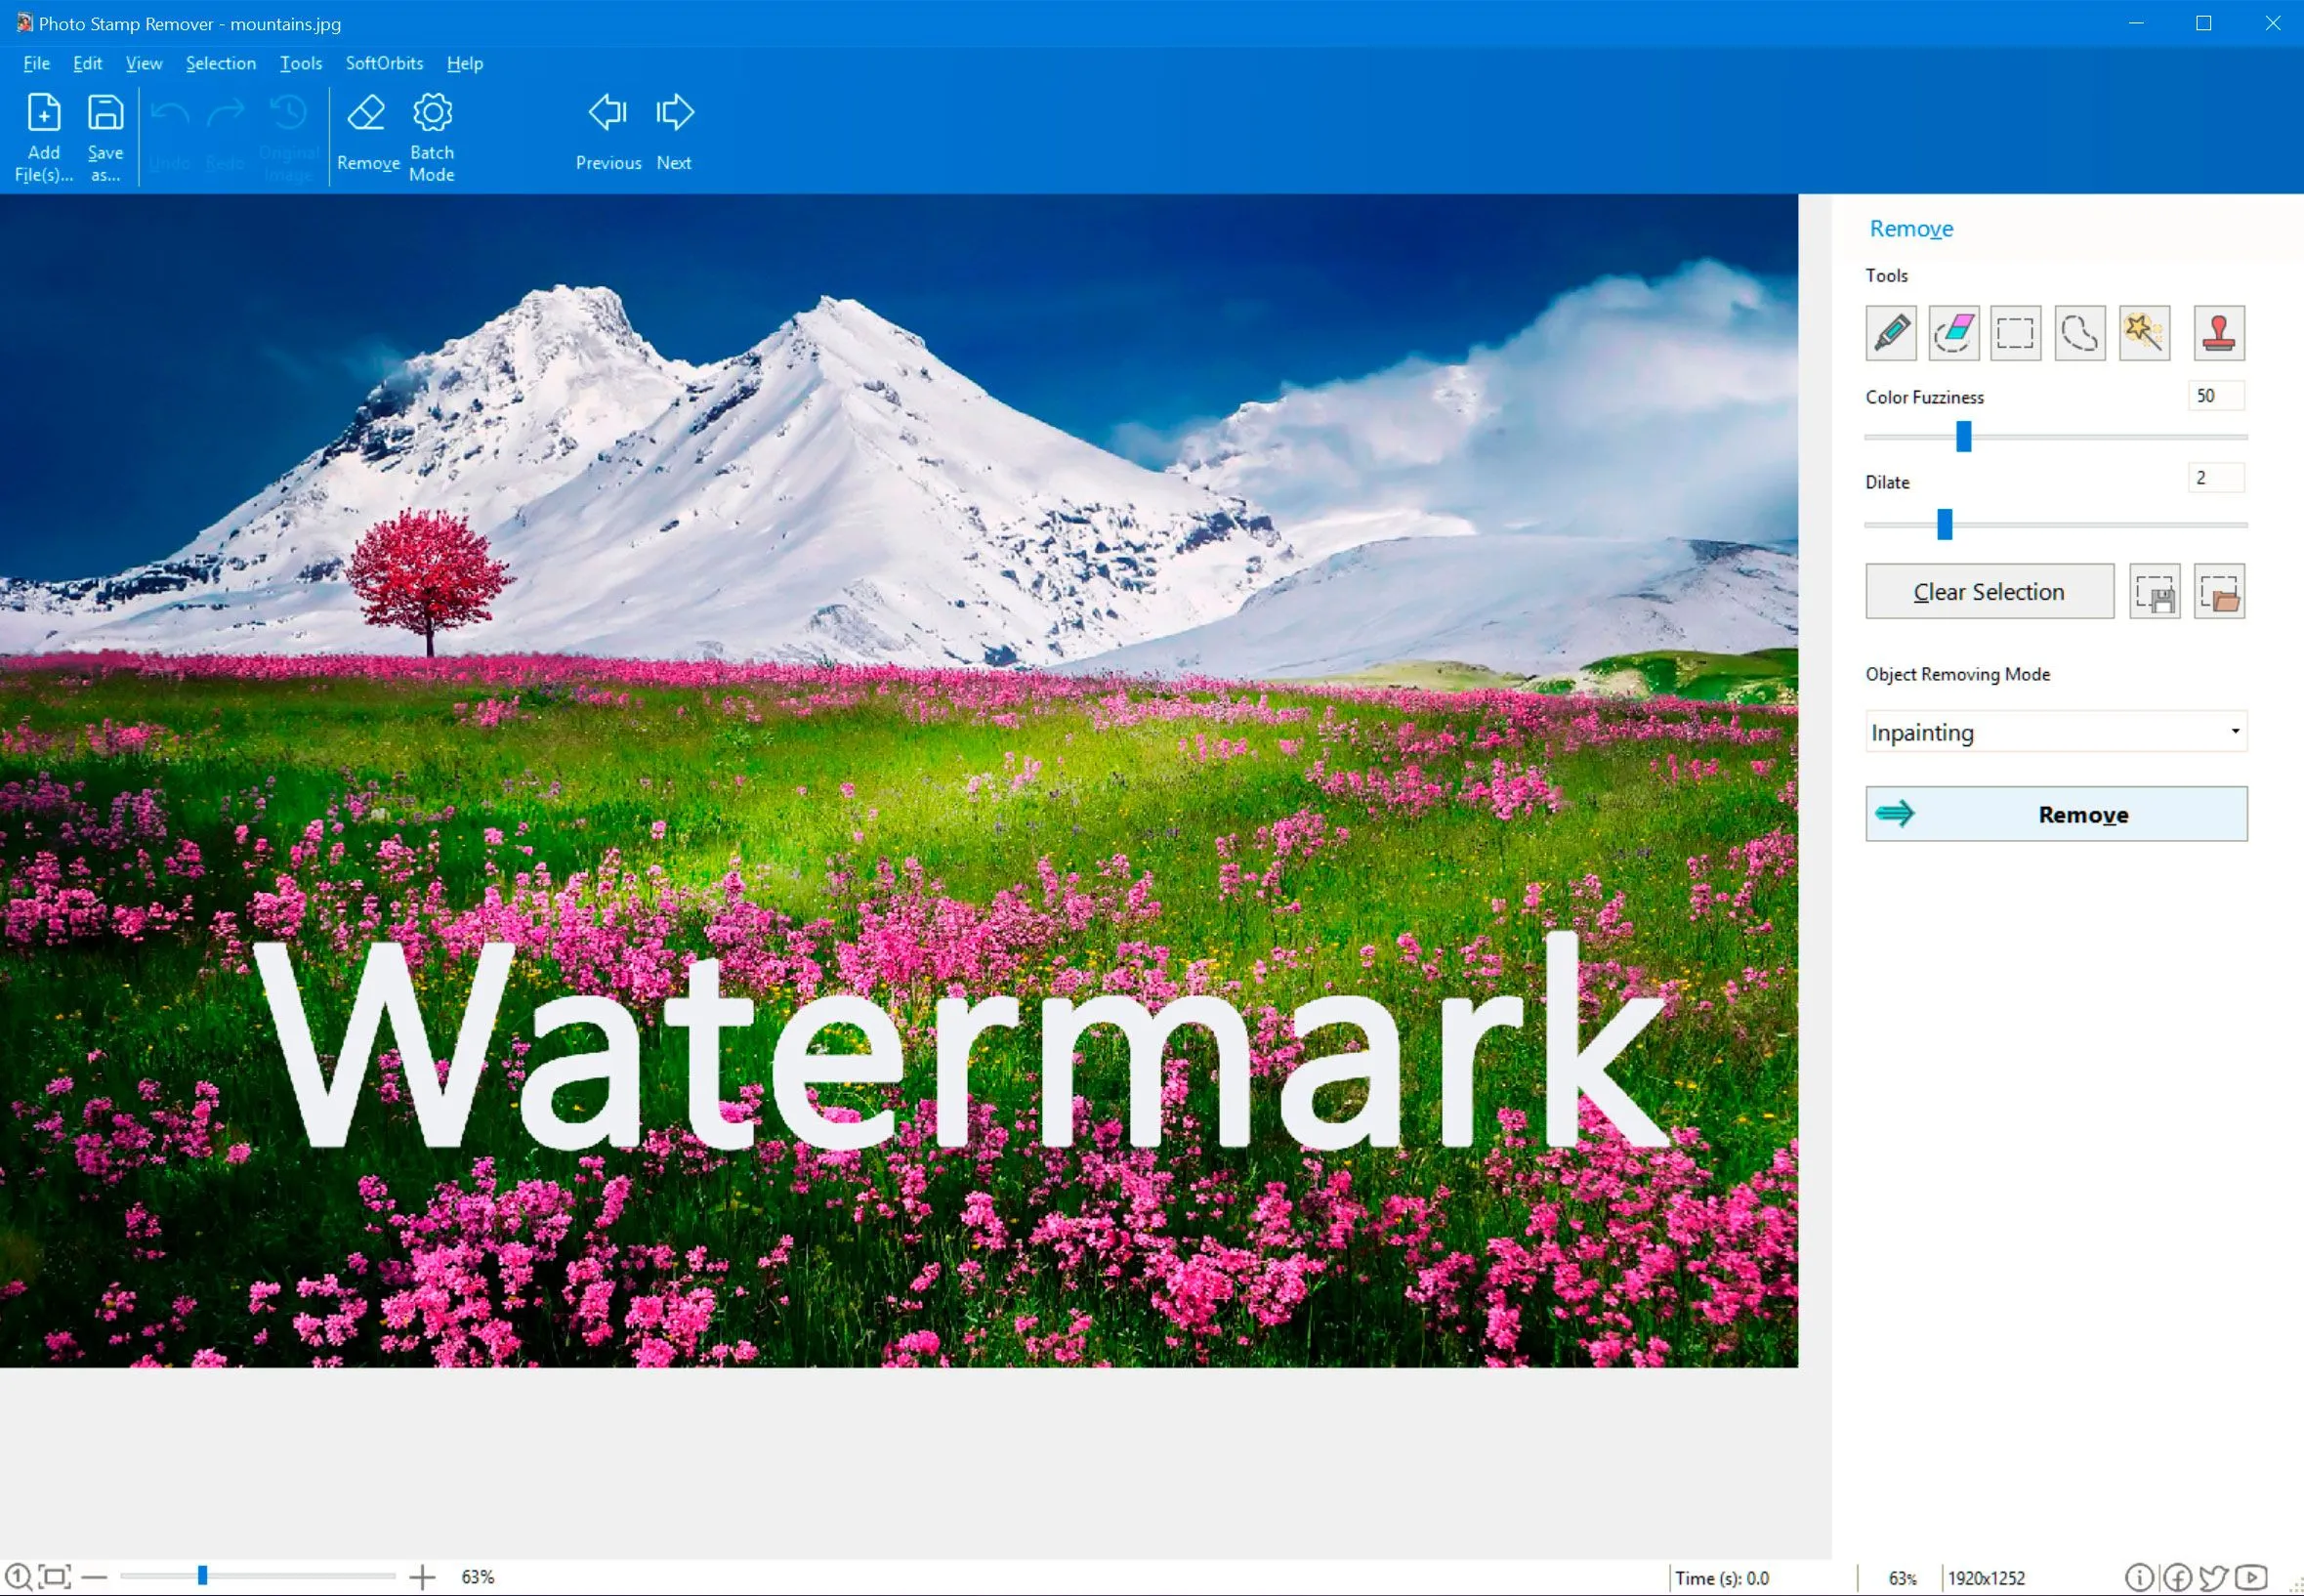
Before we jump into the nitty-gritty of removing watermarks, it’s essential to grasp what they really are and the significance of licensing. Watermarks are visual markers over stock images or videos that indicate ownership. They serve as a protective measure for creators, ensuring that their content isn't misused without proper attribution and payment.
Here’s a quick rundown of the main types of licenses you might encounter:
- Editorial License: This allows you to use images for non-commercial purposes, such as news articles or blogs. You can't alter the image and must attribute the creator.
- Standard License: This covers most typical uses, like social media posts and websites, but you can’t use the images for merchandise or large-scale prints.
- Extended License: This gives you broader rights, allowing for merchandise and large-scale outputs. It’s pricier but ideal for extensive usage.
Essentially, if you want to use a watermark-free version of a stock asset, you’ll need to purchase the appropriate license. It’s a straightforward process that not only supports the creators but also ensures you’re using their work legally and ethically. So, next time you’re tempted to remove a watermark, remember the value of creative rights!
Also Read This: How to Make a Paper Car with Dailymotionâs Step-by-Step Folding Guide
3. Preparing Your Project in After Effects
Before diving into the nitty-gritty of removing watermarks from Adobe Stock footage, it's crucial to set up your project correctly in After Effects. A well-prepared project not only streamlines your workflow but also enhances your chances of achieving a seamless result.
Start by launching After Effects and creating a new project. Here’s a quick checklist to help you get going:
- Create a New Composition: Go to Composition > New Composition and set your desired resolution and frame rate. For standard HD videos, a resolution of 1920x1080 pixels works perfectly.
- Import Your Footage: Use File > Import > File to bring in your stock footage. Drag it into your timeline to start working on it.
- Organize Your Assets: Create folders in the Project panel to keep your footage, effects, and other assets organized. This will save you time and hassle later on!
- Set Up Your Timeline: Position your footage in the timeline. Make sure it’s the first layer so that it’s easy to work on without any disruptions.
With your project set up, you’re now ready to start erasing that pesky watermark! Take a moment to double-check everything; a strong foundation makes the editing process much smoother.
Also Read This: Exploring Dailymotion Features for Beginners and Enthusiasts
4. Using the Clone Stamp Tool
Now that you’ve prepared your project, it’s time to tackle the watermark head-on using the Clone Stamp Tool. This tool is a powerful feature in After Effects that allows you to paint over the watermark, effectively hiding it with nearby content. Here’s how to do it:
Follow these simple steps to get started:
- Select the Clone Stamp Tool: You can find it in the toolbar, or simply press Ctrl + Alt + C (Windows) or Cmd + Option + C (Mac) to activate it.
- Adjust Brush Settings: In the top options bar, you can change the size and hardness of the brush. A softer edge usually works better for blending.
- Create a New Layer: It’s best to clone onto a new layer. Go to Layer > New > Solid, and select a color that matches your footage.
- Start Cloning: Hold Alt (Windows) or Option (Mac) and click on an area of the footage that you want to clone. Release the key and paint over the watermark. Adjust as necessary!
As you begin to clone, remember to zoom in for more precision. You may need to adjust the source point multiple times to ensure a natural look. Don’t be afraid to experiment with different brush sizes and opacities until you achieve the desired effect. Once you’re satisfied, preview your work to ensure a seamless blend!
Also Read This: The Latest Photography Trends Reflected in Imago Images Collections
5. Utilizing Content-Aware Fill
One of the most powerful tools in After Effects for removing unwanted elements, including watermarks, is the Content-Aware Fill feature. This innovative technology allows you to seamlessly erase a watermark and fill in the gap with surrounding pixels, creating a natural appearance. Here’s how you can effectively use it:
- Select the Watermark: Use the Pen Tool to create a mask around the watermark you want to remove. Be as precise as possible to ensure a clean removal.
- Apply Content-Aware Fill: Once the watermark is masked, navigate to the Effect menu, select Content-Aware Fill, and adjust the settings to your preference. The system will analyze the surrounding content and generate a fill.
- Refine the Output: After applying the effect, you might need to make additional tweaks. Use the Clone Stamp Tool or Healing Brush for finer adjustments to blend the area perfectly.
This method is especially effective because it automates much of the process, saving you time while delivering impressive results. However, it does require some careful adjustment to ensure that the fill looks natural. Experiment with different settings until you achieve the best outcome!
Also Read This: Canceling 123RF Subscription: A Step-by-Step Guide
6. Manual Techniques for Watermark Removal
While tools like Content-Aware Fill are fantastic, there are times when manual techniques can achieve results that automated systems might struggle with, especially for intricate watermarks. Here are some manual methods you can try:
- Clone Stamp Tool: This tool allows you to sample pixels from one part of your image and paint them over the watermark. This is particularly useful for large watermarks or those over complex backgrounds.
- Patch Tool: The Patch Tool lets you select the area around the watermark, then drag it over to a clean area. This technique works well when you have a consistent background.
- Layering Techniques: Create a new layer with a similar background texture or color. Blend it seamlessly over the watermark using opacity settings and blending modes.
These methods require a bit more skill and patience, but they can yield stunning results. Don't hesitate to combine techniques or practice on sample footage to refine your approach. The key is to take your time and look for the best way to blend the removed area!
Also Read This: Do Your Own Views on YouTube Count
7. Finalizing Your Work
Once you’ve successfully removed the watermark from your Adobe Stock footage in After Effects, it’s time to finalize your work. This step is crucial to ensure that your project maintains a professional quality and can be presented seamlessly.
Here’s a checklist to help you finalize your project:
- Review Your Edits: Go through your composition and ensure that all elements blend well together. Check for any inconsistencies or artifacts left from the watermark removal process.
- Adjust Color and Lighting: Sometimes, the area where the watermark was can look different from the rest of the footage. Use color correction tools to match the lighting and color tones.
- Render a Preview: Before finalizing, render a preview of your video. This will help you identify any remaining issues and assess how your edits look in real time.
- Export Settings: Choose the right export settings based on your intended use. For social media, a lower resolution might suffice, while for presentations, you might want a higher quality.
- Backup Your Project: Always save a backup of your project files and the final export. This ensures you can revisit your work if needed.
Taking the time to finalize your work properly not only enhances the quality of your project but also showcases your professionalism and attention to detail.
8. Conclusion
Removing watermarks from Adobe Stock footage in After Effects can seem daunting, but with the right techniques and tools, it becomes manageable. By following the steps outlined in this guide, you can achieve a clean, watermark-free video that meets your creative vision.
Remember, the key steps include:
- Understanding the tools available in After Effects.
- Carefully applying techniques like rotoscoping and cloning.
- Finalizing your work to ensure a polished product.
However, always remember: Using stock footage without a proper license is illegal and unethical. Always purchase the appropriate licenses for any stock content you wish to use.
Armed with these insights, you're now ready to create stunning videos without the distraction of watermarks. Happy editing!