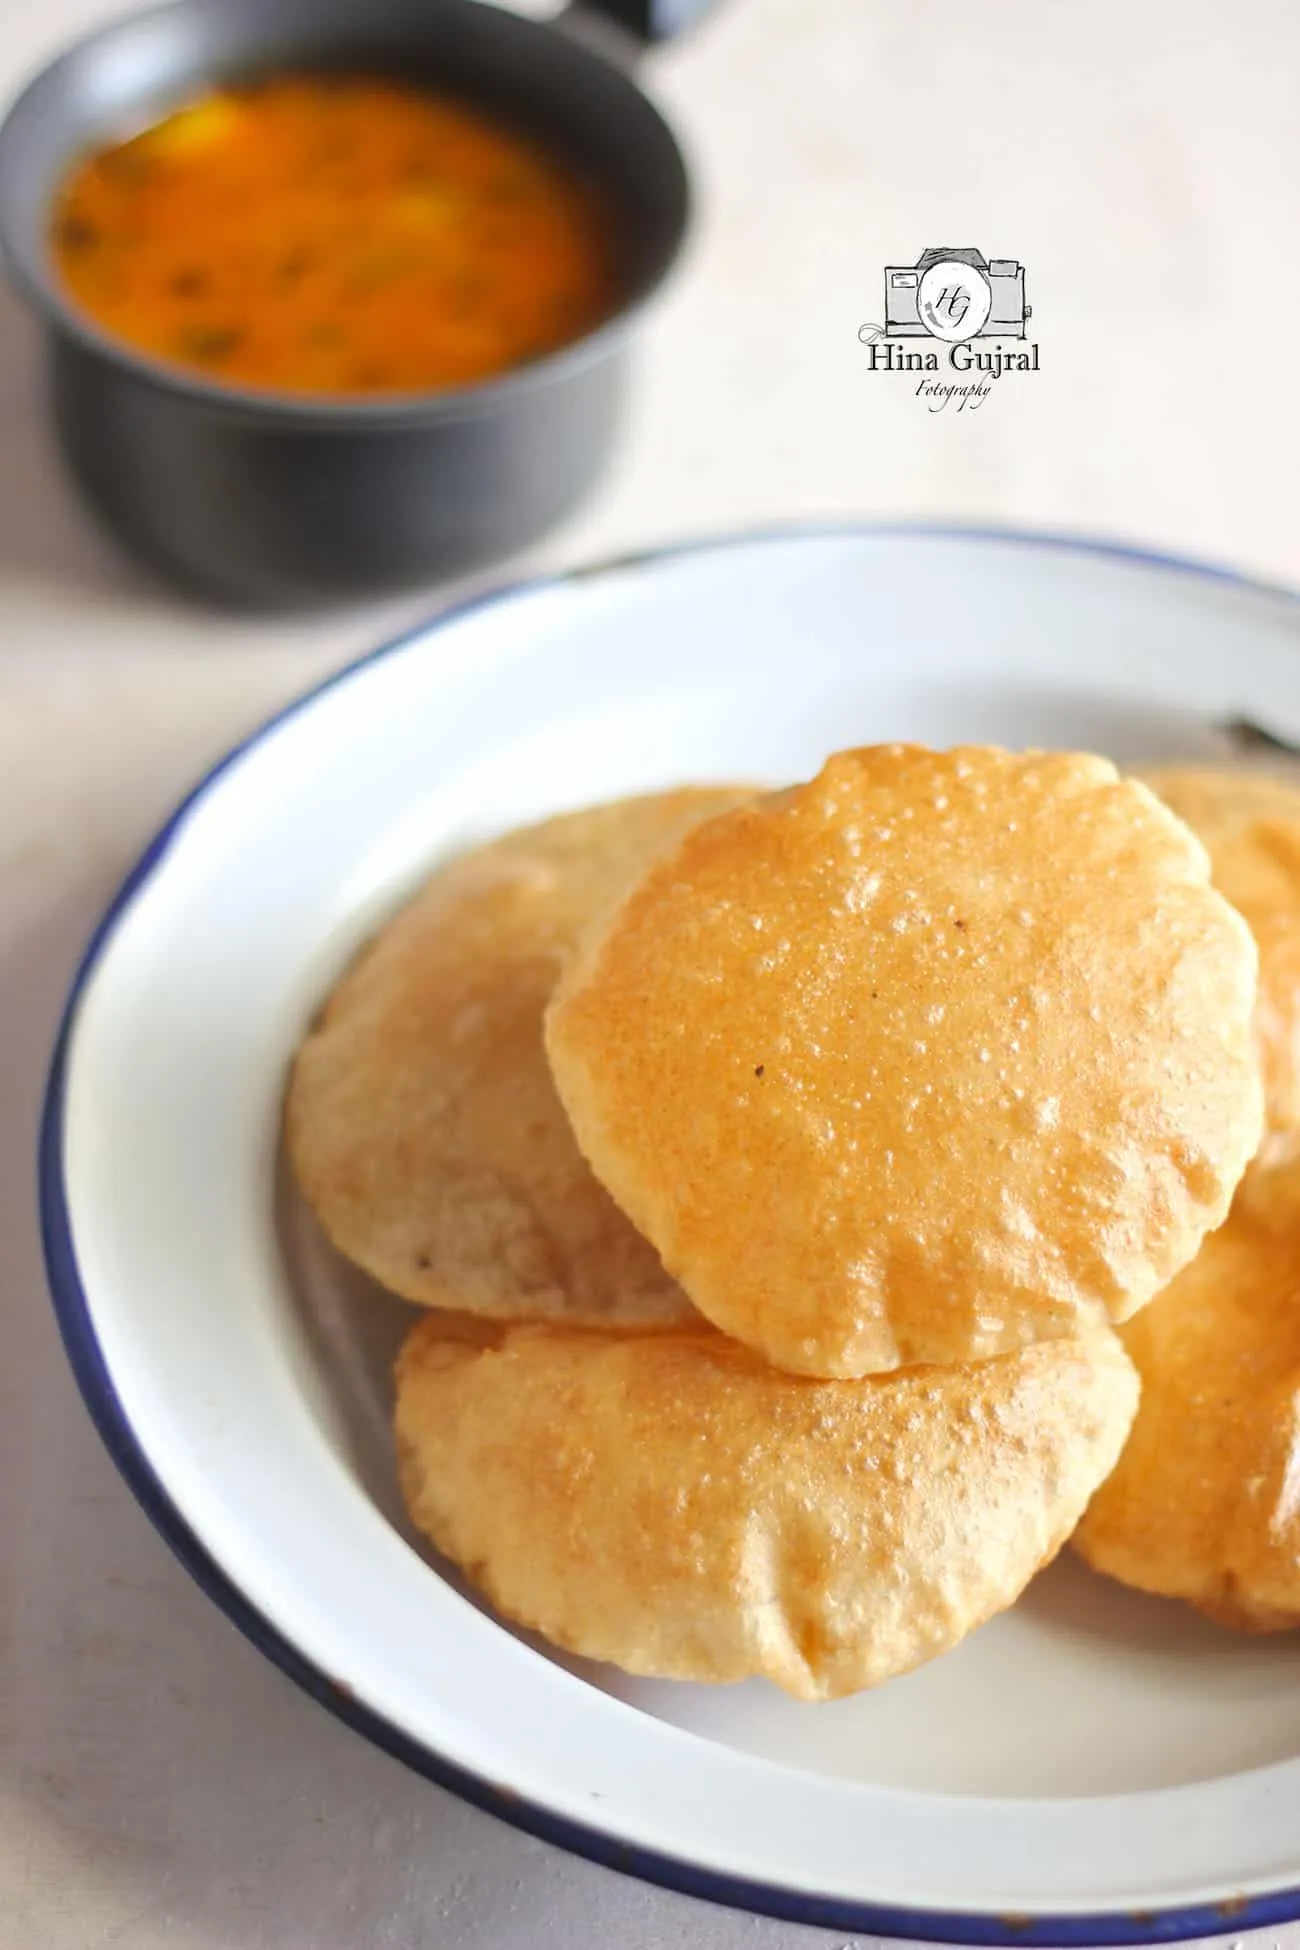
Puri, a beloved Indian bread, is the epitome of comfort food. It's fluffy, golden, and has an irresistible crunch. Traditionally enjoyed during festive occasions, puris are made from unleavened dough and deep-fried to perfection. They pair wonderfully with a variety of dishes, from spicy curries to sweet desserts. Making puri at home is not just about satisfying your taste buds; it's also about creating delightful memories in the kitchen. Whether you’re a seasoned cook or a newbie, this step-by-step guide will help you whip up puris that are sure to impress family and friends.
Ingredients Needed for Puri
To create delicious puris at home, you'll need a few simple ingredients. Here’s a list of what you’ll require:
- Whole Wheat Flour (Atta): 2 cups - This is the primary ingredient that provides the base for puris.
- Semolina (Rawa): 1 tablespoon - Adding semolina enhances the texture, making the puris crispier.
- Salt: ½ teaspoon - For flavor, adjust according to taste.
- Water: As needed - Used for kneading the dough. Use lukewarm water for better results.
- Oil: For deep frying - Any neutral oil, like vegetable or canola oil, works well.
Here's a simple table summarizing the ingredients:
| Ingredient | Quantity |
|---|---|
| Whole Wheat Flour | 2 cups |
| Semolina | 1 tablespoon |
| Salt | ½ teaspoon |
| Water | As needed |
| Oil | For frying |
With these ingredients on hand, you’re well on your way to making mouthwatering puris! Let’s get cooking!
Also Read This: How to Remove Connections on LinkedIn Without Them Knowing
3. Step-by-Step Instructions for Making Puri
Making puri at home is easier than you might think! Here’s a simple step-by-step guide to help you create those fluffy, golden delights.
-
Gather Your Ingredients:
- 2 cups whole wheat flour
- 1 teaspoon salt
- Water (as needed)
- Oil (for frying)
- Make the Dough: In a large mixing bowl, combine the whole wheat flour and salt. Gradually add water while kneading the mixture until you achieve a smooth, soft dough. Cover it with a damp cloth and let it rest for about 20-30 minutes.
- Divide the Dough: Once the dough has rested, divide it into small balls, roughly the size of a golf ball. This will help you roll them out evenly.
- Roll the Puri: Take one ball and flatten it slightly. Dust it with a little flour to prevent sticking, then roll it out into a circle about 4 inches in diameter. Don’t worry if it’s not perfect; it’s the taste that counts!
- Heat the Oil: In a deep pan, heat enough oil over medium heat for deep frying. To check if the oil is hot enough, drop a small piece of dough into it; if it bubbles and rises to the surface, it’s ready.
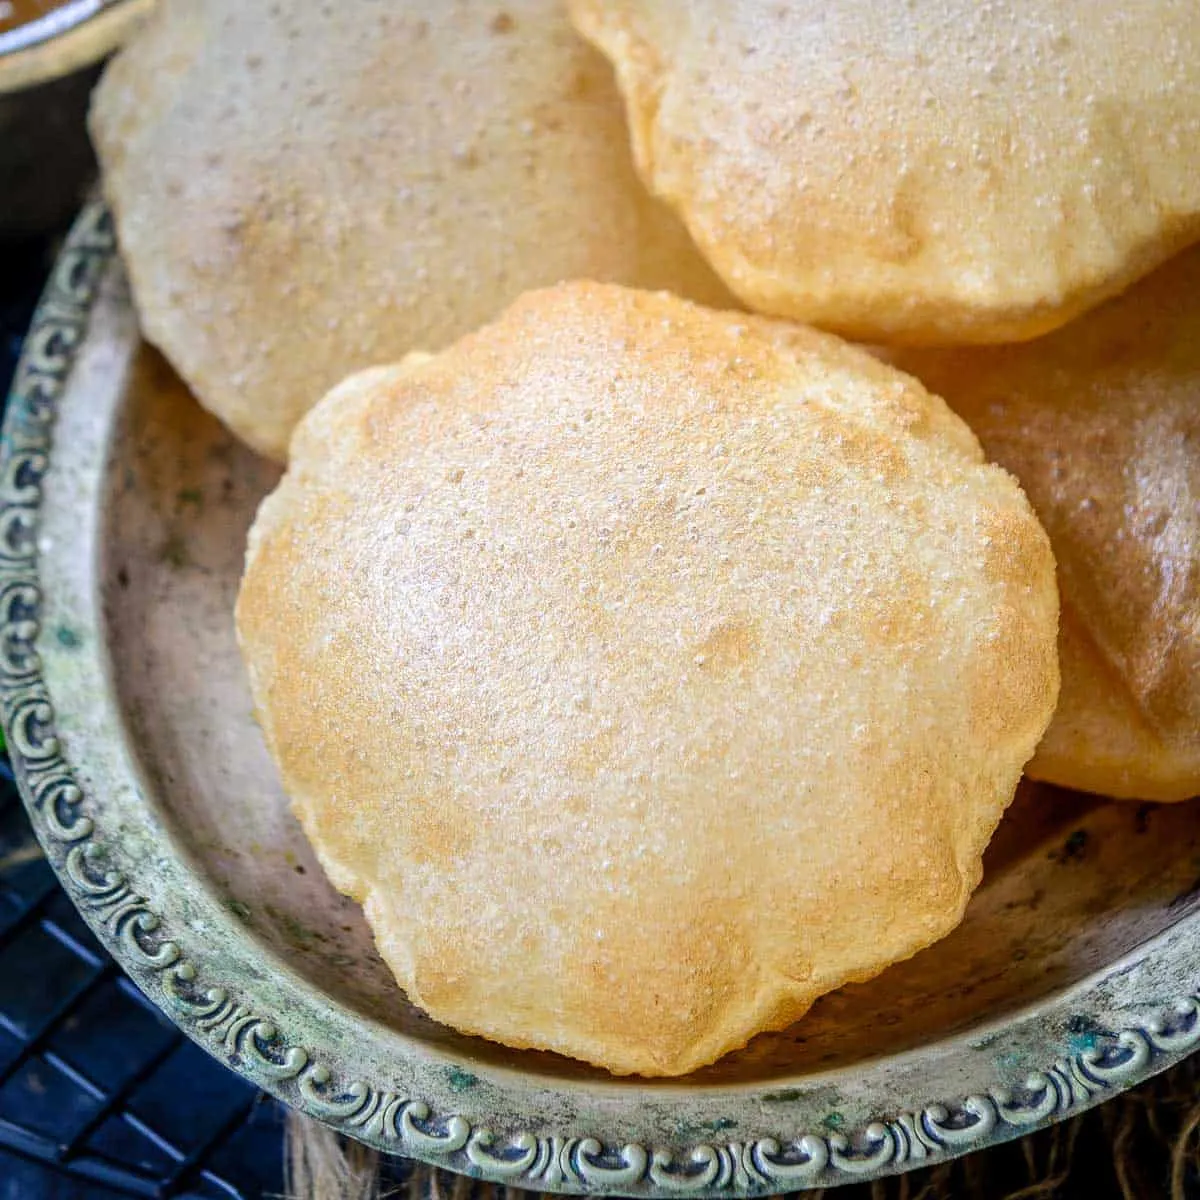
- Fry the Puri: Carefully slide the rolled puri into the hot oil. It should puff up almost immediately! Fry until both sides are golden brown, usually around 30 seconds to 1 minute.
- Drain and Serve: Once fried, remove the puri with a slotted spoon and place it on paper towels to drain excess oil. Serve them hot with your favorite curry or chutney!
Also Read This: Use Alex Osterwalder Business Model Canvas Template in Canva
4. Tips for Perfectly Fried Puri
Frying puri to perfection is an art! Here are some tips that will ensure your puris turn out light, crispy, and delicious every time.
- Right Dough Consistency: Make sure your dough is soft but not sticky. A good consistency helps the puris puff up beautifully.
- Rest the Dough: Allowing the dough to rest is crucial. It relaxes the gluten, making the puris easier to roll and fry.
- Oil Temperature: Maintain the oil temperature between 350°F to 375°F (175°C to 190°C). Too hot, and the puris will burn; too cool, and they won’t puff.
- Puffing Technique: Gently press the puri down with a slotted spoon while frying. This helps it puff up nicely.
- Use Fresh Ingredients: Fresh flour and oil can make a big difference in taste and texture. Check your pantry!
By following these steps and tips, you’ll be well on your way to mastering the art of puri-making at home. Enjoy your delicious creations!
Also Read This: Creative Barbie Hairstyles You Can Try Today
Common Mistakes to Avoid
Making puri at home can be incredibly rewarding, but there are a few common pitfalls that can lead to less-than-perfect results. Here are some mistakes to steer clear of:
- Using the Wrong Flour: Always opt for whole wheat flour (atta) for authentic puris. Avoid using all-purpose flour as it may not yield the same texture.
- Ignoring the Dough Consistency: The dough should be soft but not sticky. If it's too dry, your puris will be hard; if too wet, they won’t puff up properly.
- Skipping the Resting Time: Allow your dough to rest for at least 20-30 minutes. This helps develop gluten, making your puris softer.
- Incorrect Oil Temperature: If the oil isn’t hot enough, your puris will absorb too much oil and become greasy. Conversely, if it’s too hot, they will burn quickly. Aim for around 350°F (175°C).
- Overcrowding the Pan: Frying too many puris at once can lower the oil temperature and result in soggy, flat puris. Fry them in small batches.
- Not Using a Rolling Pin Correctly: Roll the puris evenly and avoid making them too thin. Aim for about 1/8 inch thickness for the perfect puff.
By avoiding these common mistakes, you can ensure your homemade puris turn out light, fluffy, and absolutely delicious!
Also Read This: How to Turn Off LinkedIn Notifications to Reduce Distractions
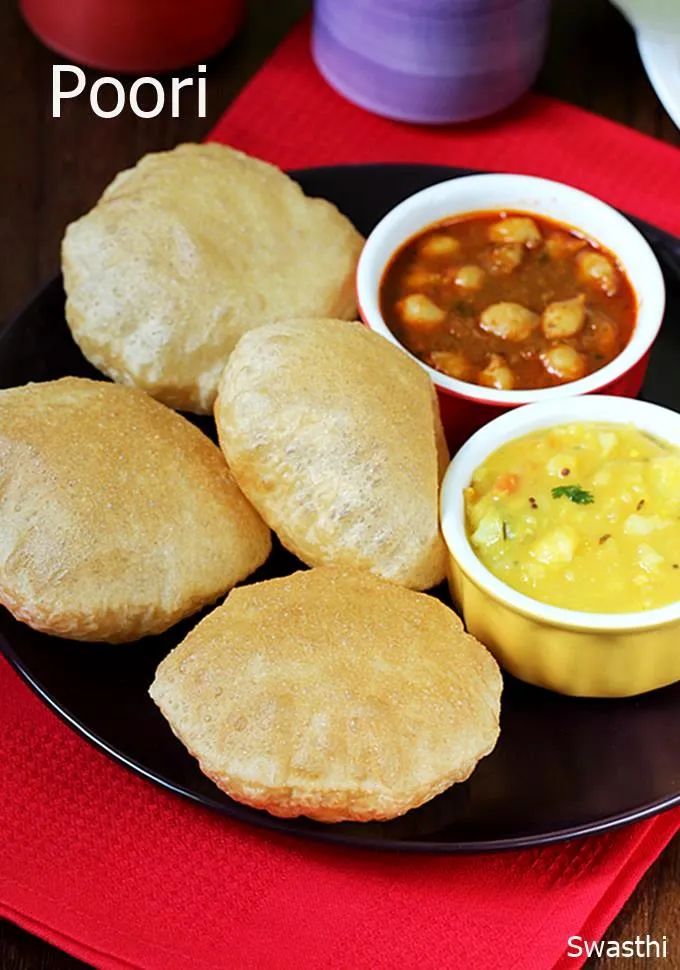
Serving Suggestions for Puri
Puri is incredibly versatile and pairs wonderfully with a variety of dishes. Here are some delightful serving suggestions that will elevate your puri experience:
| Dish | Description |
|---|---|
| Aloo Curry | A spicy potato curry that is a classic pairing with puris. The creamy texture complements the crispy puris perfectly. |
| Chana Masala | A tangy chickpea dish that adds a hearty component to your meal. The flavors blend beautifully with the puris. |
| Paneer Tikka | Grilled marinated paneer cubes. Serve them alongside puris for a delicious fusion of textures. |
| Raita | A cooling yogurt side that balances the spices in your main dish, making every bite refreshing. |
| Pickles | Indian pickles add a spicy zing that can enhance the flavor of puris dramatically. |
For a special touch, serve puris with a side of sweet tamarind chutney or coriander chutney for dipping. Enjoy your meal with family or friends, and don’t forget to savor every bite!
How to Make Puri at Home with a Step-by-Step Guide
Puri, a popular Indian deep-fried bread, is known for its puffed-up texture and golden-brown color. Making puri at home is not only easy but also rewarding, allowing you to enjoy this delicious dish fresh out of the oil. Follow this step-by-step guide to create perfect puris in your kitchen.
Ingredients
- Whole wheat flour: 2 cups
- Semolina (optional): 2 tablespoons
- Salt: ½ teaspoon
- Water: as needed for kneading
- Oil: for deep frying
Step-by-Step Instructions
- Knead the Dough: In a mixing bowl, combine whole wheat flour, semolina, and salt. Gradually add water and knead into a firm yet pliable dough. Cover it with a damp cloth and let it rest for 30 minutes.
- Divide the Dough: After resting, divide the dough into small balls, approximately the size of a golf ball.
- Roll the Puri: On a floured surface, take one ball of dough and roll it out into a small circle, about 4 inches in diameter, ensuring it’s evenly thick.
- Heat the Oil: In a deep frying pan, heat oil on medium heat. To check if the oil is ready, drop a small piece of dough into the oil; it should sizzle and rise to the surface.
- Fry the Puri: Carefully slide the rolled puri into the hot oil. Press gently with a slotted spoon, and watch it puff up. Fry until both sides are golden brown.
- Drain and Serve: Remove the puris from the oil and drain on paper towels. Serve hot with your favorite curry or chutney.
Making puri at home can be a delightful experience, providing fresh, crispy, and warm bread that pairs wonderfully with various dishes. Enjoy the process and savor the delicious results!