Making donuts at home might sound intimidating, but it’s actually a fun and rewarding experience! Imagine the smell of freshly fried donuts wafting through your kitchen, or the joy of customizing flavors and toppings to your heart's content. Whether you're a baking novice or a seasoned pro, this guide will walk you through the process with ease. Get ready to impress your friends and family with delicious, homemade treats that rival your favorite donut shop!
Ingredients Needed
Before diving into the donut-making process, it's essential to gather all the necessary ingredients. Here’s a simple list to ensure your baking adventure goes smoothly:
- 2 cups all-purpose flour - This is the base of your donuts.
- 1/2 cup granulated sugar - For sweetness!
- 2 teaspoons baking powder - To help your donuts rise.
- 1/2 teaspoon salt - To enhance flavor.
- 1/2 teaspoon ground nutmeg - For that classic donut taste.
- 2 large eggs - For binding and richness.
- 1 cup milk - To create a moist batter.
- 1/4 cup unsalted butter - Melted for a rich flavor.
- Vegetable oil - For frying the donuts.
- Your choice of toppings - Sprinkles, glaze, or powdered sugar!
Feel free to get creative! You can add flavors like vanilla extract, cocoa powder, or even fruit purees to your batter. The choice of toppings is endless, ranging from classic chocolate glaze to fruity icing or even maple syrup. The key is to use quality ingredients for the best results. Happy baking!
Also Read This: Adding a Gallery to the Mobile App in ShootProof
Step-by-Step Instructions
Making delicious donuts at home is easier than you might think! Follow these simple steps, and you’ll be enjoying warm, fluffy donuts in no time.
- Gather Your Ingredients: You'll need 2 cups of all-purpose flour, 1/2 cup of granulated sugar, 2 teaspoons of baking powder, 1/2 teaspoon of salt, 1/4 teaspoon of nutmeg, 1/2 cup of milk, 1 large egg, and 2 tablespoons of melted butter.
- Mix Dry Ingredients: In a large bowl, whisk together the flour, sugar, baking powder, salt, and nutmeg until well combined.
- Combine Wet Ingredients: In another bowl, mix the milk, egg, and melted butter. Ensure these ingredients are blended smoothly.
- Combine Mixtures: Pour the wet mixture into the dry ingredients and gently stir until just combined. Be careful not to overmix; a few lumps are okay!
- Shape the Donuts: Roll the dough out on a floured surface to about 1/2-inch thickness. Use a round cutter for the outer ring and a smaller one for the center hole.
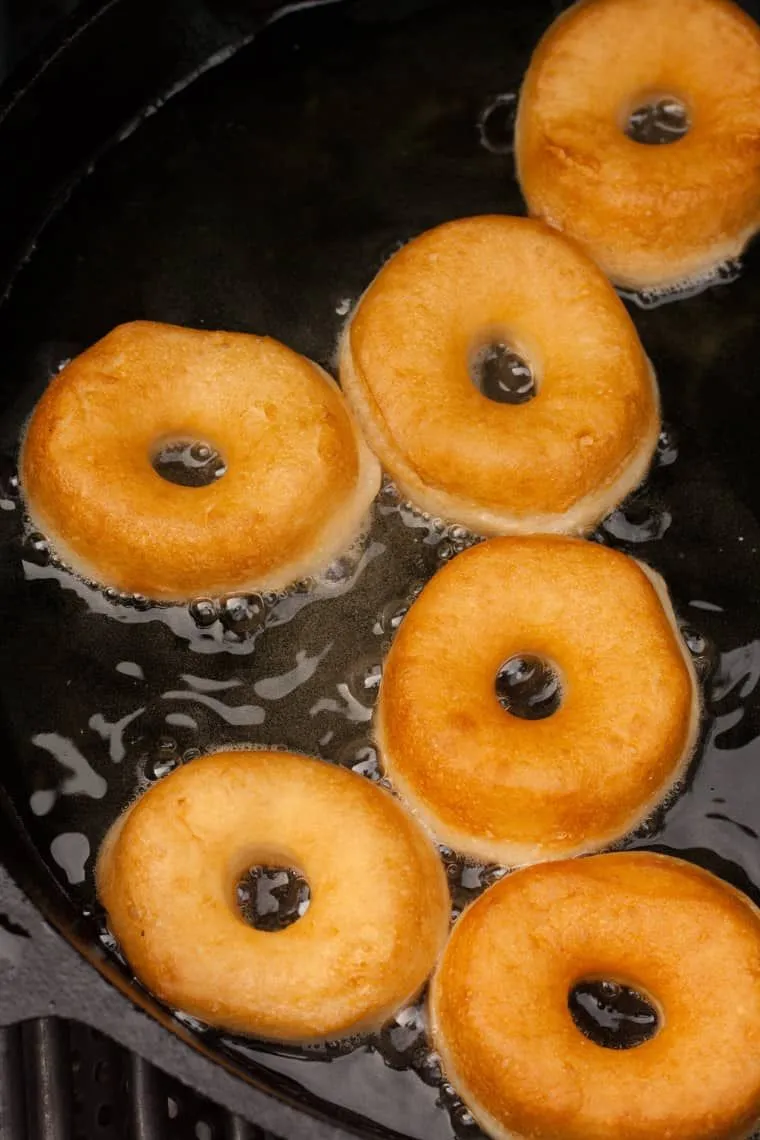
- Heat the Oil: In a deep skillet, heat 2 inches of oil over medium heat until it reaches 375°F (190°C).
- Fry the Donuts: Carefully drop the donuts into the hot oil, frying for about 1-2 minutes on each side until golden brown.
- Cool and Glaze: Remove donuts from the oil and let them cool on a wire rack. Dip them in your favorite glaze or toppings!
Also Read This: Understanding the Manufacturing Process of Rumble Strips
Tips for Perfect Donuts
Want to ensure your homemade donuts turn out just right? Here are some handy tips to keep in mind:
- Don’t Overmix: Once you combine wet and dry ingredients, mix gently. Overmixing can lead to dense donuts.
- Temperature Matters: Ensure your oil is at the right temperature. Too cold, and they’ll absorb too much oil; too hot, and they’ll burn quickly.
- Use Fresh Ingredients: Fresh baking powder and spices make a big difference in taste and rise.
- Let Dough Rest: If you have time, let the dough sit for about 10-15 minutes before frying. This helps improve the texture.
- Experiment with Flavors: Don’t hesitate to add ingredients like vanilla extract, cocoa powder, or different spices to customize your donuts.
- Keep It Clean: Use a slotted spoon to remove donuts from the oil to minimize mess and keep them dry.
With these tips and instructions, you’ll be well on your way to creating the perfect batch of donuts right in your kitchen!
Also Read This: How to Download Audio from YouTube on Mac
Common Mistakes to Avoid
Making donuts at home is a fun and rewarding experience, but there are a few common pitfalls that can turn your sweet endeavor into a sticky situation. Let’s dive into these mistakes to ensure your donuts come out perfect every time!
- Not Measuring Ingredients Accurately: Baking is a science, and precision is key. Use a kitchen scale for the best results, especially for flour and sugar. Too much flour can make your donuts dense!
- Overmixing the Batter: While you want to combine the ingredients well, overmixing can lead to tough donuts. Mix just until everything is incorporated.
- Incorrect Oil Temperature: If your oil is too hot, the outside will burn before the inside cooks. Too cold, and your donuts will absorb excess oil, making them greasy. A thermometer can help maintain the right temperature, around 350°F (175°C).
- Skipping the Resting Time: Allowing your dough to rest is crucial for flavor and texture. Don’t rush this step—give it at least 30 minutes to rise!
- Not Using Enough Flour for Dusting: When rolling out your dough, make sure to use enough flour to prevent sticking. A sticky dough can ruin the shape and texture of your donuts.
By keeping these tips in mind, you'll be well on your way to creating delicious donuts that impress your friends and family!
Also Read This: Visually Appealing Email Newsletters with eStockPhoto
Serving Suggestions
Once your donuts are beautifully crafted, it’s time to think about how to serve them! Whether for breakfast, dessert, or a snack, there are endless ways to enjoy your homemade treats.
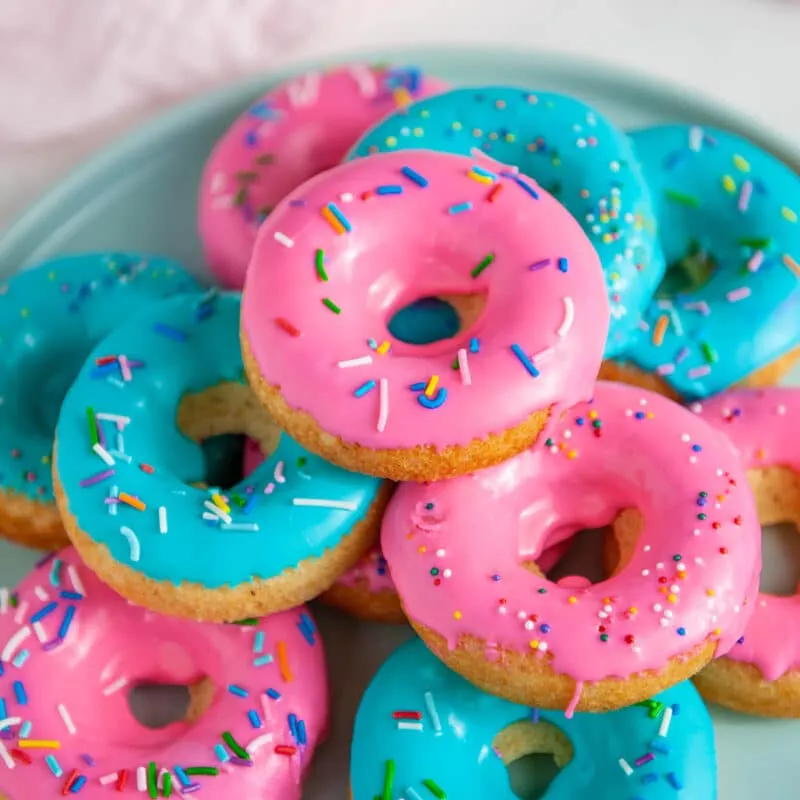
- Classic Glaze: A simple glaze made from powdered sugar and milk can elevate any donut. Drizzle it generously for a sweet touch!
- Sprinkles Galore: After glazing, add colorful sprinkles for a fun, festive look. Kids (and adults!) love this addition!
- Pair with Coffee: Nothing beats a warm donut with a freshly brewed cup of coffee. The rich flavors complement each other perfectly.
- Stuffed Delights: Consider filling your donuts with whipped cream, jam, or custard for an added surprise in every bite. Just make sure to pipe the filling while they’re still warm!
- Serve on a Platter: Arrange your donuts on a beautiful platter with a variety of flavors to allow guests to sample. It’s visually appealing and encourages sharing!
Experiment with these serving suggestions to find your favorite way to enjoy your homemade donuts. Happy indulging!
How to Make Easy and Delicious Donuts at Home
Making donuts at home can be a fun and rewarding experience. Whether you prefer fluffy cake donuts or classic yeast donuts, you can easily whip up a batch that will impress your family and friends. Below, we outline a simple recipe along with tips and tricks to help you create the perfect donuts.
Ingredients
- 2 cups all-purpose flour
- 1 cup granulated sugar
- 1 tablespoon baking powder
- 1/2 teaspoon salt
- 1/2 cup milk
- 2 large eggs
- 1/4 cup melted butter
- Vegetable oil (for frying)
Instructions
- In a large mixing bowl, combine the flour, sugar, baking powder, and salt.
- In a separate bowl, whisk together the milk, eggs, and melted butter.
- Gradually add the wet ingredients to the dry ingredients, mixing until just combined.
- On a floured surface, roll out the dough to about 1/2 inch thick.
- Use a donut cutter or two round cookie cutters to cut out donut shapes.
- Heat vegetable oil in a deep pan over medium heat. Fry the donuts until golden brown, about 1-2 minutes on each side.
- Remove from oil and place on paper towels to drain excess oil.
- Allow the donuts to cool, then glaze or dust with powdered sugar as desired.
Tips for Perfect Donuts
- Temperature Control: Ensure the oil is at the right temperature (around 350°F) for even frying.
- Experiment with Flavors: Add vanilla extract or spices like cinnamon for extra flavor.
- Go Crazy with Toppings: Try sprinkles, chocolate glaze, or a simple sugar coating.
With this easy recipe, you can enjoy homemade donuts any time you crave them. Not only are they delicious, but making them yourself allows for endless customization. Happy baking!