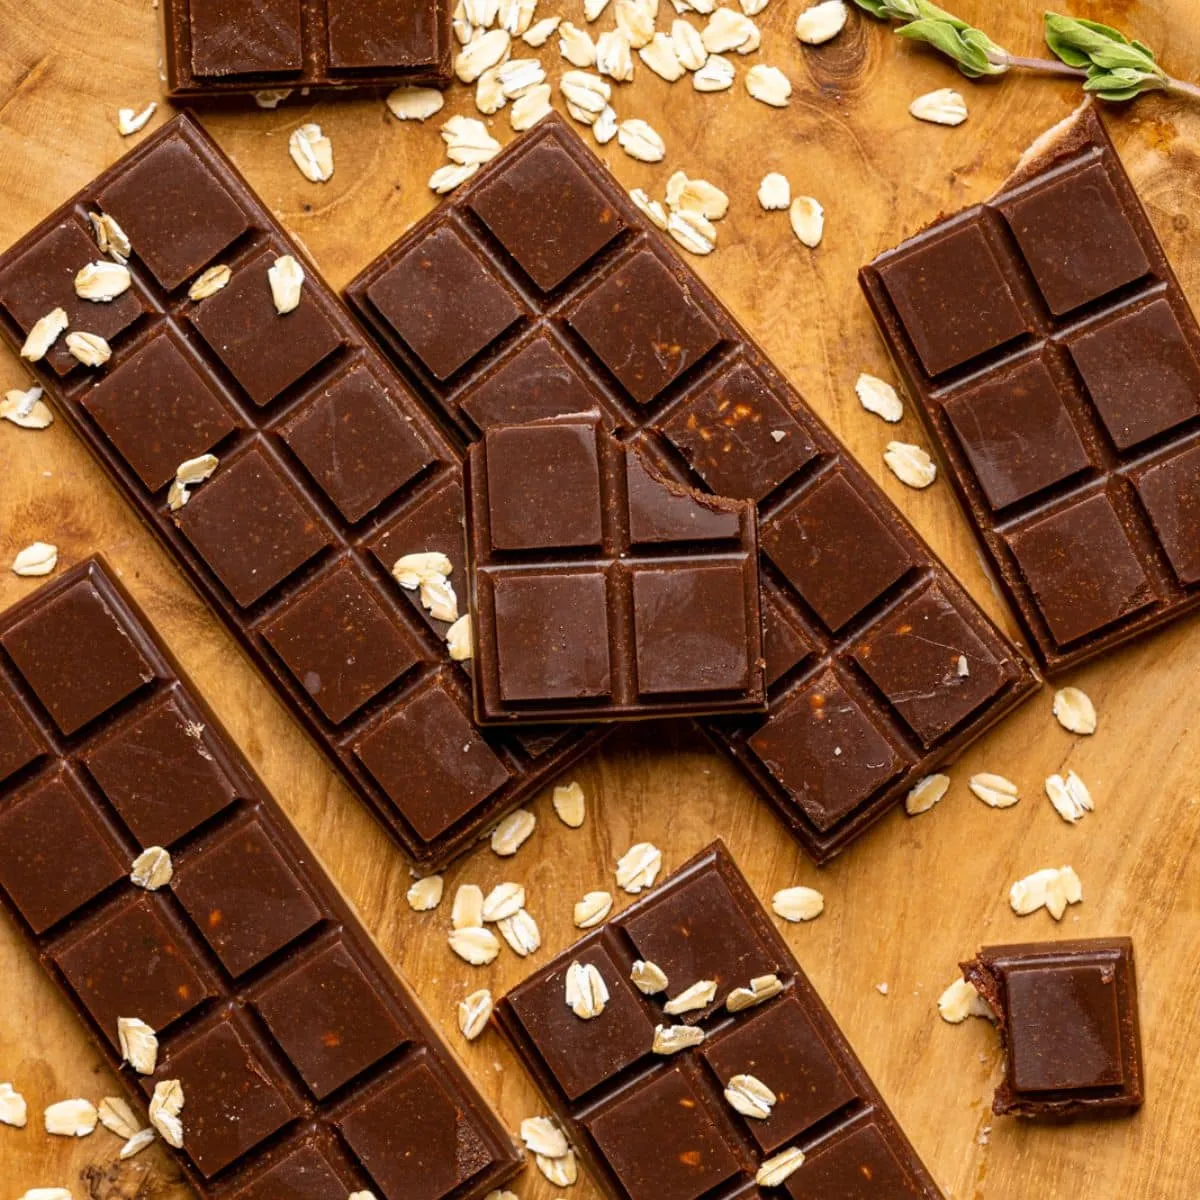
Have you ever craved that deliciously creamy Dairy Milk chocolate? Well, you're in for a treat! Making your own chocolate at home is not only fun but also allows you to customize it to your taste. In this tutorial, we’ll walk you through a simple recipe that will have you indulging in homemade Dairy Milk chocolate in no time. Grab your apron, and let’s get started on this delightful chocolate journey!
Ingredients Needed
To whip up your very own Dairy Milk chocolate, you’ll need just a handful of ingredients. Here’s what you’ll require:
- Milk Powder: 1 cup (for that creamy texture)
- Cocoa Powder: 1/4 cup (the star of the show)
- Powdered Sugar: 1/2 cup (sweetness level to your liking)
- Coconut Oil or Cocoa Butter: 1/4 cup (for smoothness)
- Vanilla Extract: 1 teaspoon (for added flavor)
- Salt: a pinch (to enhance flavors)
These ingredients are readily available at most grocery stores, and feel free to experiment a bit! For instance, you can swap the cocoa powder for white chocolate if you’re feeling adventurous. Just remember, the quality of your ingredients will ultimately affect the flavor, so choose wisely!
Now that you have everything ready, you're just a few steps away from enjoying delicious homemade Dairy Milk chocolate. Stay tuned for the next sections where we’ll dive into the process of making this delightful treat!
Also Read This: Understanding YouTube's Italic Text Display and How to Fix Font Styling Issues
3. Step-by-Step Instructions
Making your own Dairy Milk chocolate at home might sound daunting, but it's actually quite simple! Just follow these easy steps:
- Gather Your Ingredients: You’ll need:
- 200g milk chocolate
- 50g cocoa butter
- 100g powdered sugar
- 1 tsp vanilla extract
- A pinch of salt
Also Read This: Discovering and Accessing Your Liked Posts on LinkedIn
4. Tips for Perfect Dairy Milk Chocolate
For that perfect, creamy Dairy Milk chocolate, keep these tips in mind:
- Quality Ingredients: The better the chocolate and cocoa butter, the better your final product will taste. Look for high-quality brands!
- Temperature Control: Avoid overheating the chocolate as it can seize. Always heat gently and stir frequently.
- Experiment with Add-ins: Don’t hesitate to add your favorite ingredients like nuts, marshmallows, or even a dash of sea salt for a gourmet twist.
- Air Bubbles: Tap the mold gently after pouring in the chocolate. This helps release any trapped air bubbles, ensuring a smooth finish.
- Storage: Store your homemade chocolate in a cool, dry place, preferably wrapped in parchment paper or in an airtight container, to keep it fresh.
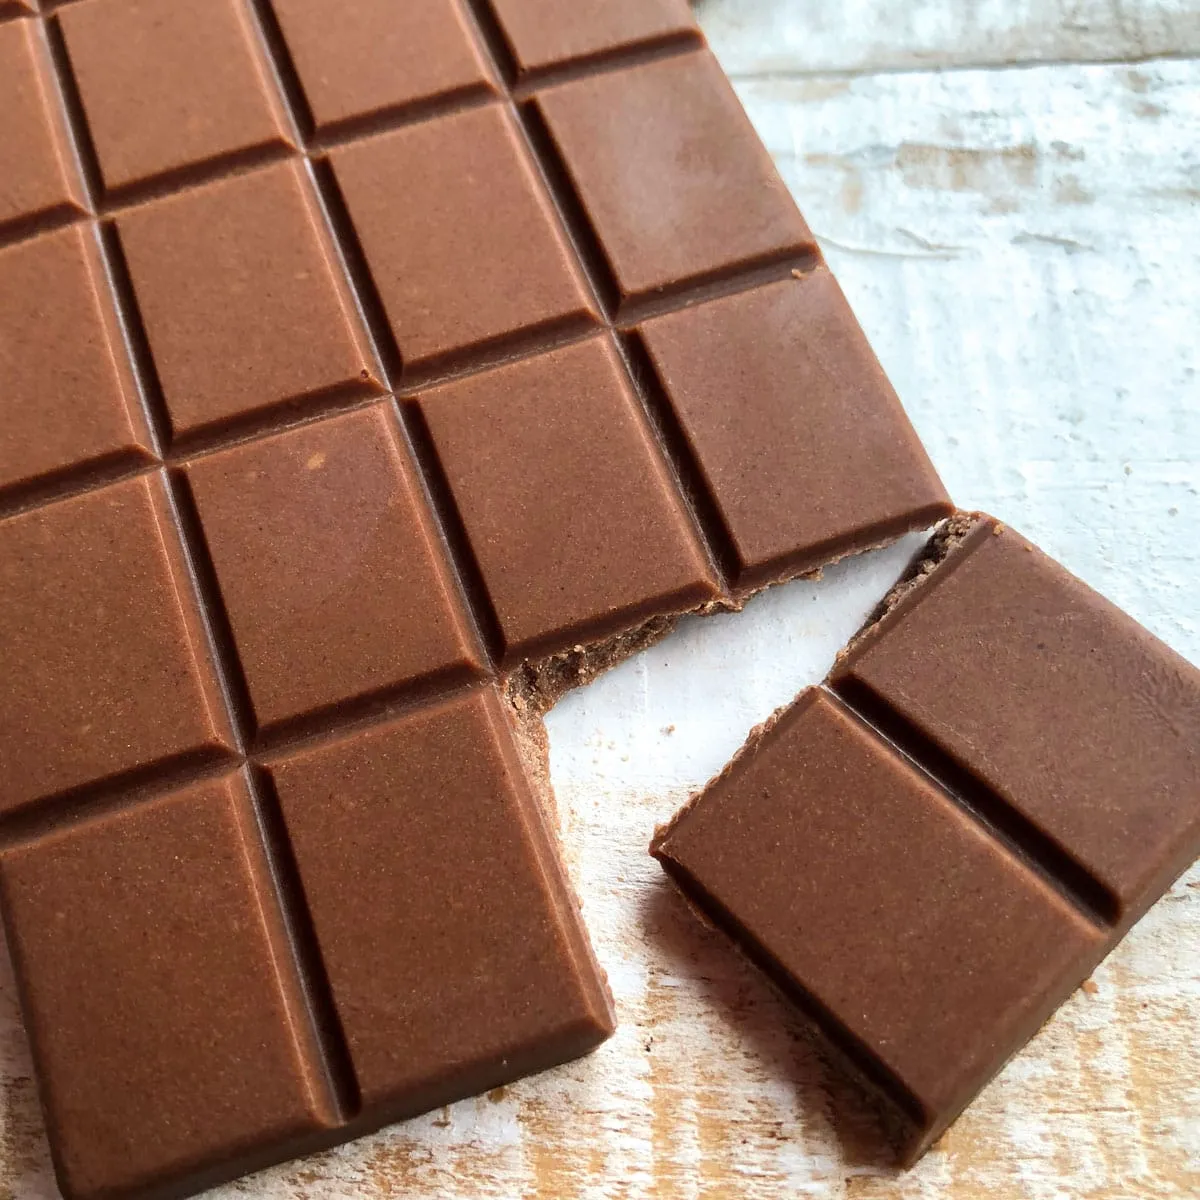
Follow these tips, and you'll be well on your way to creating the ultimate Dairy Milk chocolate that rivals the store-bought version! Enjoy your chocolate-making adventure!
Also Read This: Study Mode: Crafting Concentration-Boosting Playlists on Spotify
5. Storing Your Homemade Chocolate
Once you've crafted your delicious homemade dairy milk chocolate, the next step is ensuring it stays fresh and tasty. Proper storage is key to preserving the rich flavor and creamy texture you’ve worked so hard to achieve. Here are some tips to keep your chocolate in top shape:
- Cool and Dry Place: Store your chocolate in a cool, dry environment. A pantry or cupboard away from sunlight is ideal. Avoid areas with rapid temperature changes, like near ovens or heaters.
- Airtight Container: Place your chocolate in an airtight container. This prevents moisture from getting in, which can affect texture and taste. Glass jars or plastic containers with tight lids work perfectly.
- Refrigeration: If you live in a particularly warm climate, consider refrigerating your chocolate. However, be cautious: condensation can form when you take it out, which might make your chocolate lose its shiny finish. Always let it come to room temperature before unsealing.
- Freezing: For long-term storage, you can freeze your chocolate. Wrap it tightly in foil and then place it in a freezer bag. When you’re ready to enjoy it, allow it to thaw in the fridge to avoid condensation.
Generally, properly stored homemade dairy milk chocolate can last for several months. However, for the best taste and texture, aim to consume it within the first month. Enjoy your sweet creation!
6. Conclusion
Making your own dairy milk chocolate at home is not just a fun and rewarding experience; it opens the door to endless customization and creativity. Whether you choose to stick to the classic recipe or add your unique twist with ingredients like nuts, dried fruit, or spices, the process is incredibly satisfying. Plus, there's something special about enjoying chocolate that you've made yourself!
Remember that practice makes perfect. Your first batch might not be flawless, but that's all part of the learning journey. As you experiment and refine your technique, you'll find yourself making chocolate that rivals store-bought versions. Here’s a quick recap of what we’ve covered:
| Key Points | Details |
|---|---|
| Recipe | Simple ingredients: cocoa butter, milk powder, and sugar. |
| Technique | Careful melting and tempering for a smooth finish. |
| Storage | Cool, dry place in an airtight container for freshness. |
So, gather your ingredients, roll up your sleeves, and start your chocolate-making adventure today. You might just end up with your new favorite treat!