Card making is a delightful craft that allows you to express your creativity and emotions through personalized designs. Whether it's for a birthday, anniversary, or just to say 'hello,' handmade cards add a special touch that store-bought ones often lack. In this guide, we'll explore the basic steps to create beautiful cards, focusing on both traditional and modern techniques. Grab your supplies, unleash your imagination, and let’s dive into the wonderful world of card making!
Essential Materials and Tools Needed
Before you embark on your card-making journey, gathering the right materials and tools is crucial. Here’s a comprehensive list to get you started:
- Cardstock: This is the foundation of your card. Choose a variety of colors and weights for different effects.
- Adhesives: Use glue sticks, double-sided tape, or glue dots to secure your elements. Each has its own advantages!
- Scissors: A good pair of scissors is essential for cutting cardstock and decorative elements cleanly.
- Paper Trimmer: For precise cuts and trimmings, a trimmer can save you a lot of time and hassle.
- Stamps and Inks: Stamps can add unique designs and sentiments to your cards. Choose colorful inks to make them pop!
- Embellishments: Think sequins, buttons, ribbons, and washi tape—they're perfect for adding a personal touch.
- Markers and Pens: Use these for writing messages and adding extra designs or doodles to your cards.
Here’s a simple table highlighting the tools and their uses:
| Tool | Use |
|---|---|
| Cardstock | Base for your card |
| Adhesives | Securing elements |
| Scissors | Cutting shapes |
| Paper Trimmer | Precise cutting |
| Stamps/Inks | Adding designs |
| Embellishments | Decorative elements |
| Markers/Pens | Writing messages |
With these materials and tools at your disposal, you're well on your way to crafting memorable cards that will surely brighten someone’s day!
Also Read This: The Top 5 Free Image Editing Tools for Beginners
Step-by-Step Guide to Creating Your First Card
Creating your first card can be an exciting journey! Whether it's for a birthday, wedding, or just a simple "hello," the process is both fun and fulfilling. Here's a straightforward guide to get you started:
- Gather Your Supplies: You’ll need some basic materials. Here’s a quick list:
- Cardstock or thick paper
- Scissors
- Glue or double-sided tape
- Markers, colored pencils, or watercolors
- Embellishments (stickers, ribbons, etc.)
And there you have it! Your first card is complete. Remember, practice makes perfect, and every card you make will reflect your unique style.
Also Read This: How to Effectively Engage with Your Portfolio's Visitors on Behance
Creative Card Design Ideas
Once you’ve mastered the basics, it’s time to unleash your creativity! Here are some inspiring ideas to take your card-making to the next level:
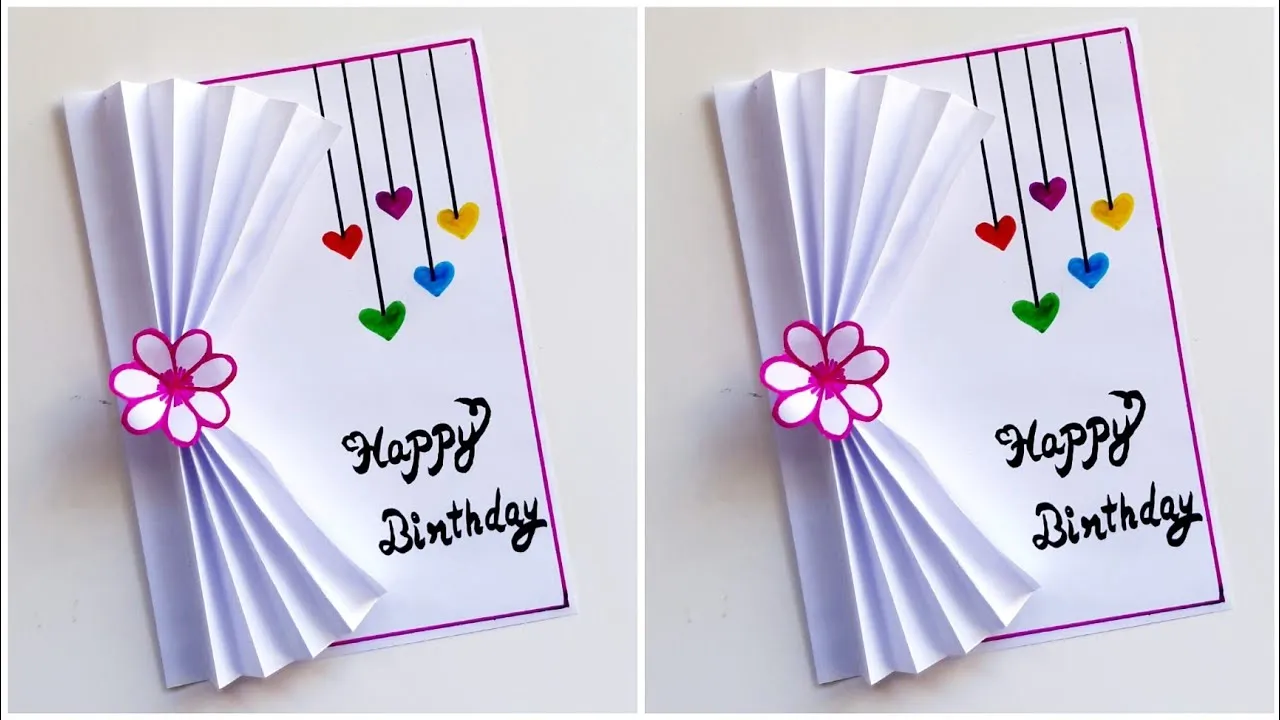
- Pop-Up Cards: Surprise your recipients with a 3D element. Create a simple pop-up design using a few additional folds.
- Watercolor Wash: Use watercolors to create a beautiful background. This technique adds depth and color without requiring advanced skills.
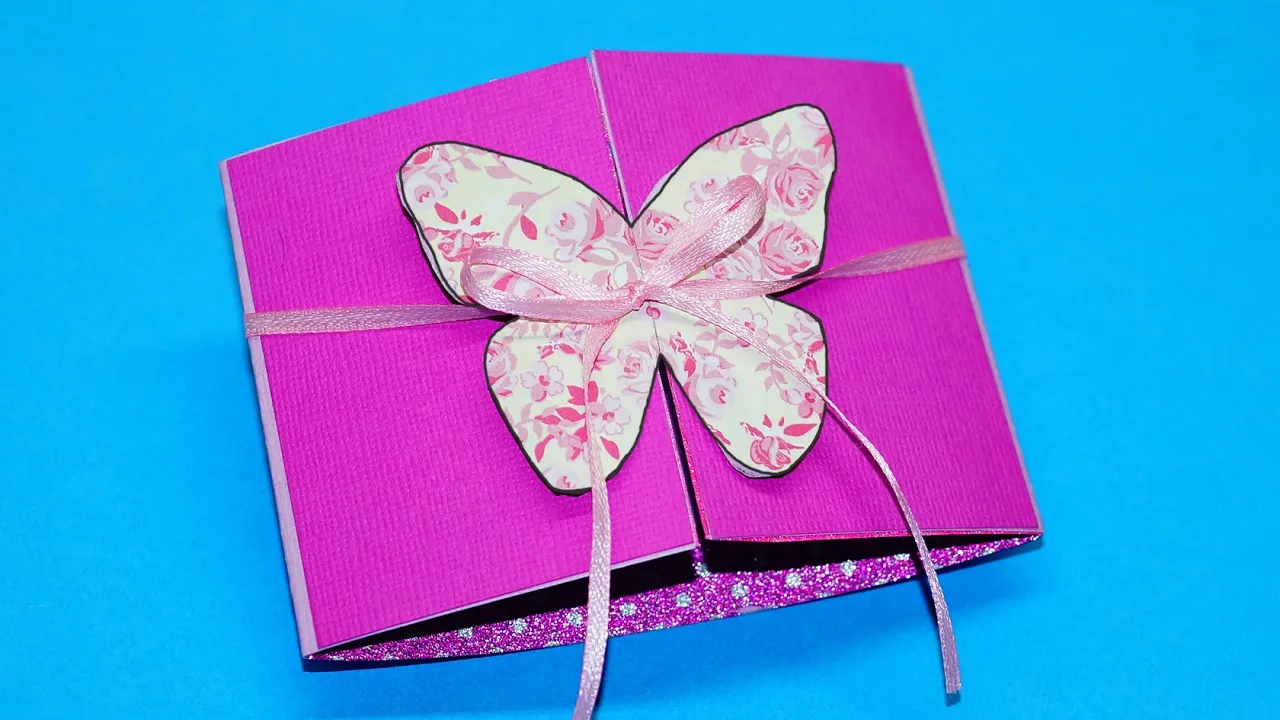
- Layering Techniques: Stack different papers or materials to create a textured effect. Consider using fabric or patterned paper for a unique touch.
- Interactive Elements: Add features like pull tabs or spinning wheels to make your card more engaging.
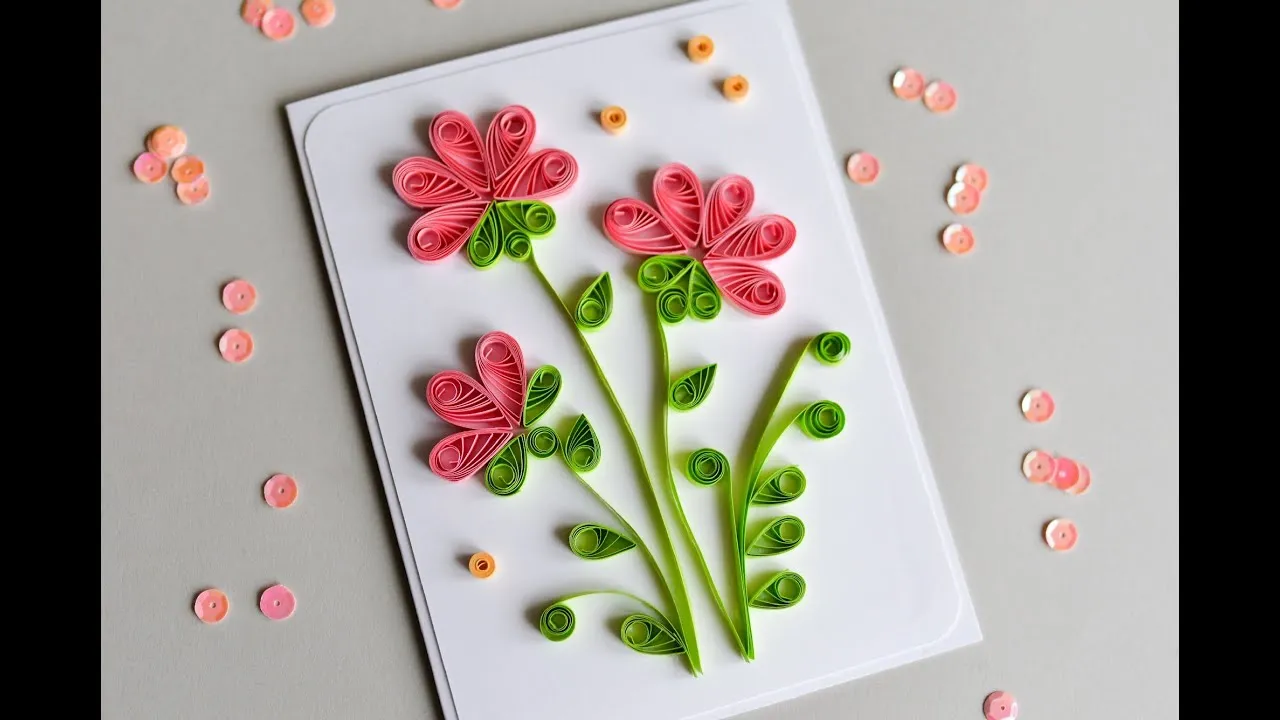
- Theme-Based Cards: Design cards based on seasons or holidays. For example, a snowy winter scene for Christmas or bright flowers for spring.
Additionally, create a simple table to brainstorm ideas:
| Theme | Color Palette | Materials |
|---|---|---|
| Birthday | Bright and Bold | Glitter, Stickers |
| Sympathy | Soft Pastels | Watercolor, Minimal Embellishments |
| Thank You | Warm Tones | Handwritten Quotes, Twine |
Let your imagination soar! The best part about card-making is that there are no strict rules—just go with what inspires you!
Also Read This: Understanding YouTubeâs Video Quality and Dolby Vision Support
5. Tips for Personalizing Your Cards
Personalization is the secret ingredient that transforms an ordinary card into something truly special. Here are some tips to help you add that personal touch:
- Use Unique Materials: Consider incorporating different textures like fabric, lace, or even wood. These layers add depth and interest to your card.
- Handwritten Messages: Nothing beats a heartfelt, handwritten note. It adds warmth and shows the recipient that you took the time to express your feelings.
- Photos and Memories: Including a personal photo or a memento can evoke cherished memories. For example, a snapshot of a fun day out together can make the card unforgettable.
- Theme it Up: Align the card’s theme with the recipient’s interests. If they love gardening, use floral patterns and earthy colors to brighten their day.
- Creative Fonts: Experiment with different fonts for any text. You can even try hand lettering for a more personal flair.
Remember, personalization doesn’t have to be complicated; it’s all about capturing the essence of your relationship with the recipient!
Also Read This: How to Use the Dubsmash App to Create Fun Videos and Share with Friends
6. Using Dailymotion for Card Making Inspiration
If you're looking for fresh ideas and techniques for your card-making journey, Dailymotion is a treasure trove of inspiration. Here’s how to make the most of this platform:
- Search for Tutorials: Use keywords like "card making tutorials" or "creative card ideas." You'll find countless videos that guide you through different styles and techniques.
- Follow Creative Channels: Find channels dedicated to crafting. They often provide step-by-step instructions, tips, and innovative ideas you might not have thought of!
- Join the Community: Engage with other crafters in the comments. They might share their own tips or even personal experiences that can inspire your next project.
- Save Your Favorites: Create playlists of your favorite videos. This way, you can easily revisit them whenever you need a spark of creativity.
Using Dailymotion not only enhances your skills but also connects you with a vibrant community of creators. So, dive in and let your imagination flow!
How to Make Cards Step by Step with Creative Craft Ideas
Creating handmade cards is a delightful way to express your feelings and add a personal touch to your messages. Whether for birthdays, holidays, or just to say "thank you," crafting a card allows you to unleash your creativity. Below is a simple step-by-step guide to making beautiful cards, along with some innovative craft ideas.
Materials Needed
- Cardstock or thick paper
- Scissors
- Glue or double-sided tape
- Markers or colored pencils
- Stickers and embellishments
- Ribbons or twine
- Stamps and ink pads (optional)
Step-by-Step Process
- Choose Your Card Size: Decide on the size of your card. A standard size is 5x7 inches, but you can customize it.
- Cut Your Cardstock: Use scissors to cut the cardstock to your desired dimensions.
- Fold the Card: Gently fold the cardstock in half to create the card base.
- Add a Design: Use markers, stamps, or stickers to decorate the front of the card. Be as creative as you like!
- Add a Message: Write a heartfelt message inside the card. Personal touches make all the difference.
- Embellish: Consider adding ribbons, twine, or other embellishments to enhance the card's appearance.
Creative Craft Ideas
| Occasion | Craft Idea |
|---|---|
| Birthday | Pop-up cake card |
| Thank You | Watercolor wash background |
| Holiday | 3D ornament card |
Handmade cards are not just gifts; they are memories that last a lifetime. They reflect your thoughts and efforts, making them cherished keepsakes. Whether you're a beginner or an experienced crafter, the joy of creating cards is universal. Embrace your creativity and let your imagination flow!