Dough flowers are a delightful way to add a touch of creativity and beauty to your home decor or special events. These charming, handcrafted flowers are made from a simple dough that can be easily shaped and colored, making them perfect for both beginners and experienced crafters. The process of creating dough flowers is therapeutic and allows for endless customization. Whether you’re looking to embellish a gift, decorate a cake, or create a stunning centerpiece, dough flowers offer a versatile solution. In this tutorial, we’ll guide you through the steps to create your own beautiful dough flowers, turning ordinary materials into extraordinary art!
Materials Needed for Making Dough Flowers
Before diving into the crafting process, it’s essential to gather all the necessary materials. Here’s a comprehensive list to get you started:
- Basic Dough Ingredients:
- 2 cups of all-purpose flour
- 1 cup of salt
- 2 tablespoons of vegetable oil
- 2 cups of water
- Food coloring (optional, for dyeing the dough)
- Tools Required:
- Mixing bowl
- Measuring cups
- Spoon or spatula for mixing
- Rolling pin
- Flower-shaped cutters (variety of sizes)
- Toothpicks or floral wire (for support)
- Craft knife or scissors
- Paintbrush or sponge (for applying food coloring)
- Optional Supplies:
- Glitter or sequins (for embellishment)
- Green floral tape (for stems)
- Vases or containers (for displaying your flowers)
Having these materials on hand will ensure a smooth crafting experience. Feel free to get creative with colors and shapes; after all, the beauty of dough flowers lies in their uniqueness!
Also Read This: Understanding the Implications of Being Found Through LinkedIn Search for Your Profile Visibility
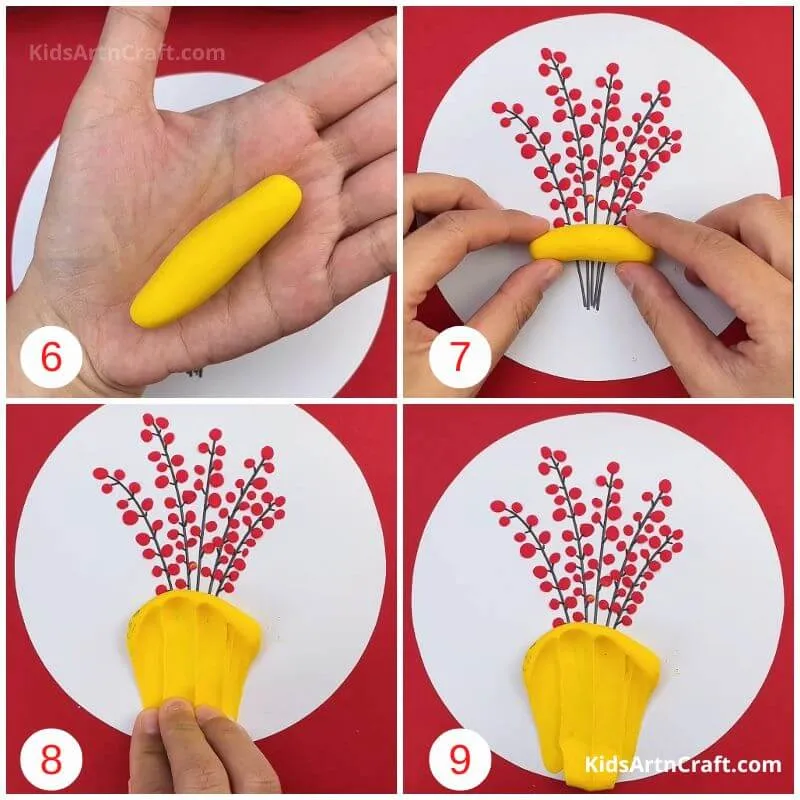
3. Step-by-Step Guide to Creating Dough Flowers
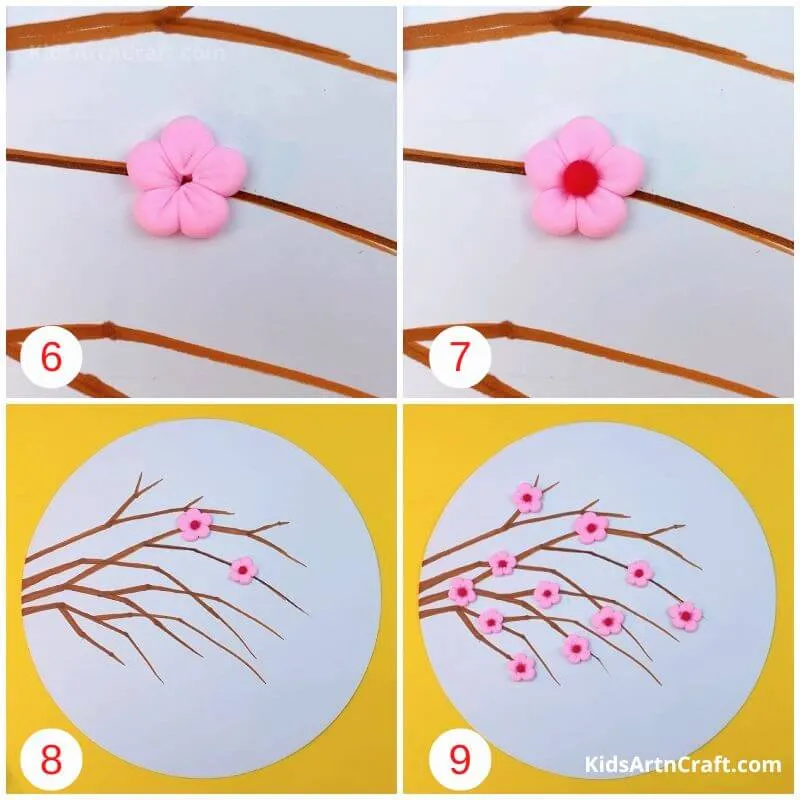
Creating beautiful dough flowers is not just fun; it’s a great way to express your creativity! Here’s a simple step-by-step guide to help you get started:
- Gather Your Materials: You will need:
- Flour (2 cups)
- Salt (1 cup)
- Water (1 cup)
- Food coloring (optional)
- Rolling pin
- Cookie cutters (flower shapes)
- Paintbrush (for applying water)
- Oven or air-drying space
Also Read This: 2023 Men's Royal Rumble Match Winner Revealed
4. Tips and Tricks for Perfecting Your Dough Flowers

Creating stunning dough flowers can be a bit tricky, but with these tips and tricks, you’ll be a pro in no time!
- Consistency is Key: Ensure your dough has the right texture. If it’s too sticky, add a little more flour; if it’s too dry, add a tiny bit of water.
- Use Quality Tools: Invest in good cookie cutters and a sturdy rolling pin for cleaner cuts and smoother flowers.
- Experiment with Shapes: Don’t limit yourself to traditional flowers! Try making leaves, buds, or even whimsical designs that represent your style.
- Practice Patience: Let your dough flowers dry completely. Rushing this step can lead to breakage or deformity in your finished product.
- Seal the Deal: If you plan to keep your flowers for a long time, consider sealing them with a clear spray to protect the colors and add a nice finish.
- Have Fun! Remember, art is subjective. Don’t stress about perfection; let your creativity flow and enjoy the crafting process!
Also Read This: Understanding the Duration of HD Processing on YouTube for Creators
Exploring Different Designs and Variations
Dough flowers are not only beautiful but also incredibly versatile. Once you master the basic technique, you can dive into a world of creative possibilities. Here are some exciting designs and variations to inspire your crafting journey:
- Classic Rose: A timeless favorite, this flower can be made by layering petals of varying sizes. Use different shades of dough to create a realistic look.
- Sunflowers: Bright and cheerful, sunflowers can be crafted using a circular base and elongated petals. A sprinkle of yellow and brown can bring them to life!
- Succulents: These trendy plants can also be mimicked with dough. Use a combination of triangular and rounded shapes to create a stunning succulent arrangement.
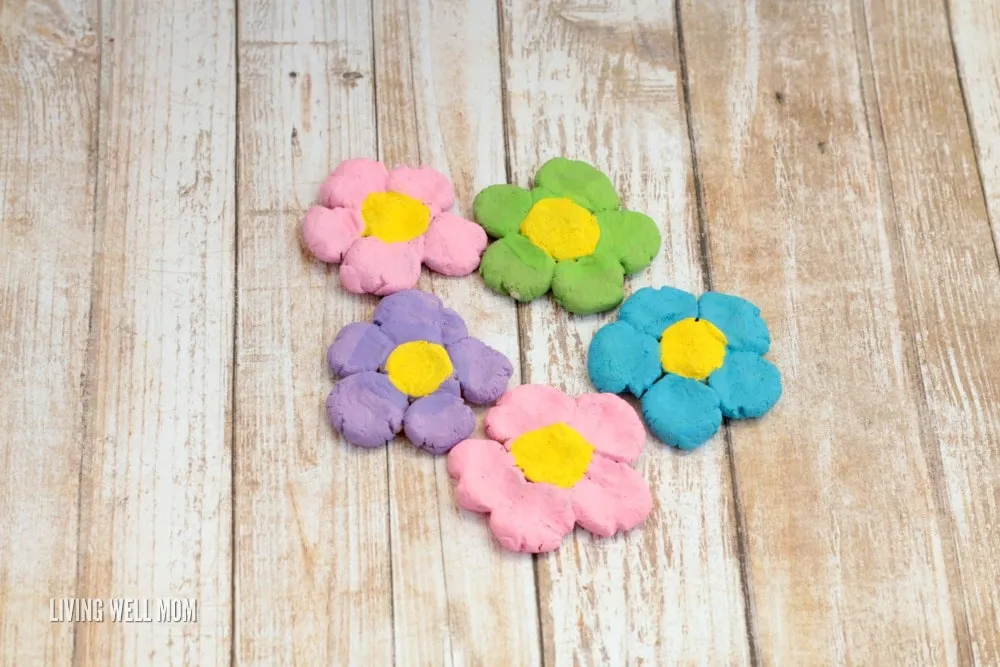
- Wildflowers: Mix and match different flower shapes to create a wildflower bouquet. Think daisies, poppies, and lavender for a vibrant display.
Don't forget to experiment with textures! You can use tools like toothpicks to create lines and patterns on your flowers. Adding small beads or glitter can give them that extra sparkle. Try varying the thickness of your dough to create depth and dimension in your designs. The beauty of crafting dough flowers is that there are no strict rules—just let your imagination run wild!
Conclusion and Encouragement to Try It Yourself
Creating dough flowers is not just a fun craft; it's a wonderful way to express your creativity. Whether you’re a seasoned crafter or a complete beginner, making these delicate blooms can be incredibly rewarding. You can use them as decorations for special occasions, gifts for loved ones, or even as a personal centerpiece in your home.
Here's a quick recap of how to get started:
- Gather your materials: dough, tools, and embellishments.
- Follow the basic techniques for shaping and assembling your flowers.
- Experiment with different designs and colors.
So, why not give it a go? Set aside some time this weekend, grab your supplies, and allow yourself to dive into this delightful world of dough crafting. Remember, the joy comes from the process, so embrace your creativity and have fun!