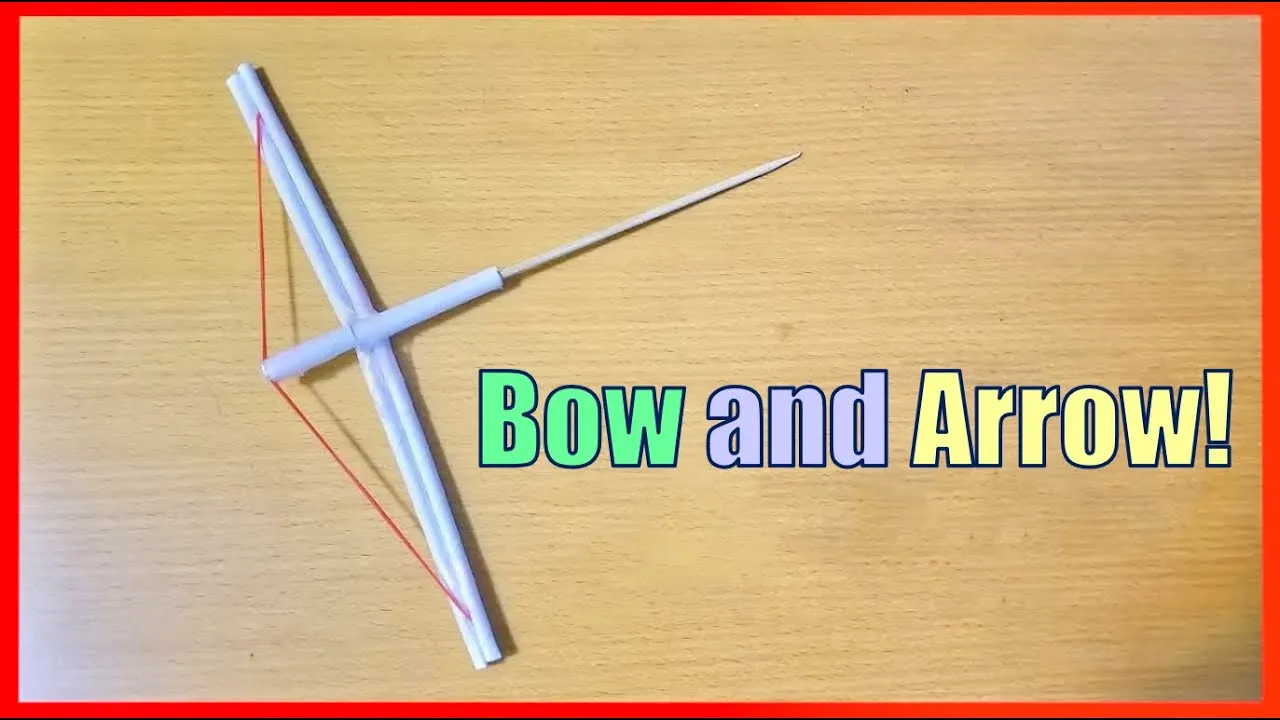
Have you ever dreamed of crafting your own bow and arrow? It's a fun and creative project that not only sparks your imagination but also provides a great way to explore basic physics and engineering concepts. In this guide, we’ll walk you through the step-by-step process of making a simple paper bow and arrow using materials you probably already have at home. Get ready to unleash your inner archer!
Materials Needed
Before we dive into the crafting process, let’s gather all the materials you’ll need. Here’s a handy list to ensure you have everything on hand:
- Paper or Cardstock: Choose a sturdy paper that can bend but won't tear easily. Cardstock works great!
- Scissors: Sharp scissors will help you cut your materials precisely.
- String: Any type of string or twine will do. Choose something durable, yet flexible.
- Tape or Glue: You'll need this to secure parts together.
- Pencil: For marking measurements on your paper.
- Ruler: To help you measure and cut straight lines.
- Optional Decorations: Markers, stickers, or washi tape to personalize your bow and arrow.
Now that you have your materials laid out, you’re all set to start creating your own paper bow and arrow. Each item plays a crucial role in the crafting process, so make sure to gather them all before you begin!
Also Read This: How to Add a Divider in Behance
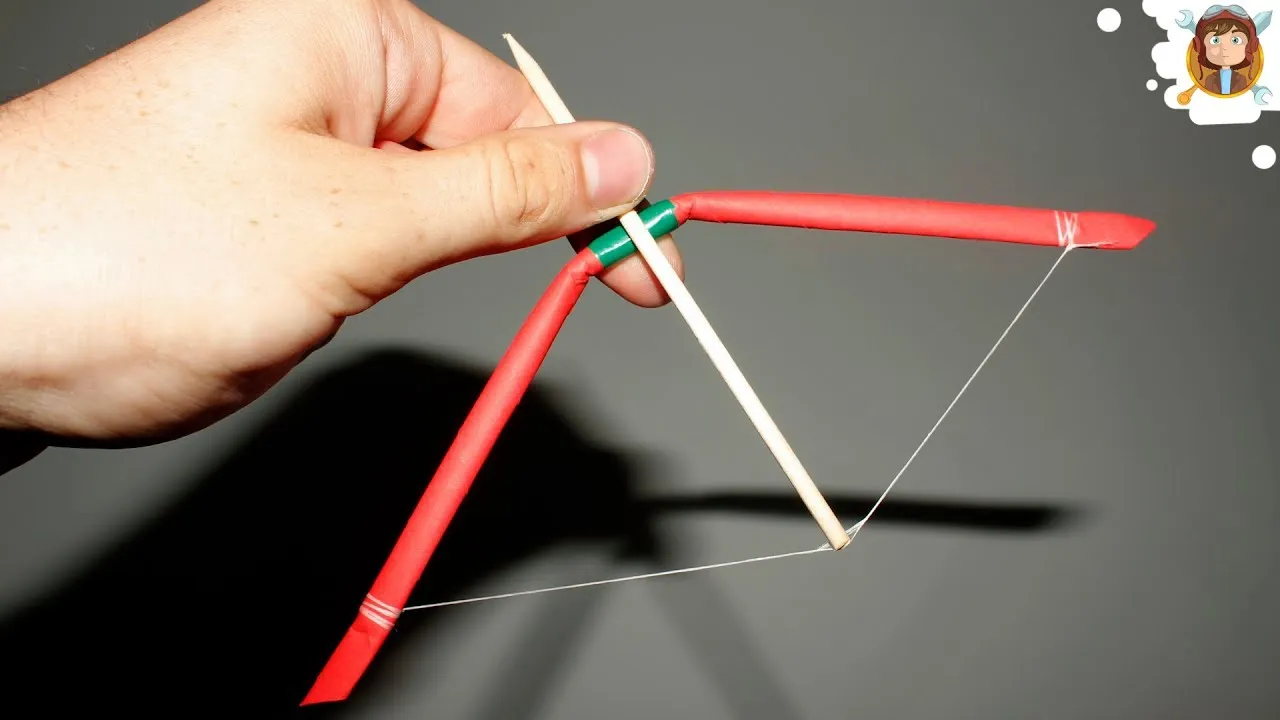
Step 1: Creating the Bow
Let's dive into the exciting process of creating your very own paper bow! This step is all about gathering your materials and crafting a sturdy yet flexible bow that will launch your arrows with style.
First, you’ll need:
- One sheet of sturdy paper (cardstock works great!)
- A pair of scissors
- Some tape or glue
- A pencil
- A ruler
Now, let’s get to work:
- Measure and Cut: Using your ruler, measure out a long strip of paper, about 24 inches long and 2 inches wide. Carefully cut along your marks.
- Shape the Bow: Fold the strip in half gently to create a slight curve. This is where your bow’s strength will come from!
- Secure the Ends: Take the ends of the strip and bend them back slightly, forming a loop. Use tape or glue to secure these ends together. This is crucial for holding the bow’s shape.
- Add a Grip: You can cut a smaller piece of paper, about 4 inches long and 1 inch wide, to wrap around the center of the bow for a better grip. Tape it in place.
And there you have it! Your paper bow is ready. Isn’t it satisfying to see your creation come to life? Now, let's move on to the next step.
Also Read This: Imago Images for Social Media Tips to Make Your Posts Shine
Step 2: Making the Arrow
Now that you have your bow, it’s time to make arrows! This is where the fun really starts, as you can customize them to your liking. Let’s gather what you’ll need:
For each arrow, you’ll need:
- One pencil or a thin stick
- A piece of paper (for the arrowhead and fletching)
- Scissors
- Tape or glue
Follow these steps to create your arrows:
- Cut the Shaft: If using a pencil, it’s already a great length. If using paper, cut a strip about 12 inches long and 0.5 inches wide. Roll it tightly around itself to create a thin tube and secure it with tape.
- Create the Arrowhead: Cut a small triangle from your paper. This will be the arrowhead. A triangle with a base of 1 inch and height of 2 inches is perfect. Attach this to one end of the shaft using tape or glue.
- Add Fletching: Cut two or three small strips of paper (about 1x3 inches) for the fletching. Attach these to the opposite end of the shaft, spaced evenly for balance.
Congratulations! You now have a complete arrow ready to be launched. Practice makes perfect, so grab your bow and arrows, and let the fun begin!
Also Read This: Design Stunning Instagram Posts Using Canva Instagram Template
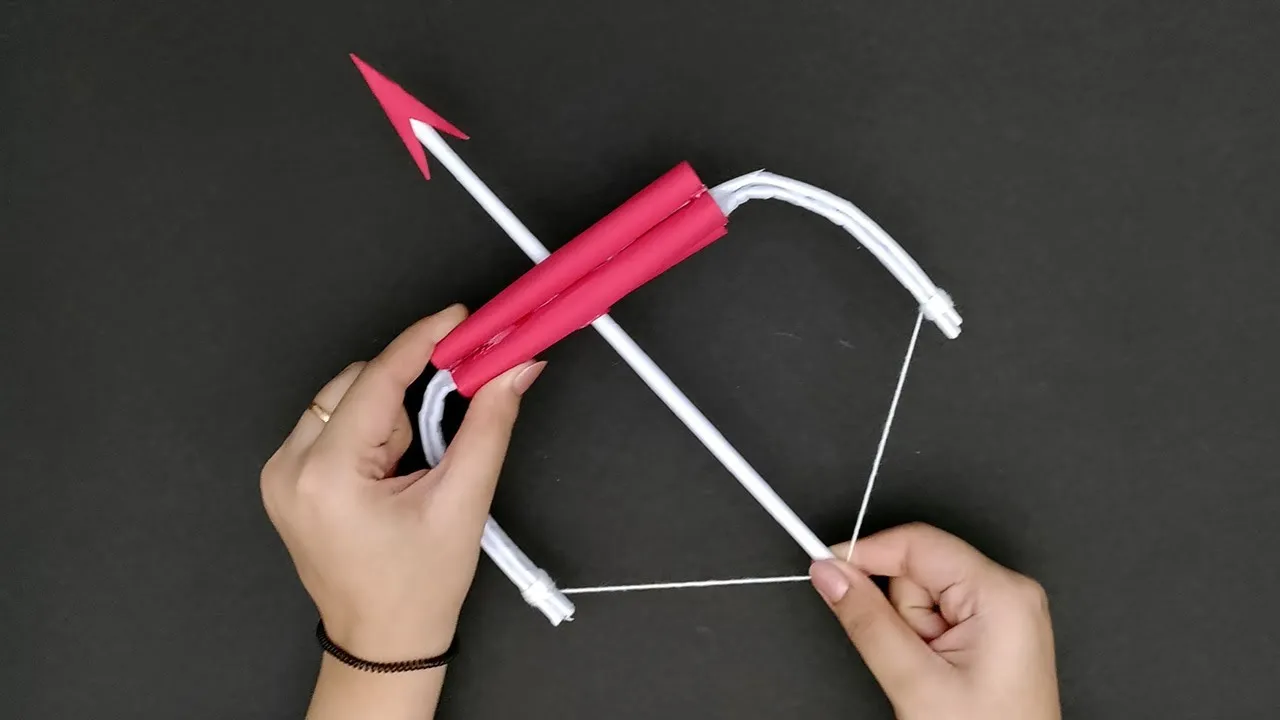
Step 3: Assembling the Bow and Arrow
Now that you have all your materials ready, it’s time to put everything together to create your very own bow and arrow! This step is where your craftsmanship will shine, and you'll see your hard work come to life.
First, let's assemble the bow:
- Attach the Bowstring: Take your string and tie one end to one tip of the bow. Make sure it’s secured tightly. Then, pull the string across to the other tip, ensuring it has some tension, and tie it off securely there as well.
- Check the Tension: A good bowstring tension is crucial. It should be tight but not so much that it bends the bow itself. If it feels too loose, adjust the string as necessary.
Next, let’s focus on the arrow:
- Prepare the Shaft: Take your stick or straw and trim it to your desired length. A typical arrow length is around 24-30 inches, but feel free to adjust based on your arm span.
- Add the Nock: At one end of the arrow, create a small notch to hold the bowstring. This is where the string will sit when you draw back your arrow.
- Fletch the Arrow: Attach your feathers or paper fins to the opposite end of the arrow. This helps stabilize it during flight. Use glue to secure them in place and let them dry.
Once you've completed these steps, give your bow and arrow a visual inspection. Ensure everything is secure and looks good. You’re almost there!
Also Read This: How to Use Eye Lenses for Safe and Comfortable Wear
Step 4: Testing Your Bow and Arrow
With your bow and arrow fully assembled, it’s time for the exciting part—testing them out! This step will not only confirm if your creation is functional but also allow you to tweak it for better performance.
Here’s how to go about it:
- Find a Safe Testing Area: Look for an open space, such as a backyard or park, where you can shoot without any obstructions or people around. Safety first!
- Set Up a Target: You can create a simple target using cardboard or foam. Aim for a distance of about 10-15 feet to start, which is great for beginners.
Now, let’s get to the fun part:
- Load the Arrow: Place your arrow on the bowstring with the nock fitting snugly against the string.
- Draw Back: Gently pull the string back while keeping your eyes focused on the target. This action helps build tension in the bow.
- Shoot: Release the string smoothly and watch your arrow fly! Observe how it behaves—does it fly straight? Does it drop too quickly? These observations are crucial for adjustments.
If your arrow doesn’t fly as expected, don’t be discouraged! Adjust the bowstring tension, check the arrow’s weight, or reposition the fletching. Testing and tweaking is all part of the process, and that’s what makes crafting your bow and arrow so rewarding!
Also Read This: Approval Journey: How Long Does iStock Take to Approve Photos?
7. Tips for Improvement
As you dive into the world of crafting paper bows and arrows, it’s natural to want to refine your skills. Here are some handy tips to elevate your crafting game:
- Choose Quality Paper: Using thicker paper, like cardstock, can make your bow more durable and effective. Experiment with different weights to see what works best for you.
- Perfect Your Technique: Pay attention to how you shape the bow. A gentle curve will allow for better tension and thus a greater range when shooting. Practice makes perfect!
- Adjust Your Strings: The string's tension is crucial. If it's too tight, the bow will be stiff, and if it's too loose, you won’t get the power you need. Find that sweet spot!
- Experiment with Arrow Design: The arrows you make can significantly affect your shooting experience. Try different lengths and fletching styles to see how it impacts flight.
- Practice Regularly: Like any skill, the more you practice, the better you’ll get. Set aside time to hone your aim and technique.
Remember, every master was once a beginner, so don’t get discouraged if things don’t go perfectly at first!
8. Conclusion
Creating a paper bow and arrow is not just about making a fun toy; it’s a fantastic blend of creativity, engineering, and plain old fun! Whether you’re making it for a school project, a craft day with friends, or just to unleash your inner archer, the process is rewarding.
As you wrap up your crafting journey, think about the skills you’ve learned and the improvements you can make. From choosing the right materials to perfecting your shooting technique, each step brings you closer to becoming a paper archery expert!
So gather your materials, follow the steps, and let your imagination fly. Who knows? Maybe you’ll even come up with unique designs or techniques that others will want to learn from you!
Happy crafting, and may your arrows always fly true!