Editing Adobe Stock templates in Photoshop can be a powerful way to enhance your projects, whether you’re designing social media graphics, brochures, or anything in between. These templates offer a solid foundation, allowing you to customize and personalize them to fit your unique style. In this blog post, we’ll walk you through everything you need to know about editing these templates, ensuring you get the most out of your creative endeavors.
Understanding Adobe Stock Templates
Before diving into the editing process, it’s essential to grasp what Adobe Stock templates are and how they can benefit your projects. Adobe Stock is a vast library of high-quality assets, including images, videos, and templates, designed to help creators like you achieve stunning results with ease.
Here’s a quick rundown of what you should know:
- What Are Adobe Stock Templates? Adobe Stock templates are pre-designed layouts created for various purposes, such as flyers, business cards, invitations, and more. These templates come in various formats, primarily in Adobe Photoshop (PSD), Illustrator (AI), and InDesign (INDD), allowing you to easily customize them based on your needs.
- Why Use Templates? Using templates can save you substantial time and effort. Instead of starting from scratch, you can focus on adding your personal touch. Here are some advantages:
- Quick and easy to use
- Professionally designed elements
- Customizable to fit your brand
- Types of Templates Available Adobe Stock offers a variety of templates, including:
Template Type Description Social Media Posts Templates for platforms like Instagram, Facebook, and Twitter. Print Materials Brochures, business cards, and flyers designed for physical distribution. Presentations Slide decks and pitch templates for professional presentations.
By understanding the ins and outs of Adobe Stock templates, you’ll be better prepared to customize and edit them in Photoshop, ultimately enhancing your design projects and elevating your creative game!
Also Read This: How to Integrate Getty Images into Your Squarespace Website
Getting Started with Photoshop
Before you dive into editing Adobe Stock templates, it's essential to get familiar with Adobe Photoshop. Whether you're a seasoned pro or a beginner, understanding the basics will make your editing journey smoother and more enjoyable.
First things first, ensure you have the latest version of Photoshop installed on your computer. You can download it directly from the Adobe website or through the Creative Cloud application. Once installed, launch Photoshop and take a moment to familiarize yourself with the interface. Here are a few key components you should know:
- Toolbar: This is where you'll find all the tools you need for editing, such as the selection tools, brush tool, and text tool.
- Layers Panel: Layers are fundamental to editing in Photoshop. They allow you to work on different elements independently, making it easier to manage complex designs.
- Menu Bar: Located at the top, this is where you’ll find options for file management, editing, and specific adjustments.
- Workspace: Customize your workspace based on your needs. You can arrange panels and tools for optimal efficiency.
Now, take a moment to explore some tutorials. Adobe offers a wealth of resources, including video tutorials and community forums, which can be invaluable as you learn. Remember, practice makes perfect, so don’t shy away from experimenting with different tools and features.
Also Read This: Is Turner Classic Movies Available on YouTube TV?
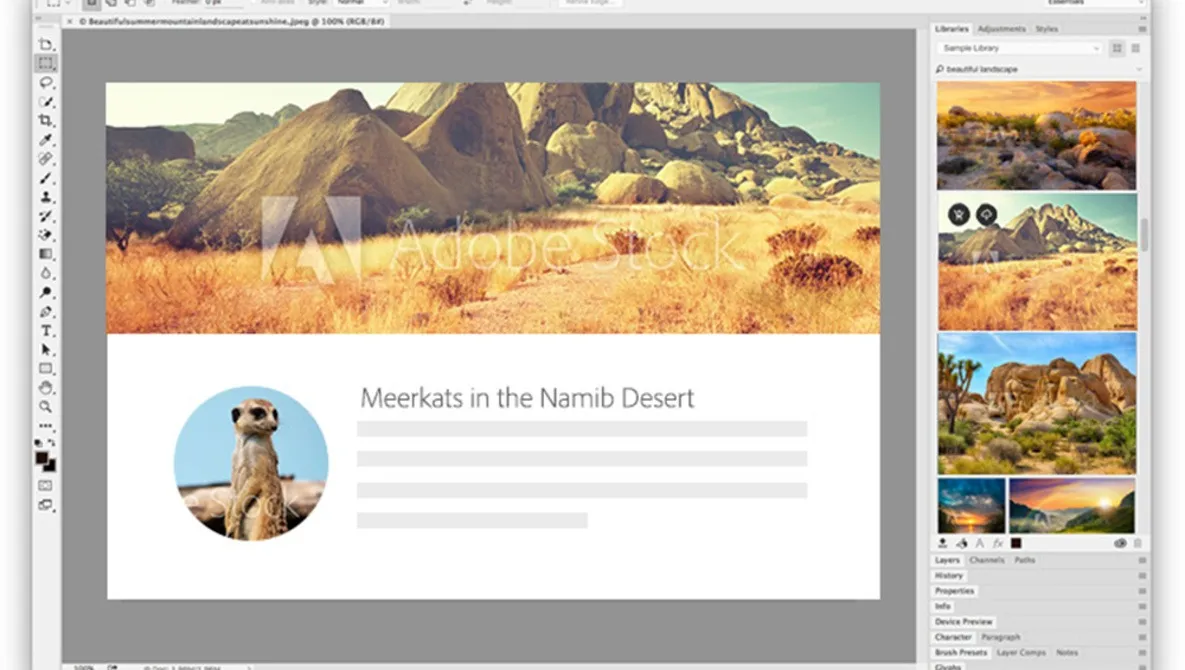
Opening Adobe Stock Templates in Photoshop
Once you're comfortable with the basics of Photoshop, it's time to open those Adobe Stock templates you’ve purchased or downloaded. The process is straightforward, but there are a few steps to ensure everything goes smoothly.
Here’s how you can open and access your Adobe Stock templates in Photoshop:
- Download Your Template: After purchasing a template from Adobe Stock, you'll need to download it to your computer. Typically, this will be in a .PSD or .AI format.
- Launch Photoshop: Open Photoshop if it’s not already running. Get ready to bring your template to life!
- Open the Template File: Go to File > Open, and navigate to the folder where your downloaded template is located. Select the file and click Open.
- Check Layers: Once the template opens, take a look at the Layers Panel. Most templates will have multiple layers for different elements. Understanding this layout will help you edit more efficiently.
And that’s it! You’re now ready to start customizing your template. Whether you’re changing colors, adding text, or modifying images, the possibilities are endless. Dive in and let your creativity flow!
Also Read This: How to Download iStock Videos Without the Watermark
5. Editing Text and Graphics
Editing text and graphics in Adobe Stock templates using Photoshop is a breeze once you get the hang of it. Let’s break it down into simple steps so you can start making those templates your own!
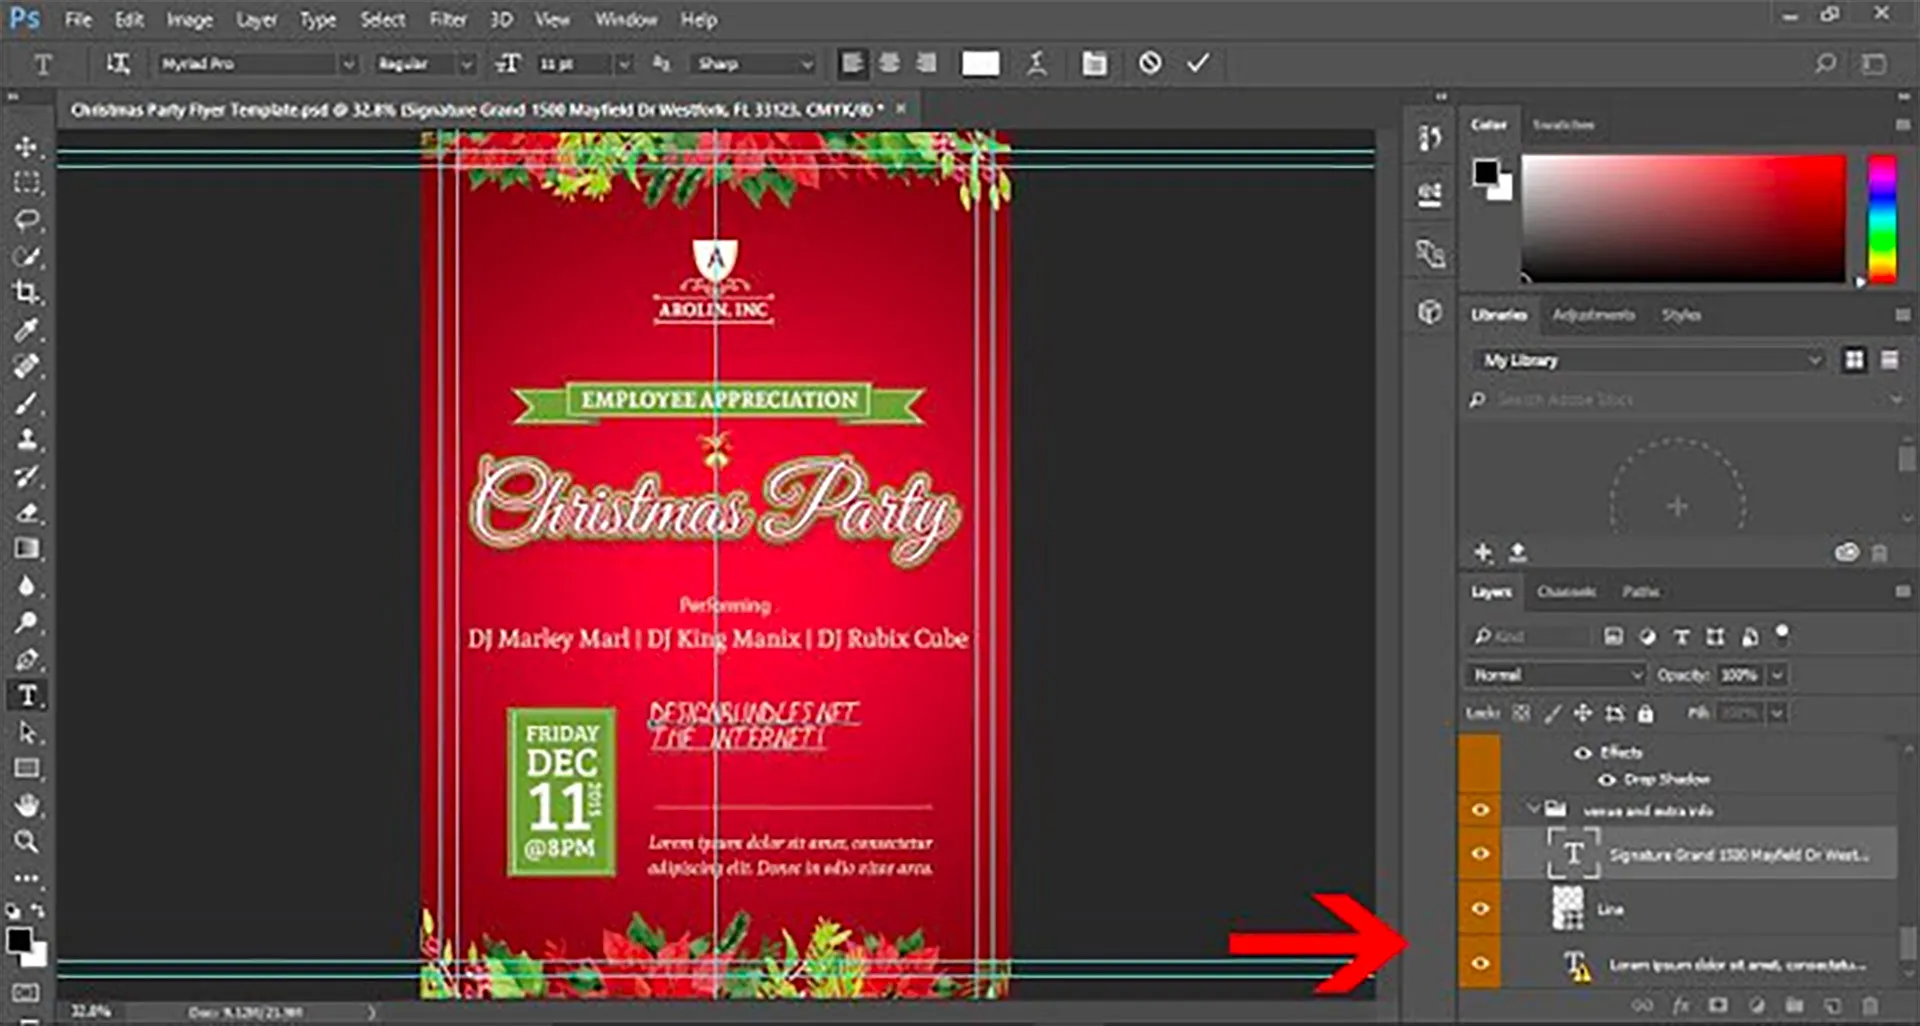
First things first, you'll want to open your template in Photoshop. Once it’s loaded, you can see the different layers in the Layers panel. This is crucial because most templates are organized into layers, making it easy to isolate the elements you want to edit.
Here’s how to edit text:
- Select the Text Layer: Find the text layer in the Layers panel. It usually has a ‘T’ icon next to it.
- Activate the Text Tool: Click on the text layer and select the Text Tool (the ‘T’ icon in the toolbar).
- Edit Your Text: Highlight the existing text and type in your new content. You can also change the font, size, and color from the options bar at the top.
For graphics, the process is similar:
- Select the Graphic Layer: Just like with text, locate the layer containing the graphic you want to edit.
- Use the Transform Tool: Press Ctrl+T (Windows) or Command+T (Mac) to resize or rotate the graphic as needed.
- Apply Effects: You can add effects like drop shadows or gradients by double-clicking the layer and adjusting settings in the Layer Style dialog.
Remember, experimenting is key! Don’t be afraid to play around with different styles and colors until you find something that really pops.
Also Read This: The Top 5 Twitter Features You Might Be Missing Out On
6. Saving Your Edited Templates
Now that you’ve put your personal touch on the Adobe Stock template, it’s time to save your work. Saving correctly ensures you don’t lose any of those fantastic edits you just made!
Here's a straightforward guide on how to save your edited templates:
- Save Your Work in PSD Format: Go to File > Save As and choose the Photoshop (PSD) format. This keeps all your layers intact, allowing you to make further edits later.
- Export for Sharing: If you’re ready to share your template, you might want to export it in a different format. Go to File > Export > Export As and choose formats like JPEG or PNG based on your needs.
- Choose Your Settings: When exporting, pay attention to the quality settings. For print, go for high resolution; for web, you can lower the quality to speed up loading times.
Lastly, always make sure to name your file something memorable. This way, you won’t have to search through countless files later—trust me, future you will thank you!
And there you have it! Now you’re all set to edit, save, and share your stunning Adobe Stock templates with the world.
Also Read This: Sign Out of YouTube TV with This Step-by-Step Guide
7. Tips for Effective Template Customization
Customizing Adobe Stock templates in Photoshop can be a rewarding experience, but it’s essential to approach it with a clear strategy. Here are some handy tips to ensure your customization is both effective and impactful:
- Understand the Template Structure: Before diving into edits, take a moment to understand how the template is structured. Familiarize yourself with layers, groups, and smart objects. This will make navigation easier and more intuitive.
- Keep Your Brand Colors in Mind: If you’re customizing a template for a brand, ensure that you stay true to their color palette. You can use the Color Picker tool in Photoshop to match colors accurately.
- Use High-Quality Images: When replacing images in the template, opt for high-resolution photos. This will maintain the overall quality and professionalism of your design.
- Experiment with Fonts: Typography can drastically alter the feel of your design. Don’t hesitate to experiment with different font styles, but ensure they align with your overall branding.
- Leverage Layer Styles: Photoshop offers various layer styles like drop shadows and gradients. Using these can add depth and dimension to your template, making it visually appealing.
- Save Your Work Frequently: It might sound trivial, but saving often can save you from losing your hard work. Use “Save As” to keep different versions, allowing you to revert if needed.
- Seek Feedback: Once you’ve made your edits, don’t hesitate to ask for feedback from peers or potential users. A fresh pair of eyes can offer valuable insights.
8. Conclusion
Editing Adobe Stock templates in Photoshop doesn’t have to be a daunting task. With the right approach and a few handy tips, you can transform a basic template into a stunning, customized piece that reflects your style or brand identity.
As you embark on your design journey, remember these key takeaways:
- Familiarize Yourself: Before making changes, spend some time getting to know the template’s structure.
- Stay Consistent: Keep brand colors and fonts consistent to maintain a professional look.
- Experiment: Feel free to tinker with different styles and elements to find what works best.
- Save and Review: Regularly save your work and review it with others for constructive feedback.
Incorporating these strategies will not only enhance your design skills but also make the process much more enjoyable. So grab your favorite Adobe Stock template, unleash your creativity, and start customizing! Happy editing!